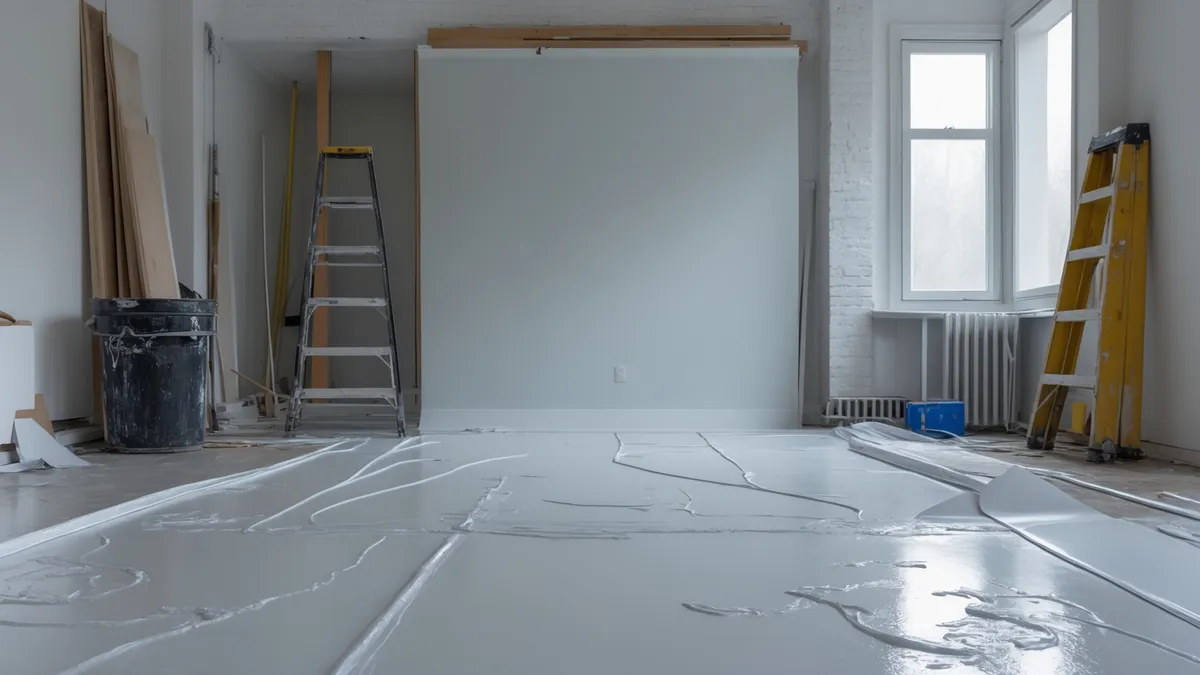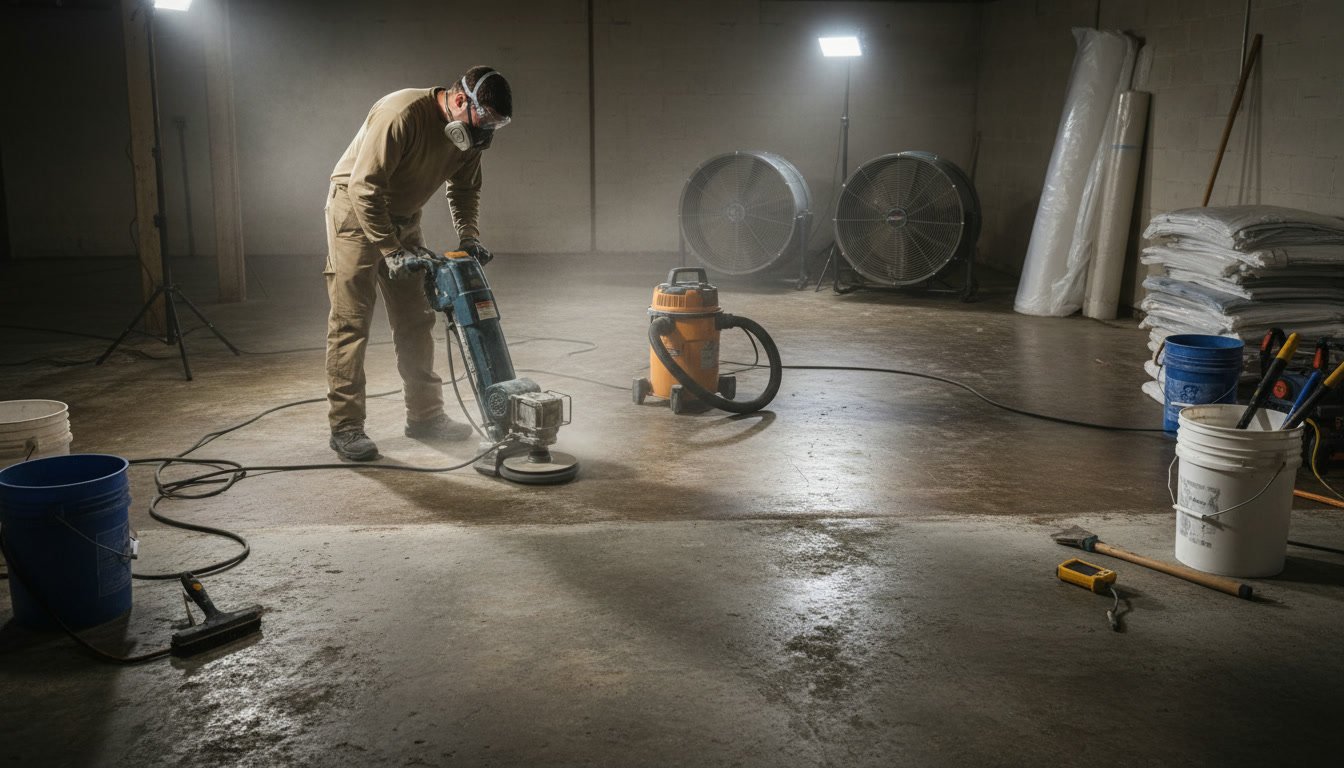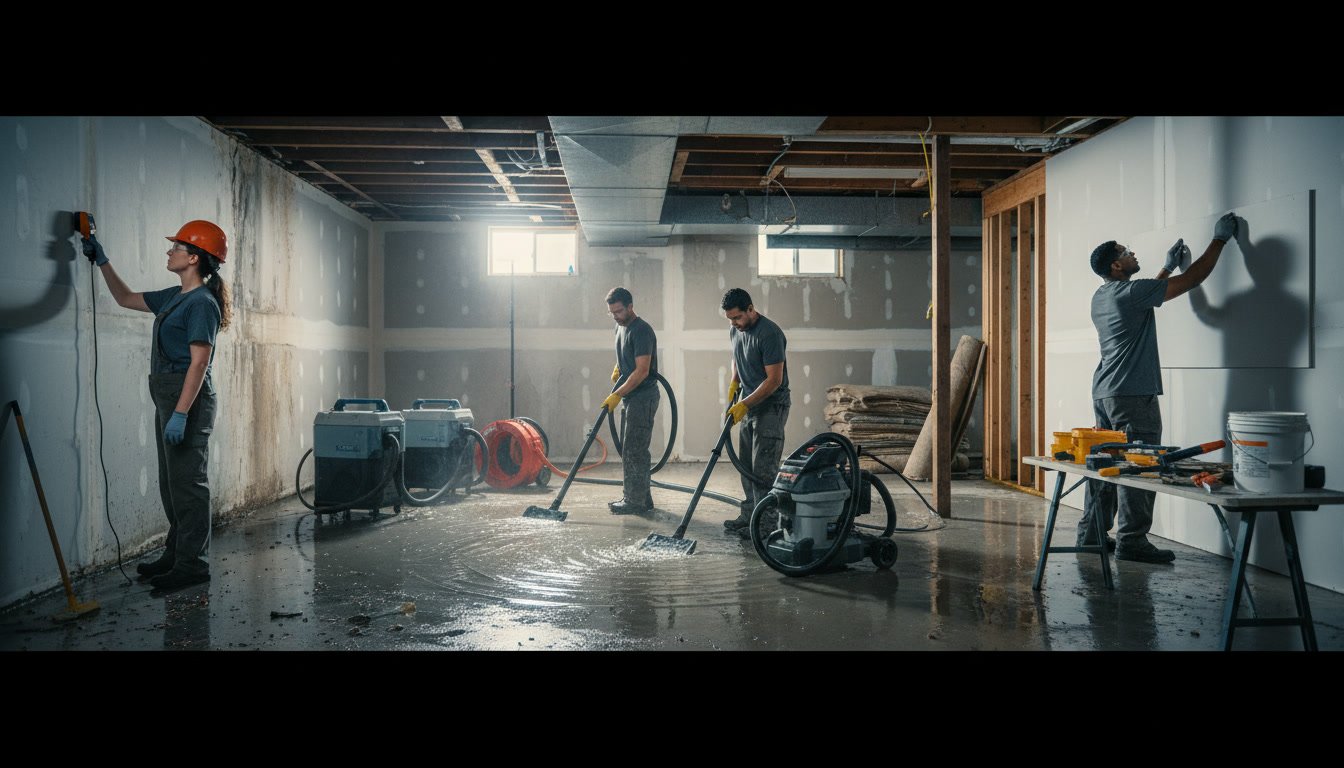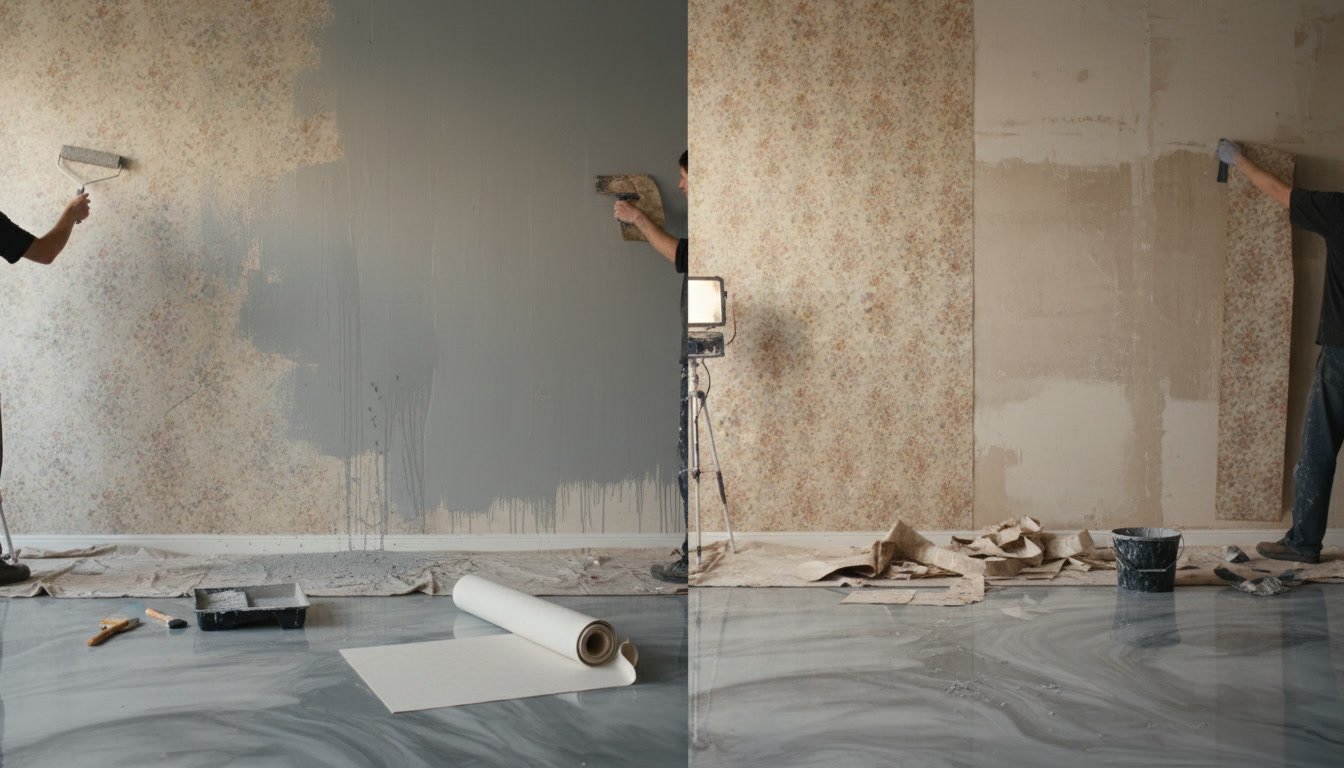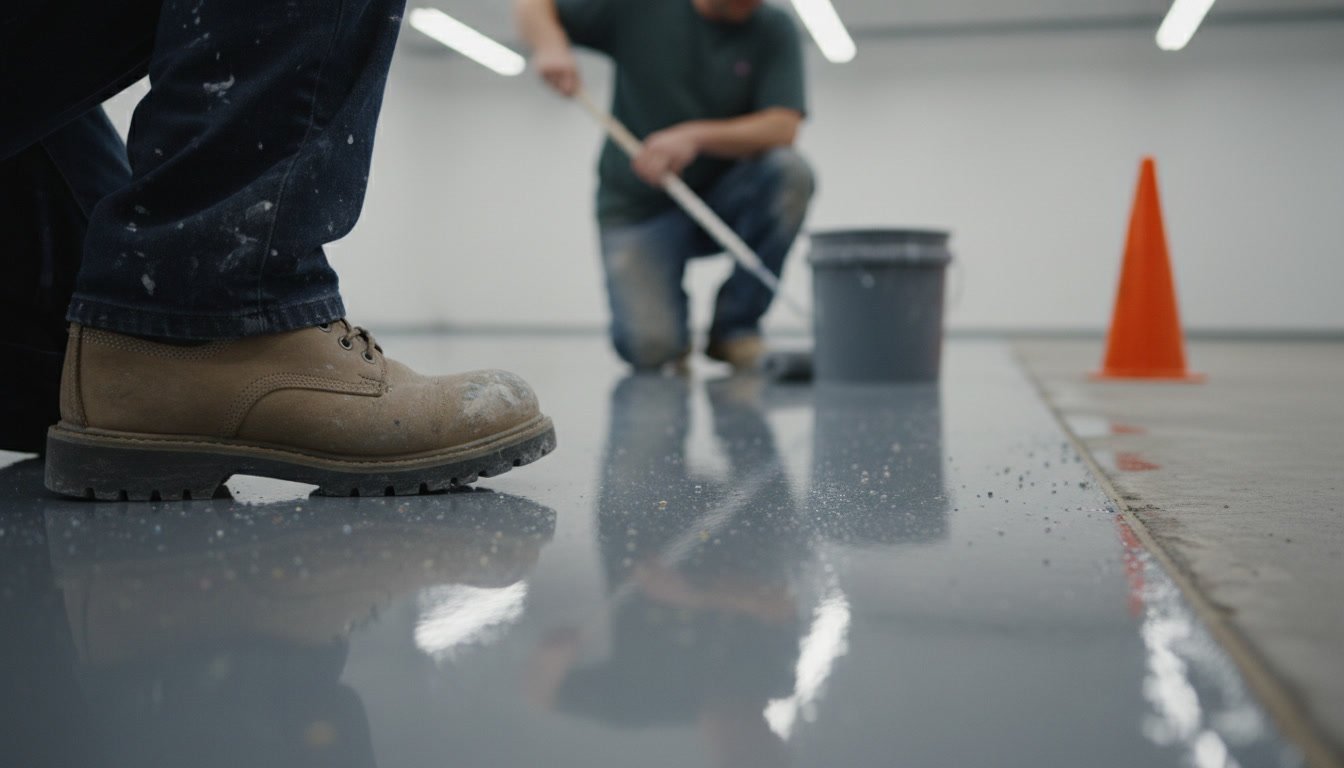
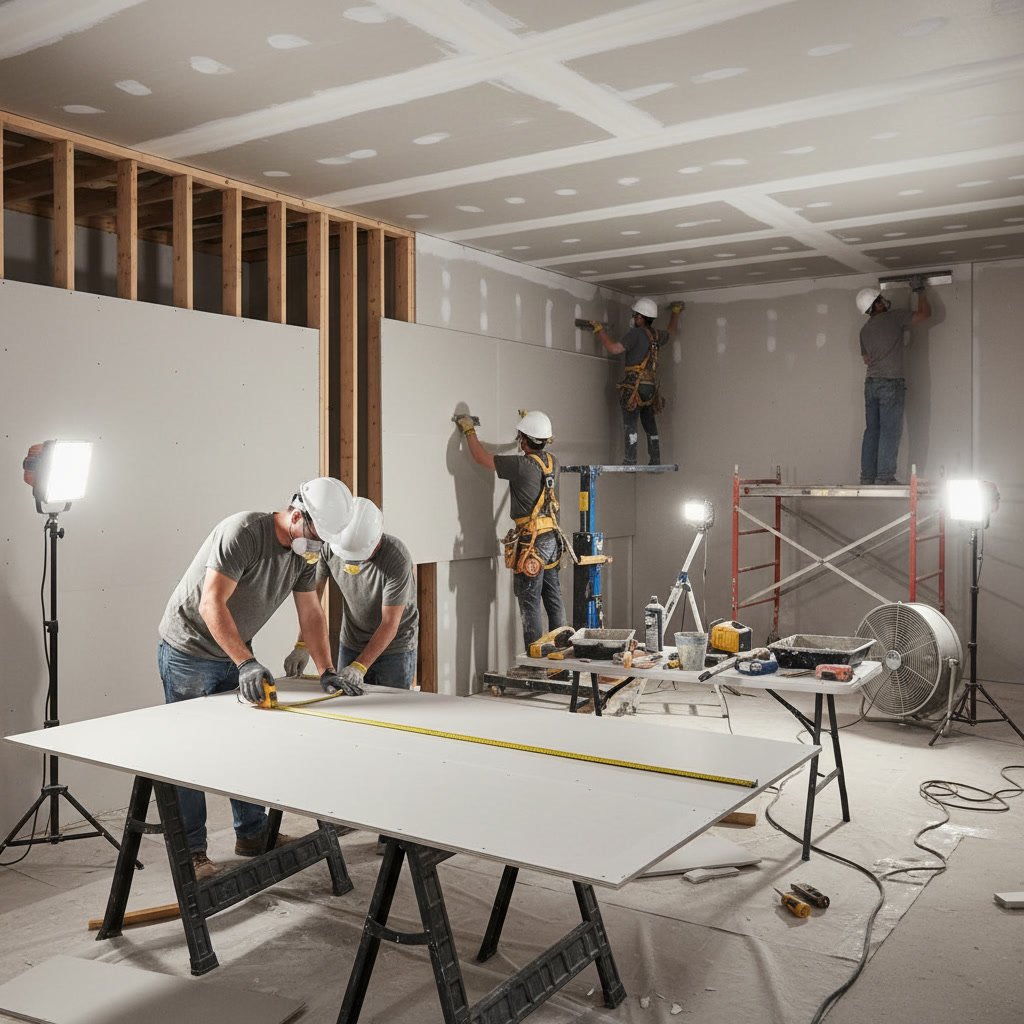
Professional drywall installation transforms empty wall frames into smooth, paintable surfaces through careful measurement, precise cutting, secure fastening, seamless taping, and expert finishing. The professional drywall installation process requires precision at every stage to prevent cracks, sagging, and visible seams that compromise both appearance and durability. Each step builds on the previous one, and shortcuts at any phase show up immediately in the final wall surface.
Why Proper Drywall Installation Matters for Your Home
Drywall forms the canvas for every painted wall in your home. Poor installation creates problems that no amount of paint can hide. Visible seams telegraph through even the thickest primer. Improperly secured panels sag over time, creating waves and shadows across wall surfaces. Nail pops push through paint months after the work is complete.
Professional installation eliminates these issues before they start. Correct framing preparation, accurate measurements, and proper fastening schedules create walls that remain smooth and stable for decades. The difference becomes obvious when you compare a rushed amateur job to work completed by experienced installers who understand material behavior and finishing techniques.
Material Selection and Prep Work Set the Foundation
Before any drywall goes up, professionals assess the space and select appropriate materials. Standard half-inch panels work for most interior walls, but certain applications demand different specifications. Moisture-prone areas like bathrooms require moisture-resistant green board or purple board. Ceilings often use five-eighths-inch panels for added sag resistance. Fire-rated Type X drywall meets code requirements for garage walls and furnace rooms.
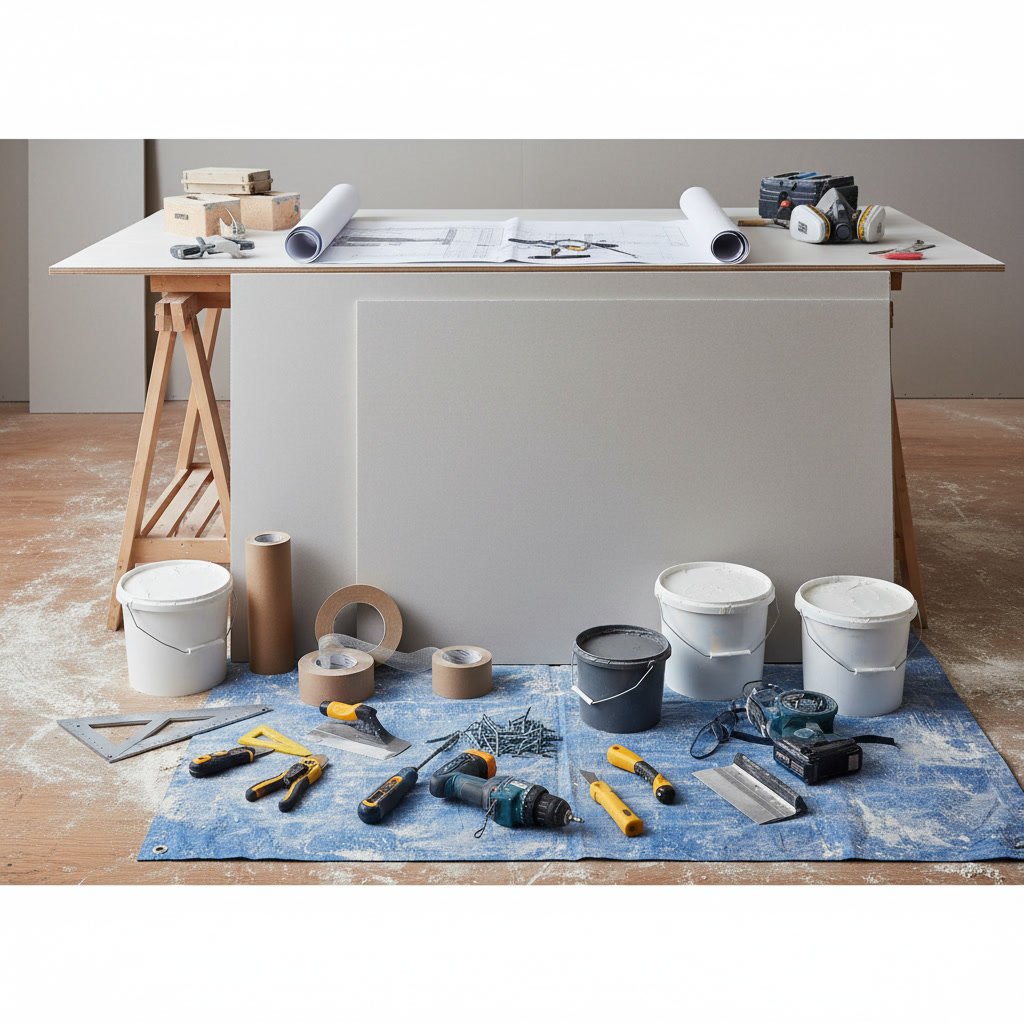
Frame inspection happens before the first panel arrives. Studs must sit plumb and straight. Spacing should measure 16 inches on center for walls, 12 or 16 inches for ceilings. Crooked or bowed studs get shimmed or replaced. Electrical boxes must sit flush with the future drywall surface. Any protruding nails or screws get removed. This prep work prevents installation problems that would otherwise force installers to work around structural defects.
Accurate Measurement and Strategic Panel Layout in Wappingers Projects
Measuring determines material quantities and cutting sequences. Professional installers plan panel layout to minimize seams and eliminate small pieces that weaken wall integrity. Horizontal installation places seams at comfortable working heights and creates fewer linear feet of joints to finish. Vertical installation suits rooms with standard eight-foot ceilings when studs align properly.
Each measurement accounts for electrical outlets, light switches, windows, and doors. Installers mark cut locations on panels before any cutting begins. This planning phase saves material and reduces waste. A well-measured job might use 15 to 20 percent less material than a poorly planned installation.
Cutting Drywall Panels With Precision
Cutting methods vary by cut type. Straight cuts use a utility knife scored along a straightedge, then snapped cleanly along the score line. The paper backing on the opposite side gets cut to separate the piece. Outlet and switch cutouts require routers or keyhole saws for clean edges that fit snugly around boxes.
Professional installers cut panels face-up to prevent torn paper edges on the visible surface. Ragged cuts create finishing problems later because torn paper does not accept joint compound smoothly. Clean cuts require sharp blades changed frequently throughout the job. Dull blades tear rather than slice, creating fuzzy edges that complicate taping.
Hanging Panels Securely to Framing
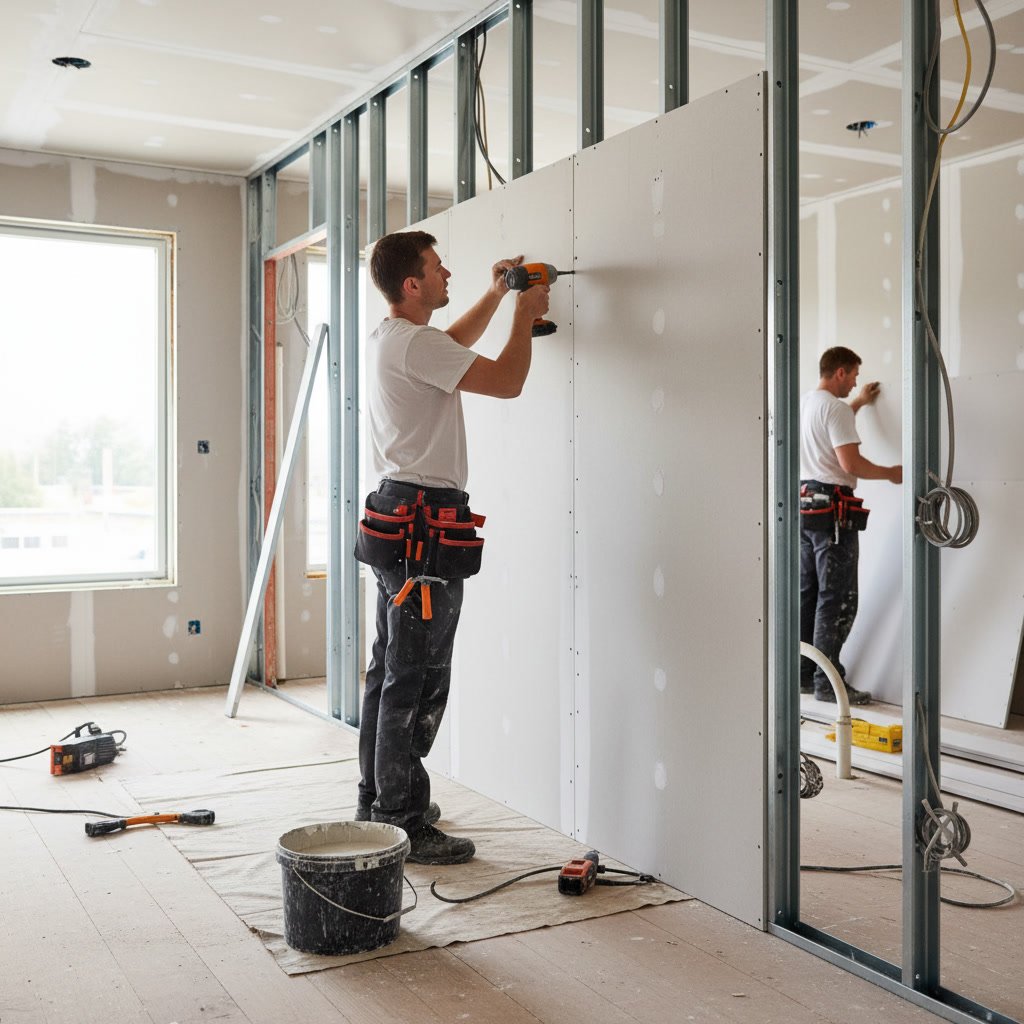
Drywall screws fasten panels more reliably than nails. Screws resist popping and provide stronger holding power. Professionals drive screws slightly below the paper surface without breaking through, creating small dimples that accept joint compound. Screw spacing follows specific schedules: 12 inches on center for walls, eight inches for ceilings.
Panel edges must land on stud centers, never hanging unsupported between framing members. Butt joints where two panel ends meet require backing, either from existing framing or added blocking. Floating corners, where ceiling panels rest on top of wall panels without fasteners in the corner, prevent fastener pops caused by seasonal lumber movement.
Proper installation leaves consistent eighth-inch gaps between panels. These gaps accommodate minor framing irregularities and provide space for joint compound. Panels forced tightly together create ridges that show through finished surfaces. Many homes require drywall installation services when adding rooms or repairing structural damage.
Taping Joints Creates Seamless Transitions
Joint treatment happens in multiple coats, never rushed into a single application. The first coat embeds paper tape in a thin layer of joint compound spread along every seam. The tape bridges the gap between panels while the compound bonds it to both surfaces. Installers press tape firmly into wet compound, squeezing out excess and eliminating air bubbles that would create weak spots.
Inside corners use creased paper tape for crisp angles. Outside corners require metal or plastic corner bead fastened to the drywall before compound application. Bead protects vulnerable edges from damage while creating perfectly straight corner lines. Professional installers check corner bead alignment carefully because any deviation becomes permanently visible once compound dries.
Applying Multiple Coats for Smooth Surfaces
The second coat covers tape and widens the joint treatment. Compound extends six to eight inches beyond the first coat on each side, feathering the edges thin. This coat also fills screw dimples throughout the wall surface. Each application must dry completely before the next coat, typically 24 hours depending on temperature and humidity.
The third coat feathers seams even wider, creating gradual transitions invisible to the eye and touch. Some jobs require a fourth coat for Level 5 finishes, which provide the smoothest possible surface for critical lighting conditions. Skim coating the entire wall eliminates even minor texture variations, though most residential projects achieve excellent results with standard three-coat finishing. Understanding when walls need replacement versus repair helps homeowners make informed decisions, as explained in our guide on signs your walls need new drywall instead of paint.
Sanding Brings Everything Together
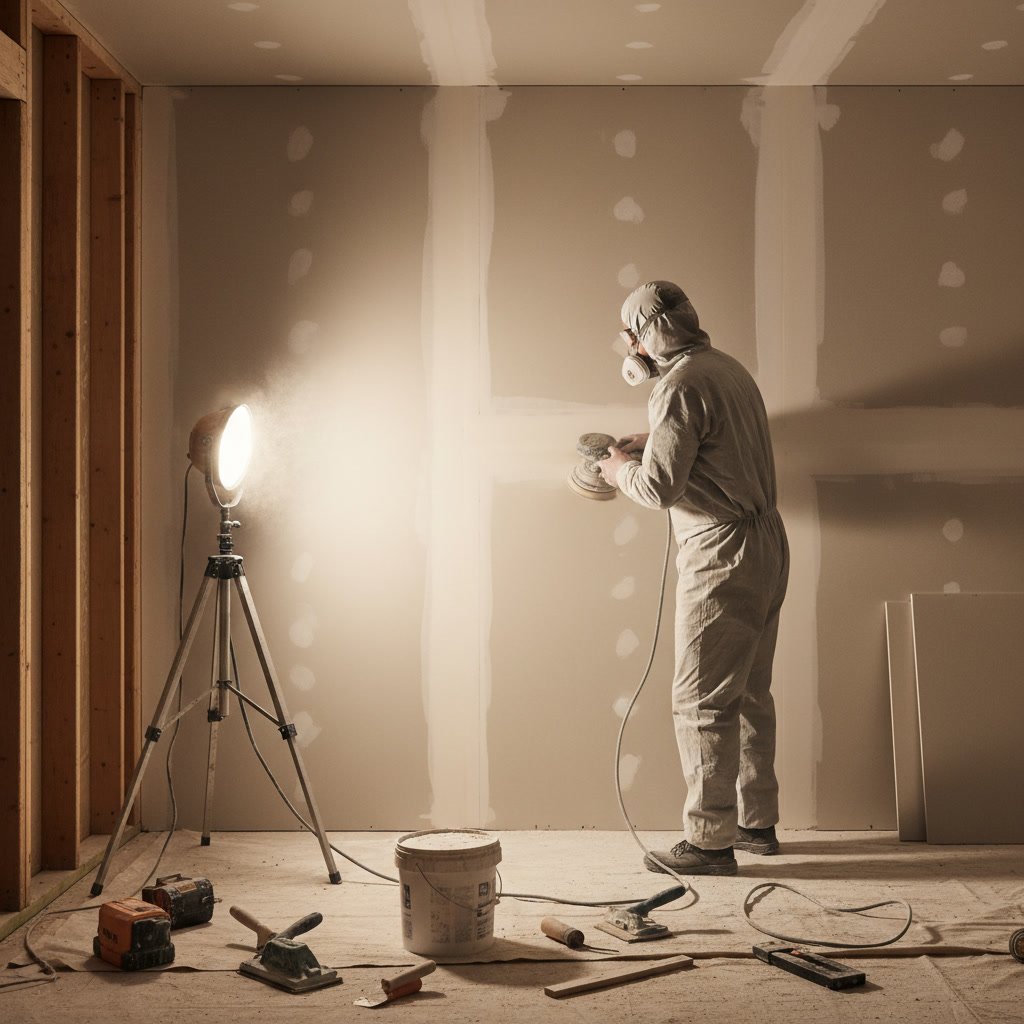
Sanding removes ridges, tool marks, and excess compound. Professional installers use fine-grit sanding screens or paper to avoid gouging the compound or roughing up the paper surface. Pole sanders reach ceilings and upper walls without ladders. Hand sanding handles detail work around outlets and corners.
Proper sanding technique requires light pressure and attention to joint edges. Heavy sanding creates depressions rather than smooth surfaces. Oversanding damages paper facing, creating fuzzy spots that absorb paint differently than surrounding areas. Many professionals use shop lights held at acute angles to wall surfaces, casting shadows that reveal any remaining imperfections.
Dust control matters during sanding. Drywall dust infiltrates every gap, settling on floors, fixtures, and HVAC systems. Professional crews seal doorways and cover vents. HEPA vacuum attachments on sanders capture most dust at the source, reducing cleanup time and protecting indoor air quality.
Priming Prepares Walls for Paint
Drywall primer serves multiple purposes beyond simply preparing for paint. It seals porous joint compound, preventing topcoat from absorbing unevenly into patched areas. Primer also seals paper facing, creating uniform absorption across the entire wall surface. Without proper priming, finished paint shows lighter spots where compound was applied and darker areas of bare paper.
PVA primers work well for new drywall but should not be used over previously painted surfaces. These primers dry quickly and provide excellent adhesion for latex paint. Some situations require stain-blocking primers, particularly when water damage restoration preceded the drywall work or when covering previous wall damage.
Quality Standards Separate Professional from Amateur Work
Industry finishing levels range from Level 0 (no taping or finishing) through Level 5 (highest quality). Most residential painting projects require Level 4 finishing, which provides smooth surfaces suitable for flat or eggshell paints under normal lighting. Level 5 becomes necessary for high-gloss paints, critical lighting angles, or when severe lighting rakes across wall surfaces.
Professional installers understand which level suits each application. They also recognize that proper installation techniques matter more than finishing level alone. Correctly fastened panels with properly embedded tape create durable walls regardless of finishing level. Rushed installation with poor fastening patterns and inadequate compound application fails even with extensive finishing work.
Temperature and humidity affect drying times and compound performance. Professionals adjust their schedules and material choices based on job site conditions. Cold temperatures slow drying and may require supplemental heat. High humidity extends drying times significantly. Rushing subsequent coats before previous applications fully cure creates soft spots and poor adhesion.
How Professional Installation Supports Long-Term Results
Well-installed drywall creates the foundation for beautiful interior house painting results. Smooth, properly prepared walls accept paint evenly and show true color without shadowing or texture variations. The investment in quality installation pays dividends through every subsequent paint job because the surface remains stable and smooth.
Professional drywall work also prevents common long-term problems. Properly fastened panels resist nail pops. Correctly taped joints do not crack along seams. Adequate compound application and feathering techniques eliminate visible ridges that appear when lighting angles change throughout the day. These details separate temporary fixes from permanent solutions.
For over two decades, JJv2 Interior House Painter Dutchess County LLC has delivered meticulous drywall installation that creates lasting value for Dutchess County homeowners. Owner Richard Rivera brings hands-on experience to every project, ensuring proper techniques at each installation phase. Whether you need a single wall repaired or an entire addition finished, professional installation makes the difference between walls that look good initially and walls that remain beautiful for years.
If your home needs drywall installation or repair in Wappingers Falls, Fishkill, Beacon, or surrounding areas, JJv2 Interior House Painter Dutchess County LLC provides the careful, detail-driven work that creates smooth, durable walls ready for finishing. Call +1 (845) 379-3306 to discuss your project and schedule a consultation that starts with understanding your specific needs and ends with walls built to last.