Water damage changes the chemistry and structure of concrete, making proper preparation critical before applying any epoxy coating. To prepare concrete epoxy after water damage, you must ensure the slab is completely dry, test for residual moisture, remove any contamination or efflorescence, repair structural damage, and profile the surface to accept the coating. Skipping any of these steps typically results in epoxy failure within months, wasting time and money on a coating that peels, bubbles, or never fully hardens.
Why Water Damage Creates Unique Concrete Preparation Challenges
Water intrusion does more than just wet the surface. It carries dissolved minerals, salts, and contaminants deep into the porous concrete structure. As the water evaporates, these materials crystallize inside the pores and on the surface, creating a weak layer that prevents epoxy from bonding. Even after the visible water disappears, moisture often remains trapped several inches below the surface, continuing to push upward through capillary action.
Concrete that has experienced flooding or prolonged moisture exposure also develops microcracks as it absorbs and releases water repeatedly. These small fractures may not be visible to the eye, but they create pathways for future moisture and weak points where epoxy coatings can fail. Understanding these hidden changes helps explain why standard concrete prep procedures need modification after water damage.
Assessing the Full Extent of Moisture and Structural Damage
Before any physical preparation begins, you need to know exactly what you’re dealing with. Start by inspecting the entire basement floor for visible signs of damage such as cracks wider than a credit card, spalling (flaking or chipping), or areas where the surface seems powdery or chalky. Mark these locations with chalk or tape so you can address them systematically.
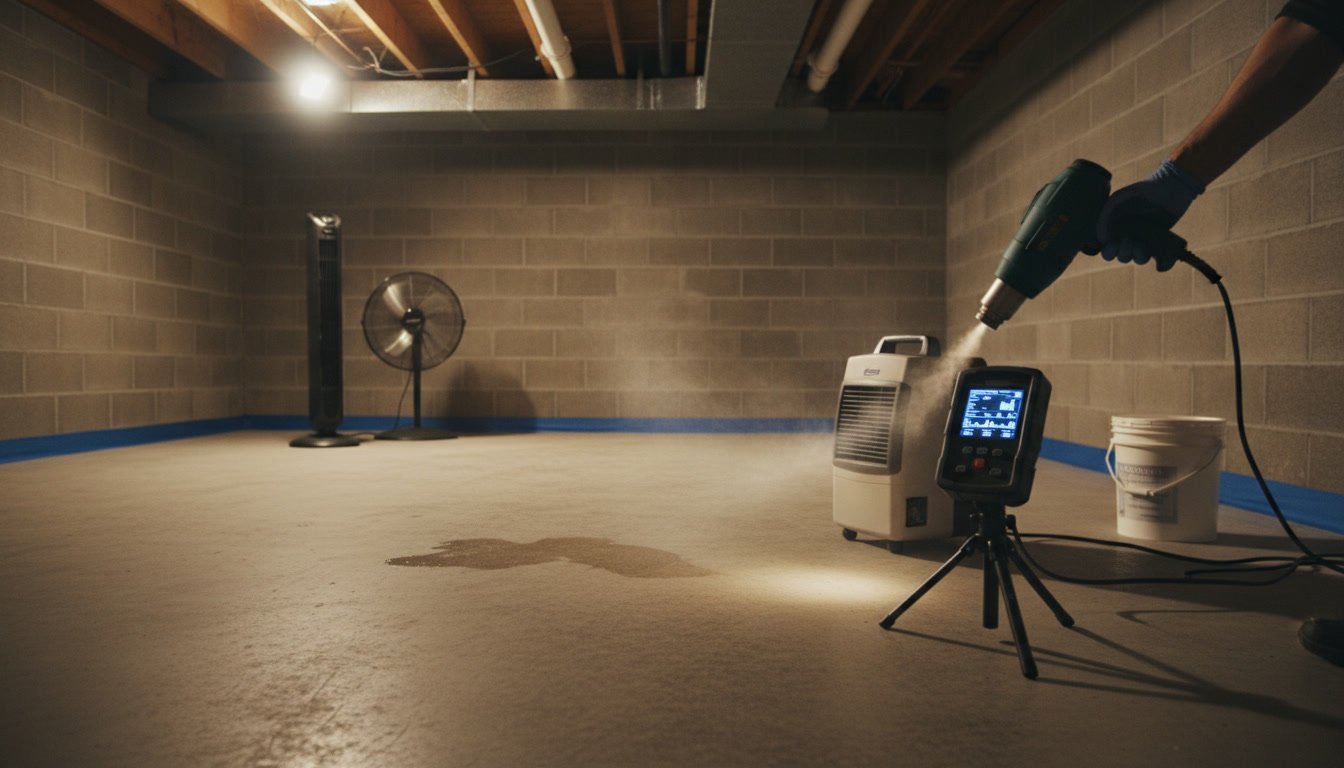
Moisture testing is non-negotiable after water damage. A simple visual inspection is never sufficient. Professional moisture meters measure the moisture content at various depths, revealing hidden dampness that can destroy an epoxy coating from beneath. For basements that experienced significant flooding, professionals often use calcium chloride tests or in-situ probes that measure vapor emissions from the concrete over 24 to 72 hours. Most epoxy manufacturers require moisture vapor emission rates below 3 to 5 pounds per 1,000 square feet per 24 hours, though some high-performance systems tolerate slightly higher rates.
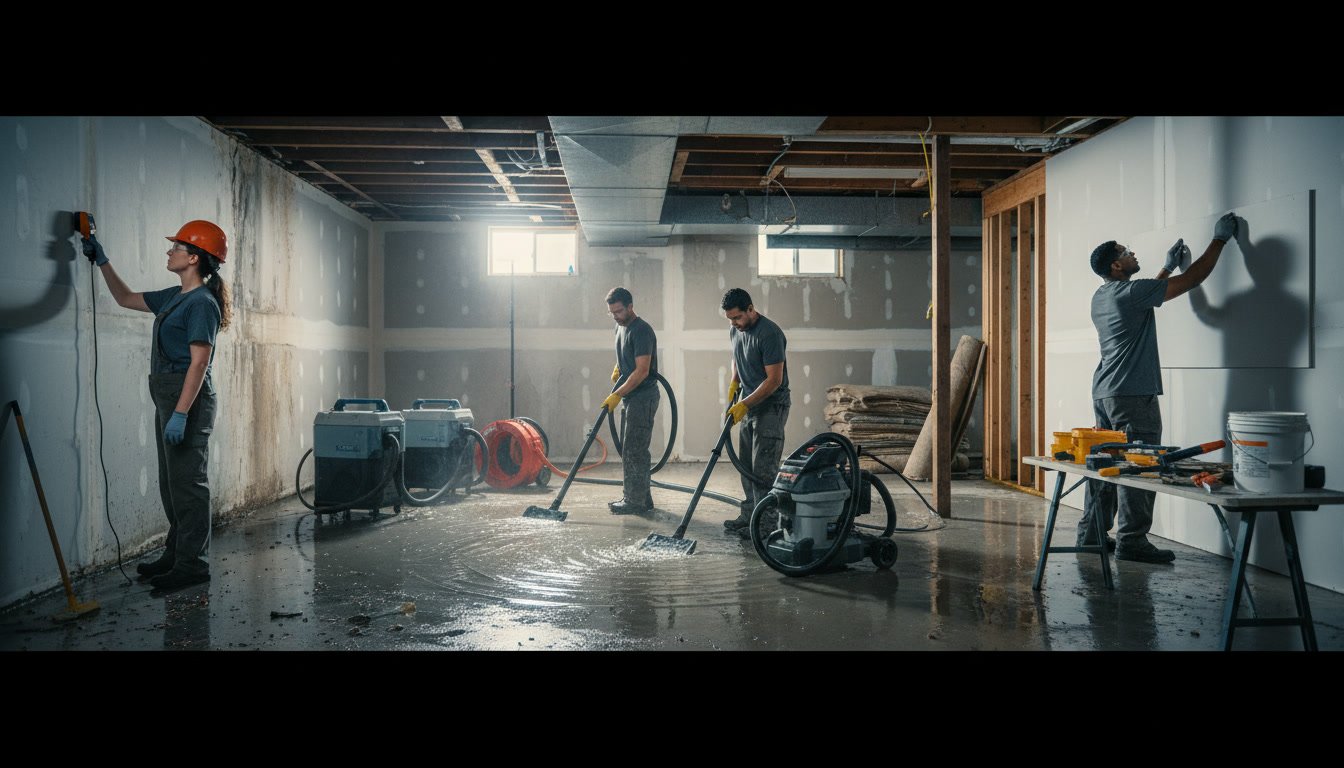
If your basement required water damage restoration services, the restoration contractor should have documented moisture levels throughout the drying process. Review these records before proceeding with epoxy preparation.
Required Drying Time Based on Water Exposure Severity
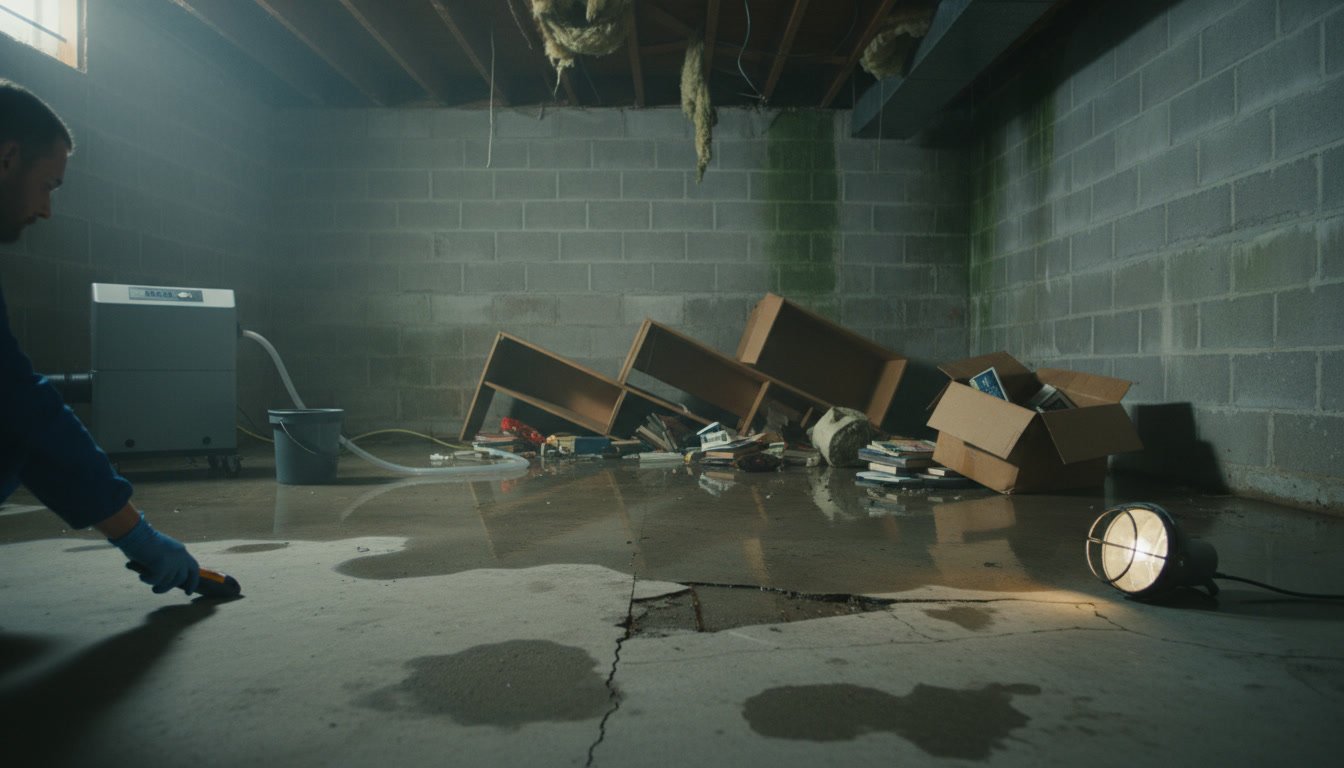
Concrete drying times vary dramatically based on the extent of water exposure, slab thickness, ambient humidity, and ventilation. A basement that experienced a minor leak may dry sufficiently in two to three weeks with proper dehumidification. A floor that sat under six inches of floodwater for several days may require two to three months of drying before it’s ready for epoxy.
The industry standard is to wait at least 28 days after water damage before applying epoxy, but that’s often a bare minimum. Thicker slabs dry from the surface down, so a six-inch slab takes substantially longer than a four-inch pour. Cold temperatures slow evaporation, while good airflow and dehumidification speed it up. Run dehumidifiers continuously and maintain basement temperatures between 60 and 75 degrees for optimal drying.
One expert-level insight from two decades of finishing work: never trust a surface-dry floor. Concrete that feels dry to the touch can still hold dangerous amounts of moisture two inches below the surface. Always verify dryness with objective testing rather than relying on appearance or feel.
Removing Efflorescence and Surface Contaminants in Wappingers Basements
Efflorescence appears as white, powdery deposits on concrete surfaces. It forms when water dissolves salts within the concrete and carries them to the surface, where they crystallize as the water evaporates. This chalky layer prevents epoxy from adhering to the concrete itself, instead bonding only to the weak salt deposits, which then fail under minimal stress.
Remove efflorescence by dry brushing with a stiff bristle brush, followed by vacuuming. For stubborn deposits, use a diluted vinegar solution (one part white vinegar to three parts water), scrub thoroughly, rinse with clean water, and allow the floor to dry completely again. Never use muriatic acid for efflorescence removal before epoxy application unless you can guarantee complete neutralization and drying, as residual acid will interfere with epoxy curing.
Also check for oil stains, grease, old paint, or adhesive residue. These contaminants create invisible barriers between concrete and epoxy. Degreasers designed for concrete work well for oil and grease, while paint strippers or mechanical grinding remove old coatings. After any chemical cleaning, rinse the floor multiple times and allow it to dry completely before proceeding.
Repairing Cracks and Damaged Areas Before Surface Profiling
Cracks wider than one-eighth inch need filling before epoxy application. Small cracks can be filled with epoxy crack filler, which bonds to the surrounding concrete and creates a smooth, uniform surface. Larger cracks or areas of spalling may require more substantial repair with cement-based patching compounds or even new concrete depending on severity.
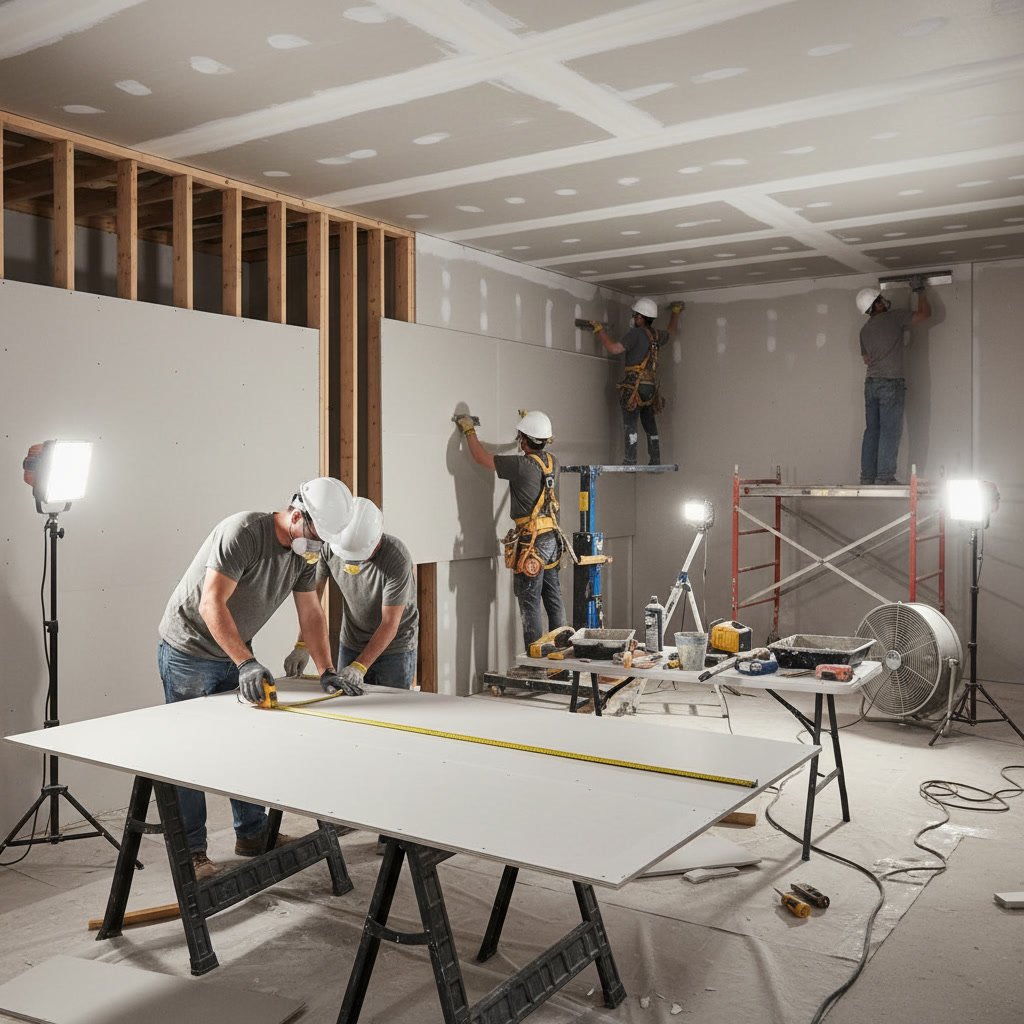
For structural concerns or extensive cracking, the same contractors who handle drywall installation and finishing often have the expertise to assess whether the concrete damage requires professional structural repair before cosmetic coating. Never apply epoxy over actively deteriorating concrete, as the coating will simply fail along with the substrate.
Allow all repairs to cure fully according to manufacturer specifications before moving to surface preparation. Most patching compounds require at least 24 to 48 hours, though some need up to seven days depending on thickness and temperature.
Step-by-Step Surface Profiling to Accept Epoxy
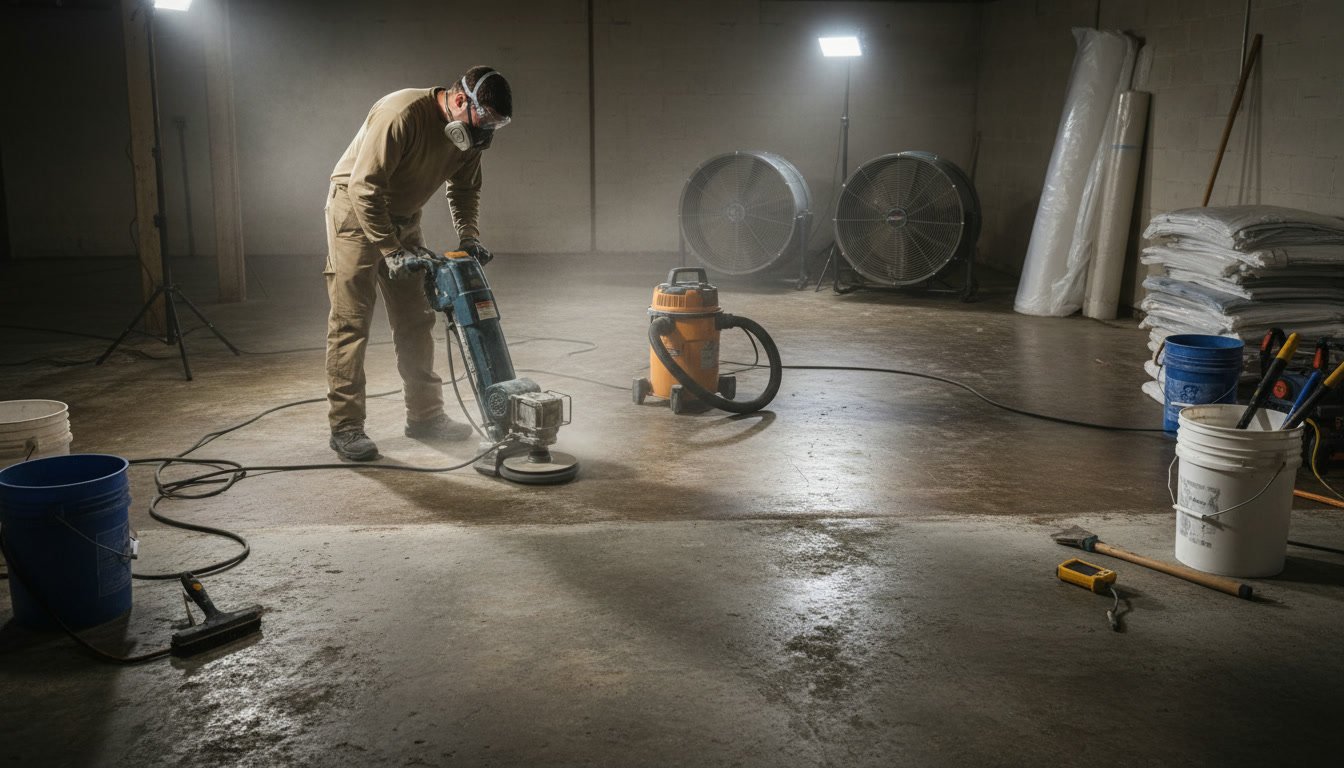
Surface profiling creates the mechanical bond that allows epoxy to grip the concrete. After water damage, this step becomes even more critical because the concrete surface may have been weakened or contaminated. The goal is to create a surface profile similar to 60 to 80 grit sandpaper, opening the concrete pores without creating excessive roughness.
For most residential basement floors, diamond grinding provides the most consistent results. A walk-behind diamond grinder removes the top layer of concrete, eliminating any remaining contamination and exposing fresh, clean concrete for the epoxy to bond with. Grinding also levels minor surface irregularities and smooths patched areas so they blend with the surrounding floor.
Acid etching is a less expensive alternative but requires careful execution. Use a phosphoric acid-based etcher rather than muriatic acid, apply according to manufacturer directions, scrub thoroughly, and rinse multiple times until the water runs completely clear. After rinsing, check the pH with test strips. The surface must be neutral (pH 7 to 8) before epoxy application, or the acidic surface will prevent proper curing.
After profiling, vacuum the entire floor thoroughly to remove all dust and debris. Any particles left on the surface will be encapsulated in the epoxy, creating a rough, unattractive finish and potentially weak spots where the coating doesn’t fully bond to the concrete.
Final Moisture Testing Before Epoxy Application
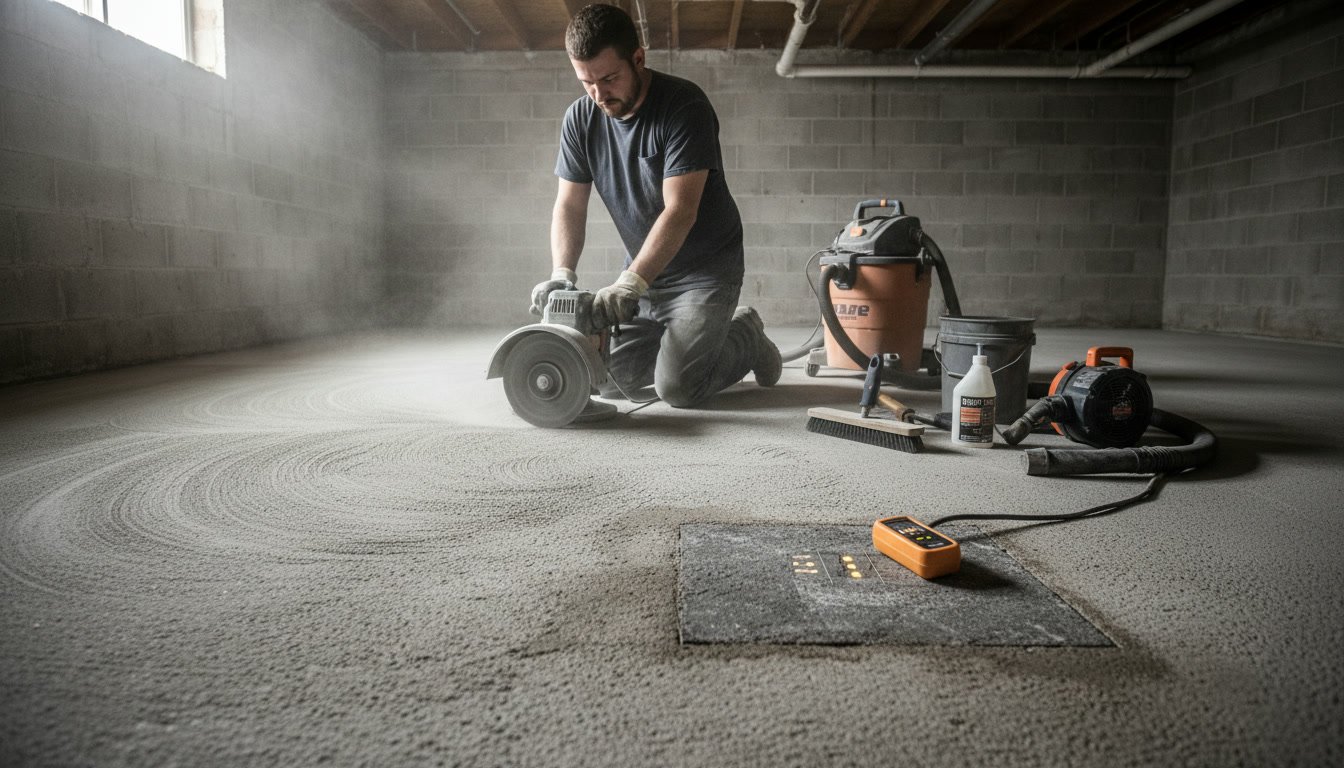
Even if you tested moisture levels before beginning preparation work, test again immediately before applying epoxy. Grinding and cleaning add water to the concrete, and that moisture must evaporate completely before coating. This final test confirms that all your preparation work has succeeded and the concrete is truly ready.
Use the plastic sheet test as a quick preliminary check. Tape a two-foot square piece of plastic sheeting to the floor, sealing all edges with duct tape. After 24 hours, check for condensation on the underside of the plastic or darkening of the concrete beneath it. Either condition indicates the concrete is still releasing moisture and needs more drying time.
For professional-grade verification, repeat the calcium chloride test or use an electronic moisture meter on multiple areas of the floor, especially in corners and along walls where moisture tends to linger. Document the readings. If any area exceeds the epoxy manufacturer’s specifications, delay application and continue drying.
Choosing the Right Epoxy System for Previously Damaged Concrete
Not all epoxy coatings perform equally well on concrete that has experienced water damage. Standard garage floor epoxy kits from big-box stores often lack the moisture tolerance and penetration needed for previously compromised concrete. Look for epoxy systems specifically rated for moisture vapor tolerance if your concrete is near the upper limits of acceptable moisture levels.
Two-component 100 percent solids epoxy systems generally outperform water-based epoxies on basement floors with a history of water problems. These solvent-free systems penetrate deeper, bond more aggressively, and tolerate slightly higher moisture levels. They also cure through chemical reaction rather than evaporation, making them less susceptible to humidity issues during application.
Consider adding a moisture vapor barrier primer as the first coat if moisture readings are marginal but within acceptable limits. These specialized primers are designed to block residual moisture vapor while creating an anchor layer for the top coat. This approach adds cost but provides insurance against future moisture-related failures.
Temperature and Humidity Requirements During Application
Epoxy chemistry is highly sensitive to environmental conditions. Most systems require concrete temperatures between 50 and 90 degrees and air temperatures in a similar range during application and curing. Temperatures below 50 degrees slow or stop the curing reaction, while temperatures above 90 degrees accelerate it so rapidly that the epoxy becomes difficult to spread and may not self-level properly.
Relative humidity should stay between 50 and 85 percent during application and the first 24 hours of curing. Higher humidity slows curing and can cause the surface to remain sticky, as explained in detail in existing guidance about why epoxy floors become sticky and how to fix them. Lower humidity can cause the epoxy to cure too quickly, potentially leading to poor adhesion or surface defects.
Basements that experienced water damage often have humidity issues even after the concrete dries. Run a dehumidifier for several days before application to stabilize conditions, and continue running it throughout the curing period to maintain consistent humidity levels.
Common Preparation Mistakes That Lead to Epoxy Failure
The most common mistake is rushing the drying process. Impatience costs homeowners thousands of dollars when epoxy applied over damp concrete fails within months. The second most common error is inadequate surface profiling, either from incomplete grinding or ineffective acid etching that leaves a smooth, impenetrable surface the epoxy cannot grip.
Failing to remove all efflorescence ranks third. Even a thin layer of salt deposits creates a weak bond plane where the coating separates from the substrate. Fourth is skipping the final cleanliness check. Dust, dirt, or grinding residue left on the floor becomes permanently embedded in the epoxy, creating both aesthetic and adhesion problems.
Finally, many people underestimate the importance of proper mixing. Two-component epoxy systems require thorough mixing of both the resin and hardener. Inadequate mixing leaves unmixed material that never fully cures, resulting in soft spots, discoloration, or sticky areas that never harden.
Long-Term Success After Proper Preparation
When concrete preparation follows all necessary steps after water damage, the resulting epoxy floor painting can last 15 to 20 years or more with minimal maintenance. The key is patience during preparation and unwavering attention to manufacturer specifications throughout the process. Every shortcut taken during preparation creates a potential failure point that shortens the coating’s lifespan.
Proper preparation also protects your investment in other basement improvements. Homeowners who invest in finished basements, rec rooms, or home offices need flooring that performs reliably for decades. A well-prepared and properly applied epoxy floor provides that durability while also offering moisture resistance that protects against future water intrusion.
The preparation process may seem lengthy and involved, but it directly determines whether your epoxy coating becomes a long-term solution or an expensive failure that requires removal and replacement within a few years. The difference between success and failure lies entirely in the quality of preparation work done before the first drop of epoxy touches the concrete.
Getting Professional Results in Dutchess County
Preparing concrete after water damage requires specialized knowledge, professional-grade moisture testing equipment, and surface preparation tools that most homeowners don’t own. The stakes are high because improper preparation guarantees coating failure, wasting both materials and labor. For basement floors in Fishkill, Beacon, Lagrangeville, and surrounding areas that have experienced water damage, working with experienced professionals ensures the preparation work meets manufacturer specifications and industry standards.
JJv2 Interior House Painter Dutchess County LLC brings over 20 years of hands-on finishing experience to every project, including the specialized preparation work that water-damaged concrete requires. Whether your basement needs complete restoration or you’re ready to protect a dried floor with a durable epoxy coating, professional evaluation and preparation eliminate guesswork and provide peace of mind that the work is done right.
If your basement has experienced water damage and you’re considering epoxy floor coating, professional assessment ensures you don’t skip critical preparation steps or apply coating before the concrete is truly ready. JJv2 Interior House Painter Dutchess County LLC serves homeowners throughout Dutchess County with the detail-driven approach that proper floor preparation demands. Call (845) 379-3306 to discuss your basement floor project and schedule an evaluation.