Professional water damage restoration follows a methodical approach from emergency inspection through structural drying, repairs, and final finishing. The water damage restoration process typically spans five to ten days for moderate damage, though timelines vary based on severity, affected materials, and environmental conditions. Understanding each phase helps property owners make informed decisions and set realistic expectations for timeline and scope.
Why Water Damage Requires Immediate Professional Assessment
Water intrusion creates cascading problems that worsen by the hour. Within 24 hours, drywall begins to swell, wood flooring starts to cup, and microbial growth can establish in porous materials. After 48 hours, mold colonies become visible and structural integrity begins to decline. Professional assessment within the first few hours dramatically reduces secondary damage and total restoration costs.
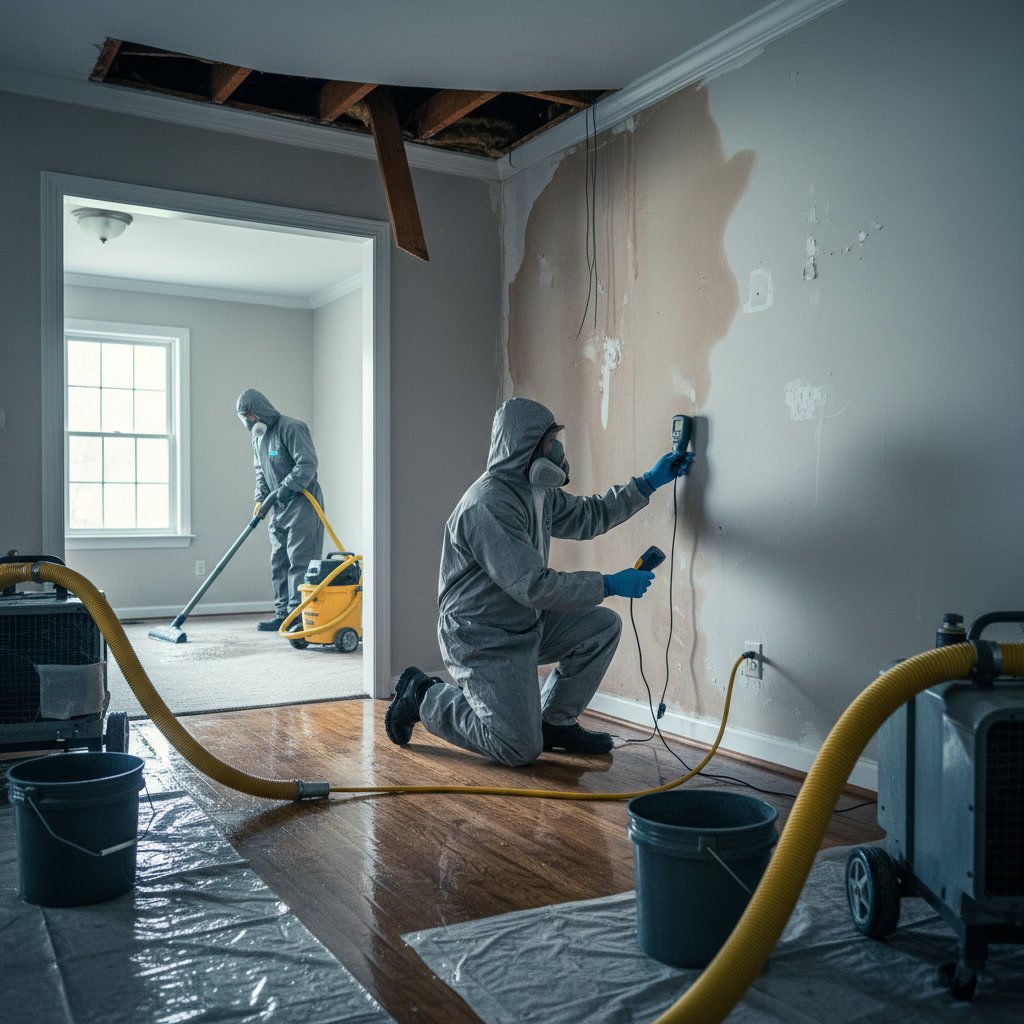
Hidden moisture is the most dangerous element of water damage. Water travels through wall cavities, under flooring systems, and into insulation where visual inspection cannot detect it. Professional restoration teams use thermal imaging cameras and moisture meters to map the full extent of saturation, ensuring no affected area goes untreated.
The Emergency Contact and Initial Response
When you contact a restoration service, the first conversation establishes critical details: the water source, affected areas, duration of exposure, and any immediate safety concerns. This information determines response priority and equipment needs. For active leaks, the first step is always source control, whether that means shutting off water supply lines, covering roof damage, or extracting standing water.
Most professional services arrive within two to four hours of initial contact for emergency situations. The initial visit focuses on damage containment and safety assessment. Technicians identify electrical hazards, structural risks, and contamination levels before beginning any restoration work.
Comprehensive Inspection and Moisture Mapping
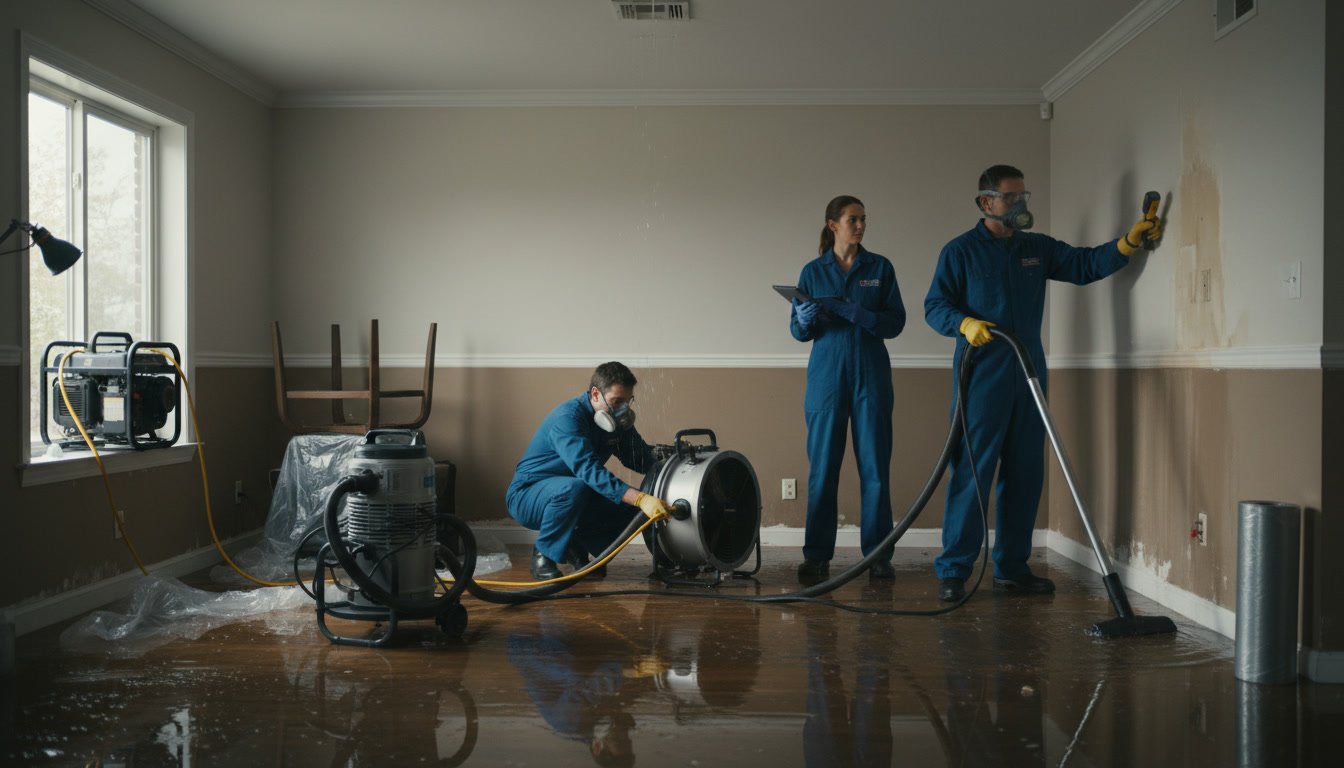
The formal inspection documents every affected surface and material. Technicians measure moisture content in walls, ceilings, and floors using pin-type and non-invasive moisture meters. Readings above 15 percent in wood and above 1 percent in drywall indicate saturation requiring intervention. Infrared cameras reveal temperature differentials that expose hidden moisture pockets behind finished surfaces.
This phase produces a detailed scope of work and moisture map. The documentation specifies which materials can be dried and saved versus those requiring removal and replacement. Insurance claims depend heavily on this initial assessment, so thoroughness at this stage protects both the property owner and the restoration contractor.
Water Extraction and Removal
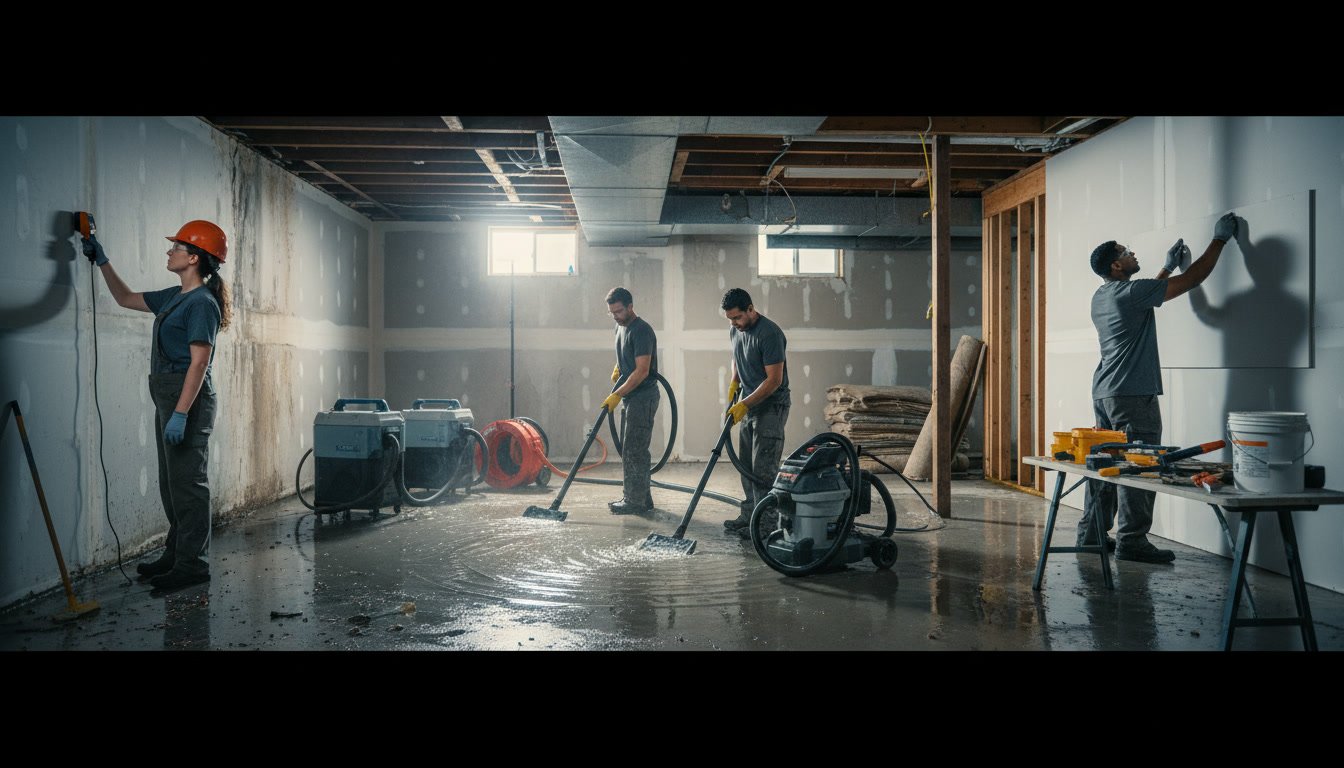
Standing water removal begins with truck-mounted or portable extraction units. Carpet and pad receive specialized extraction that removes water from deep fibers and backing. Hard surface floors are squeegeed and vacuumed. The goal is reducing moisture content to levels where air movement can finish the drying process.
For significant flooding, extraction can remove hundreds of gallons within the first hour. Speed matters because every gallon removed mechanically is one less gallon that must evaporate through air drying, which takes exponentially longer and increases secondary damage risk.
Structural Drying and Dehumidification
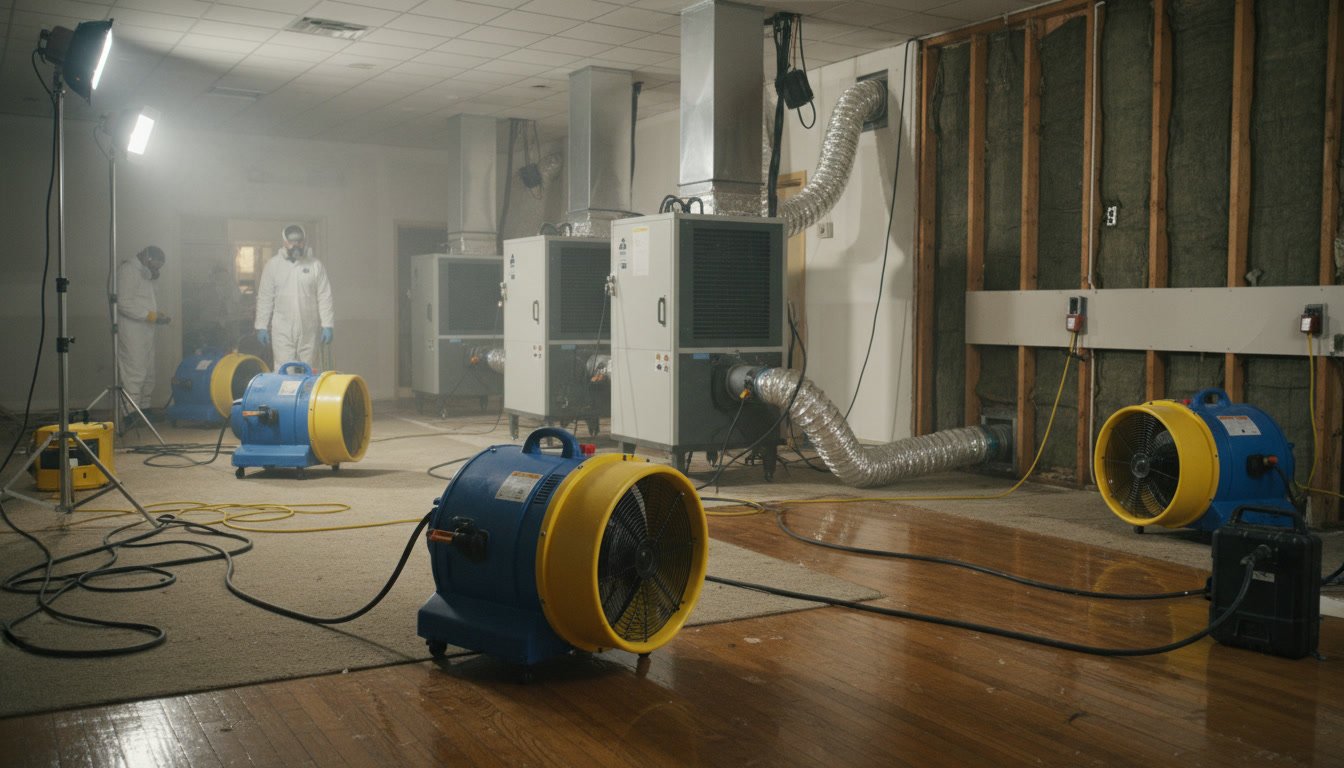
After extraction, industrial air movers and dehumidifiers create controlled drying conditions. Air movers are positioned to maximize airflow across wet surfaces and through wall cavities. Dehumidifiers remove moisture from the air, preventing it from reabsorbing into materials. The equipment runs continuously, typically for three to seven days depending on initial saturation levels and environmental conditions.
Drying is monitored with daily moisture readings. Technicians adjust equipment placement and settings based on progress. Proper drying follows specific industry standards: materials must reach their dry standard moisture content, not just feel dry to the touch. Wood framing should reach 12 to 15 percent moisture content, and drywall should drop below 1 percent before restoration work begins.
Removal of Damaged Materials
Materials that cannot be effectively dried or have been contaminated beyond cleaning must be removed. This often includes soaked insulation, swollen drywall, delaminated flooring, and compromised trim. The removal process is surgical, taking only what is necessary while preserving salvageable adjacent materials.
Category 3 water damage, which involves sewage or floodwater, requires more aggressive removal. Porous materials exposed to contaminated water are removed to a height of 12 to 24 inches above the visible water line to ensure complete elimination of contaminants. This conservative approach protects occupant health and prevents future odor and mold issues.
Cleaning, Sanitizing, and Odor Control
All affected surfaces receive thorough cleaning with antimicrobial solutions. Hard surfaces like framing, subfloors, and concrete are treated to prevent microbial growth. HEPA vacuuming removes fine particulates and potential mold spores. For significant contamination, foggers disperse antimicrobial agents into wall cavities and hard-to-reach spaces.
Odor control uses a combination of cleaning, ventilation, and sometimes ozone treatment or hydroxyl generators. Simply masking odors with deodorizers does not address the source. Professional odor elimination targets the organic materials causing the smell, whether that is trapped moisture, bacterial growth, or decomposing materials.
Structural Repairs and Rebuilding in Wappingers
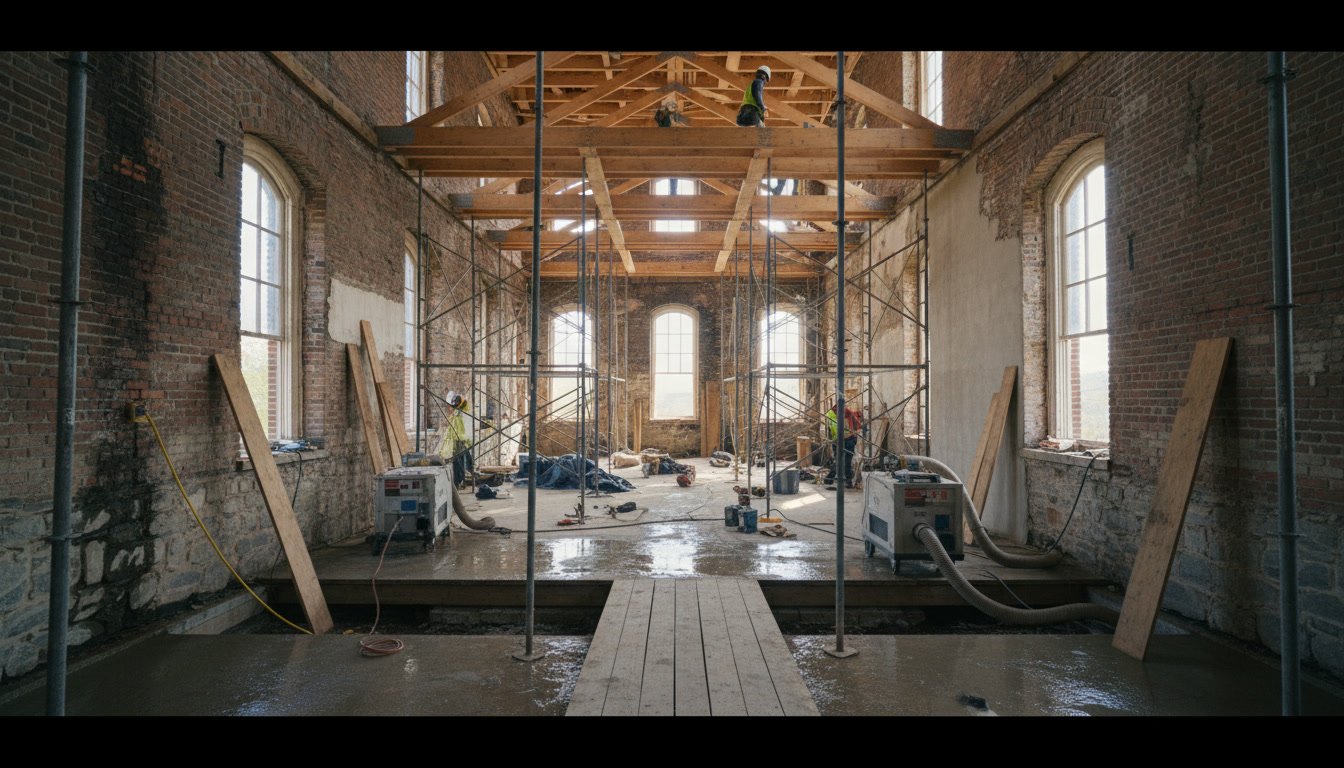
Once drying is verified and cleaning is complete, reconstruction begins. This phase mirrors new construction but focuses on matching existing finishes and integrating new materials with old. Drywall installation fills gaps where damaged sections were removed. Framing repairs address any structural elements compromised by prolonged moisture exposure.
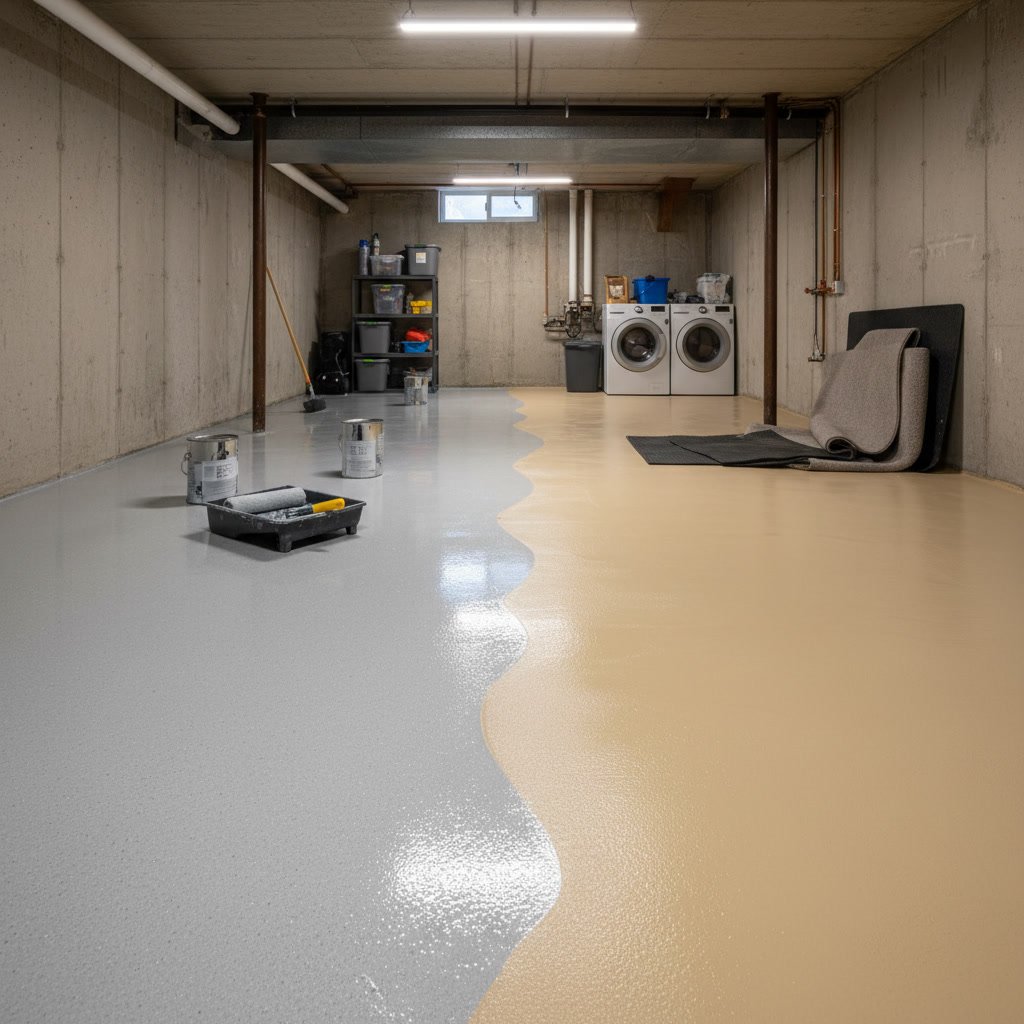
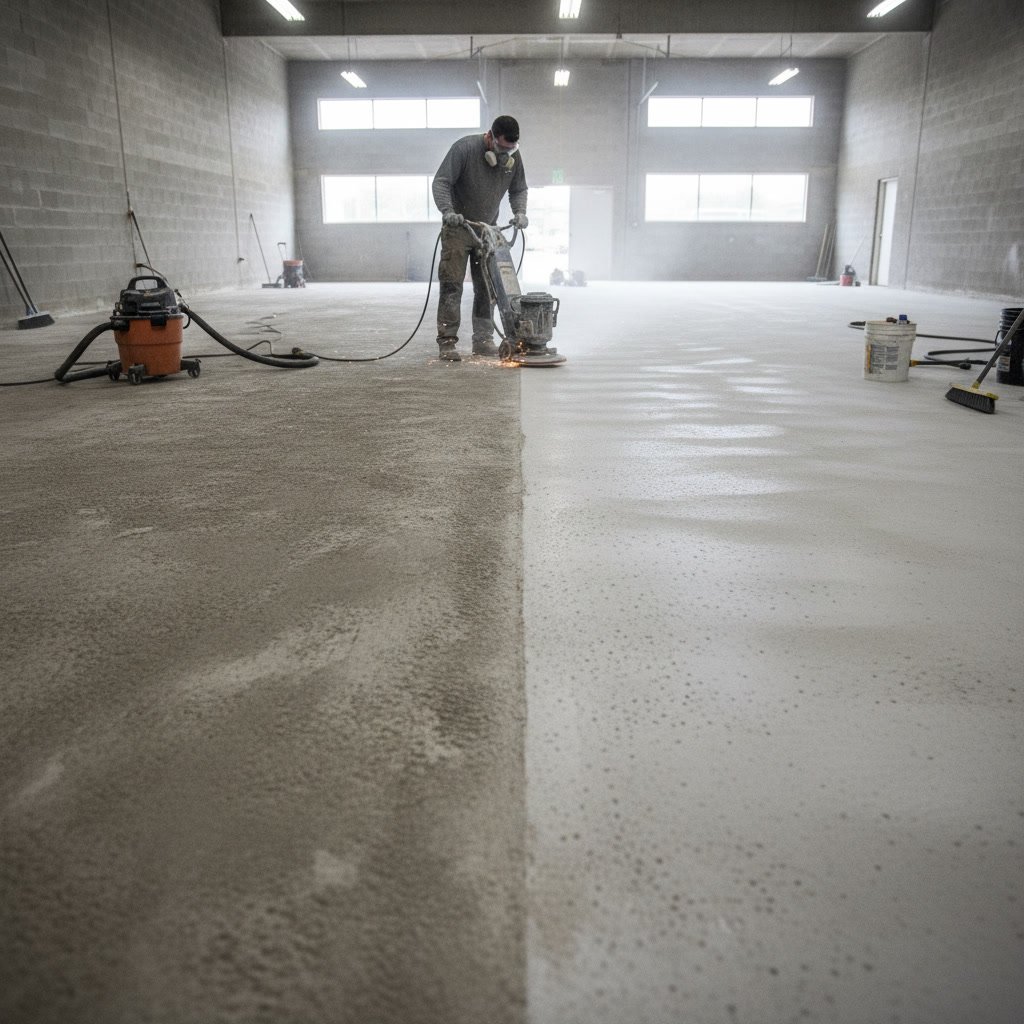
Subfloor replacement is common in water damage restoration, especially when flooring has been removed. New plywood or OSB is installed, ensuring proper fastening and levelness before finish flooring goes down. If water damage restoration services extend into basement spaces, concrete floors may require surface preparation before new coatings or coverings are applied.
Homeowners who have experienced water damage sometimes discover additional needs during reconstruction. If you’re planning updates beyond simple restoration, understanding related processes helps with planning. For example, many property owners choose to address wall texture issues or outdated finishes during the rebuild phase.
Final Finishing and Painting
The restoration concludes with finish work that returns the space to pre-loss condition or better. New drywall receives tape, joint compound, and sanding to create smooth, paint-ready surfaces. Primer seals new materials and blocks any residual staining or odors from bleeding through the finish coat.
Interior house painting completes the visual restoration. Matching existing paint colors requires careful sampling or working from the homeowner’s original paint information. Experienced painters blend new sections seamlessly with surrounding areas, feathering edges so transitions disappear. Two finish coats ensure durability and uniform appearance.
Trim, baseboards, and casings are reinstalled or replaced as needed. Flooring installation finishes the project, whether that involves laying new carpet, refinishing hardwood, or installing resilient flooring. Final walkthrough ensures every detail meets quality standards and the homeowner’s expectations.
Step-by-Step Timeline for a Typical Restoration Project
Understanding the restoration timeline helps property owners plan temporary accommodations and coordinate with insurance adjusters. Here is a typical sequence for moderate water damage affecting two rooms:
- Day 1: Emergency response, inspection, water extraction, and equipment setup. Affected areas are contained with plastic barriers to isolate drying zones.
- Days 2-4: Active drying with daily monitoring. Equipment runs continuously. Moisture readings are recorded to track progress.
- Day 5: Drying verification confirms materials have reached dry standards. Equipment is removed. Final moisture documentation is compiled.
- Days 6-7: Demolition of unsalvageable materials, cleaning, and antimicrobial treatment. The space is prepared for reconstruction.
- Days 8-10: Framing repairs, drywall installation, taping, and first coats of joint compound.
- Days 11-12: Final drywall finishing, sanding, and priming. Any subfloor or structural work is completed.
- Days 13-14: Painting, trim installation, and final finishes. Final walkthrough and project closeout.
More extensive damage extends this timeline proportionally. A whole-house flood may require four to six weeks from initial response to completion, especially if multiple trades are involved or materials require special ordering.
Documentation and Insurance Coordination Throughout the Process
Professional restoration companies document every phase with photographs, moisture readings, equipment logs, and daily progress notes. This documentation serves multiple purposes: it justifies the scope of work to insurance carriers, protects the contractor from liability disputes, and provides the property owner with a complete record of the restoration.
Insurance coordination begins during the initial inspection. Many restoration companies work directly with adjusters, providing detailed estimates and supporting documentation for claims. Understanding what your policy covers and what requires out-of-pocket payment prevents surprises during billing. Depreciation, deductibles, and coverage limits all affect final costs, so early clarity with your insurance representative is essential.
The contractor should provide itemized invoicing that separates emergency services, drying, demolition, and reconstruction costs. This transparency allows insurance companies to process claims efficiently and gives property owners clear insight into where their money is going.
Protecting Your Home With Experienced Restoration Professionals
Water damage restoration demands technical knowledge, specialized equipment, and careful attention to industry standards. Cutting corners during drying or skipping antimicrobial treatment creates long-term problems that surface months after the work appears complete. Choosing experienced professionals ensures the job is done right the first time, protecting your investment and your family’s health.
JJv2 Interior House Painter Dutchess County LLC provides comprehensive water damage restoration services throughout Dutchess County. With over 20 years of hands-on experience, owner Richard Rivera and his team handle every phase from emergency response through final finishing. The company’s detail-driven approach ensures moisture is completely eliminated, repairs meet structural standards, and finish work restores your home’s appearance and comfort.
If your home has experienced water damage or you need restoration services in Wappingers, Fishkill, or surrounding areas, contact JJv2 Interior House Painter Dutchess County LLC at +1 (845) 379-3306. The team responds quickly to assess damage, develop a restoration plan, and guide you through every step of the recovery process.