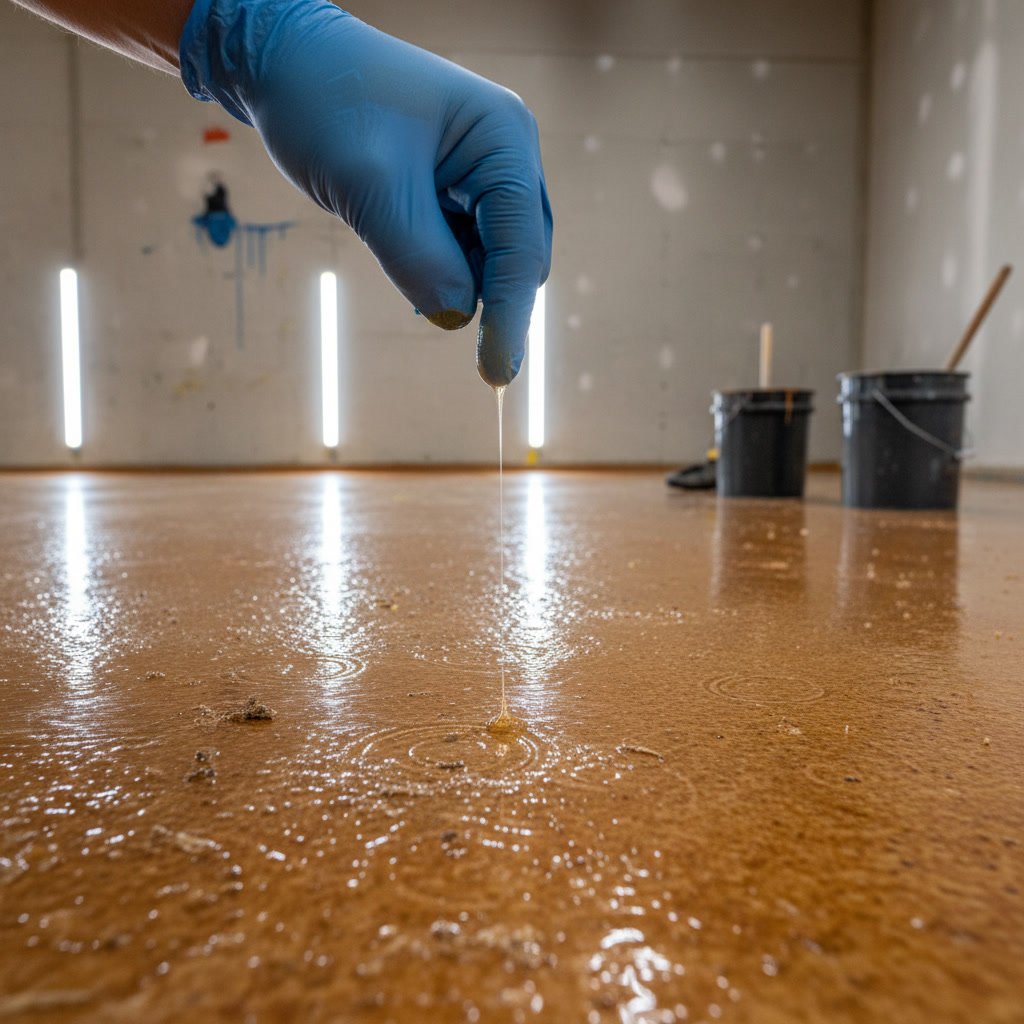
Successfully applying epoxy to concrete requires thorough surface preparation that removes contaminants, opens the pores, and creates the right profile for adhesion. If you skip or rush the prep work when you prepare concrete for epoxy, the coating will fail prematurely through peeling, bubbling, or delamination. The difference between a floor that lasts two years and one that holds up for 20 years comes down to what happens before the first drop of epoxy touches the surface.
Why Surface Preparation Determines Coating Longevity
Epoxy bonds mechanically to concrete, not chemically. The coating grips into the tiny valleys and pores of the surface. When those pores are clogged with dust, oil, curing compounds, or old sealers, the epoxy sits on top rather than locking in. Within months, traffic and moisture lift the coating away from the substrate.
Professional applicators know that 80% of epoxy failures trace back to inadequate preparation. A smooth, glazed, or contaminated surface offers no anchor points. Even if the concrete looks clean to the naked eye, invisible residues from form oils, hardeners, or previous treatments block adhesion.
Evaluating Your Concrete Before You Start
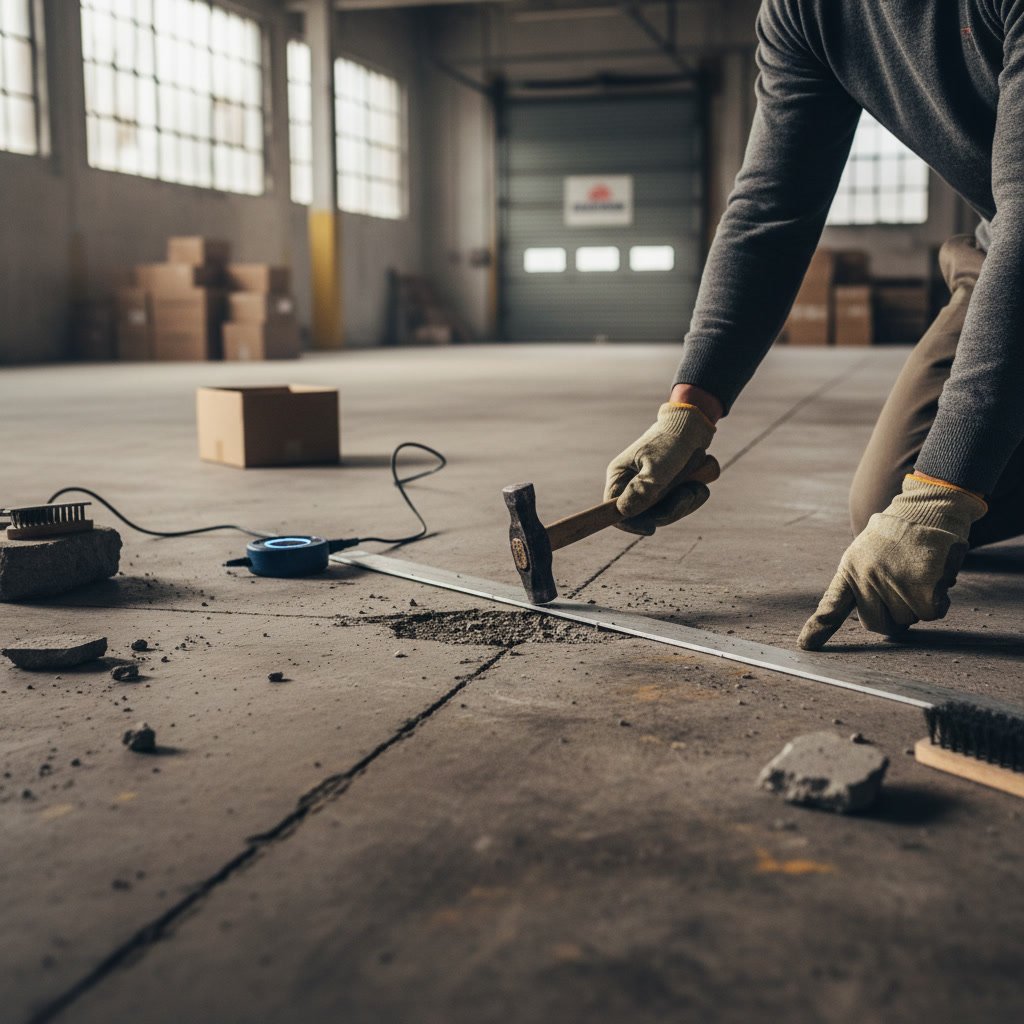
Before any cleaning or grinding, assess the slab’s condition. Check for cracks wider than one-eighth inch, spalling, or areas where the surface flakes under pressure. Look for moisture issues by taping a two-foot square of plastic sheeting to the floor and leaving it for 24 hours. Condensation underneath signals a moisture problem that will cause epoxy to bubble and fail.
Test the surface hardness by scratching it with a coin or screwdriver. If the concrete powders easily or shows significant wear, it may need a bonding primer or repair before coating. Older slabs in basements or garages often have weaker top layers that require mechanical profiling to reach sound material underneath.
Removing Oil, Grease, and Chemical Contaminants
Oil stains penetrate deep into concrete’s porous structure. Surface cleaning alone will not extract embedded petroleum. Start by applying a degreasing detergent specifically formulated for concrete, scrubbing with a stiff brush, and allowing dwell time for the cleaner to break down the oils. Rinse thoroughly with water and a wet vacuum.
For stubborn stains, use a poultice made from an absorbent material mixed with a strong degreaser. Spread it over the stain, cover with plastic, and let it sit for 24 hours. The poultice draws oil to the surface as it dries. You may need to repeat this process two or three times on heavily contaminated areas.
After degreasing, perform a water break test by sprinkling water on the surface. If the water beads up instead of soaking in, contamination remains. Continue cleaning until water absorbs evenly across the entire floor.
Mechanical Profiling Methods That Work
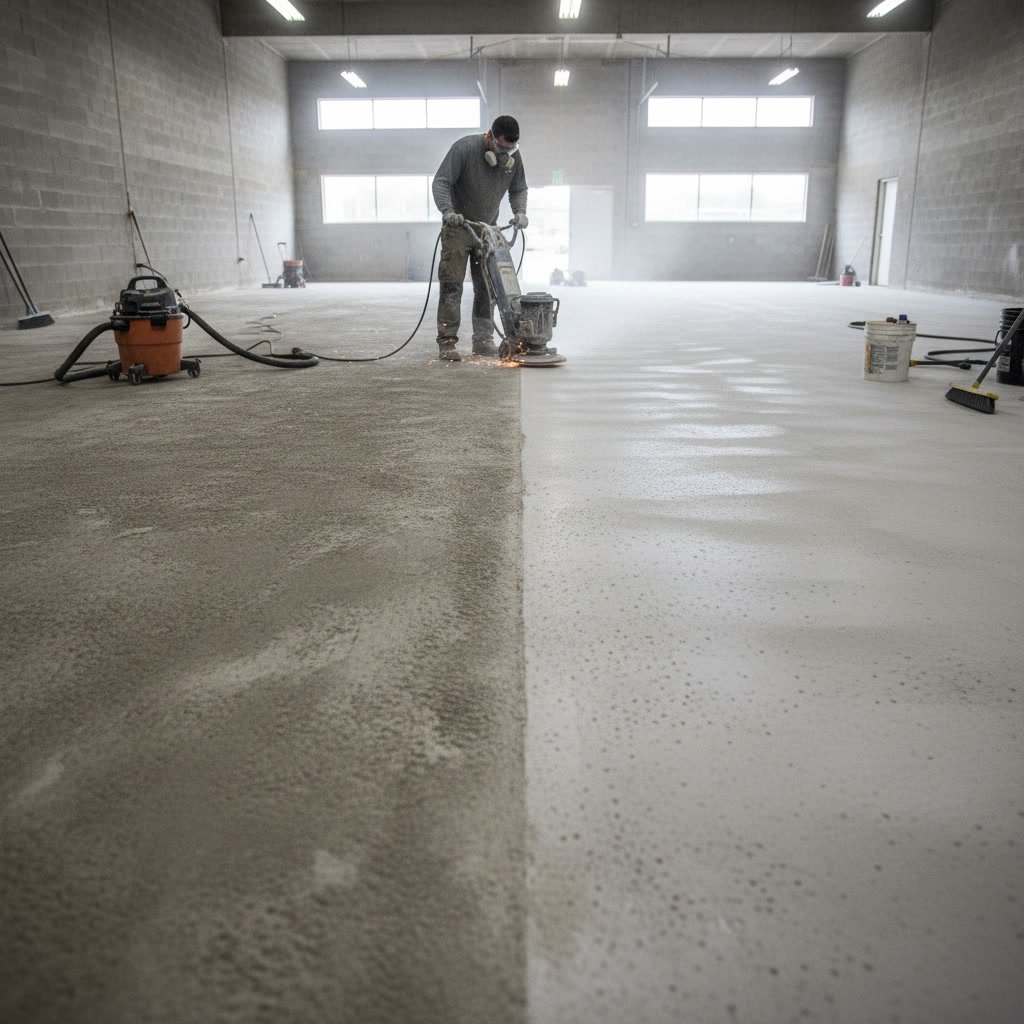
Grinding creates the ideal surface profile for epoxy adhesion. A concrete grinder equipped with diamond segments removes the top layer of cement paste, exposes aggregate, and opens pores. For residential garages and basements, a single-head walk-behind grinder with 30 or 40 grit metal-bonded diamonds handles most jobs efficiently.
Shot blasting offers another option, using steel shot propelled at high velocity to texture the surface. This method works well on larger commercial floors but requires specialized equipment. Acid etching with muriatic acid is cheaper but less reliable. It creates an uneven profile, leaves residues that interfere with bonding, and poses safety hazards during application and disposal.
Grind until you achieve a profile similar to 80-grit sandpaper. The concrete should feel rough to the touch, with fine aggregate visible and no smooth or shiny patches. Skip any areas and you create weak spots where the epoxy will eventually lift.
Repairing Cracks and Surface Defects in Wappingers Homes
Cracks transmit movement and moisture that compromise epoxy coatings. Narrow cracks under one-eighth inch can be filled with a low-viscosity epoxy crack filler that wicks into the gap. Wider cracks require routing with a grinder to create a V-shaped channel, then filling with a flexible polyurea or epoxy patching compound.
Spalled or pitted areas need full-depth repair. Remove all loose material, clean the cavity thoroughly, and apply a bonding agent before filling with a polymer-modified cementitious patch. Feather the edges so the repair blends flush with the surrounding surface. Allow patch materials to cure fully according to manufacturer specifications before proceeding.
If your concrete shows extensive damage from freezing cycles or water intrusion, consider consulting professionals who offer water damage restoration services to address underlying issues before coating.
Dust Removal and Final Surface Cleaning
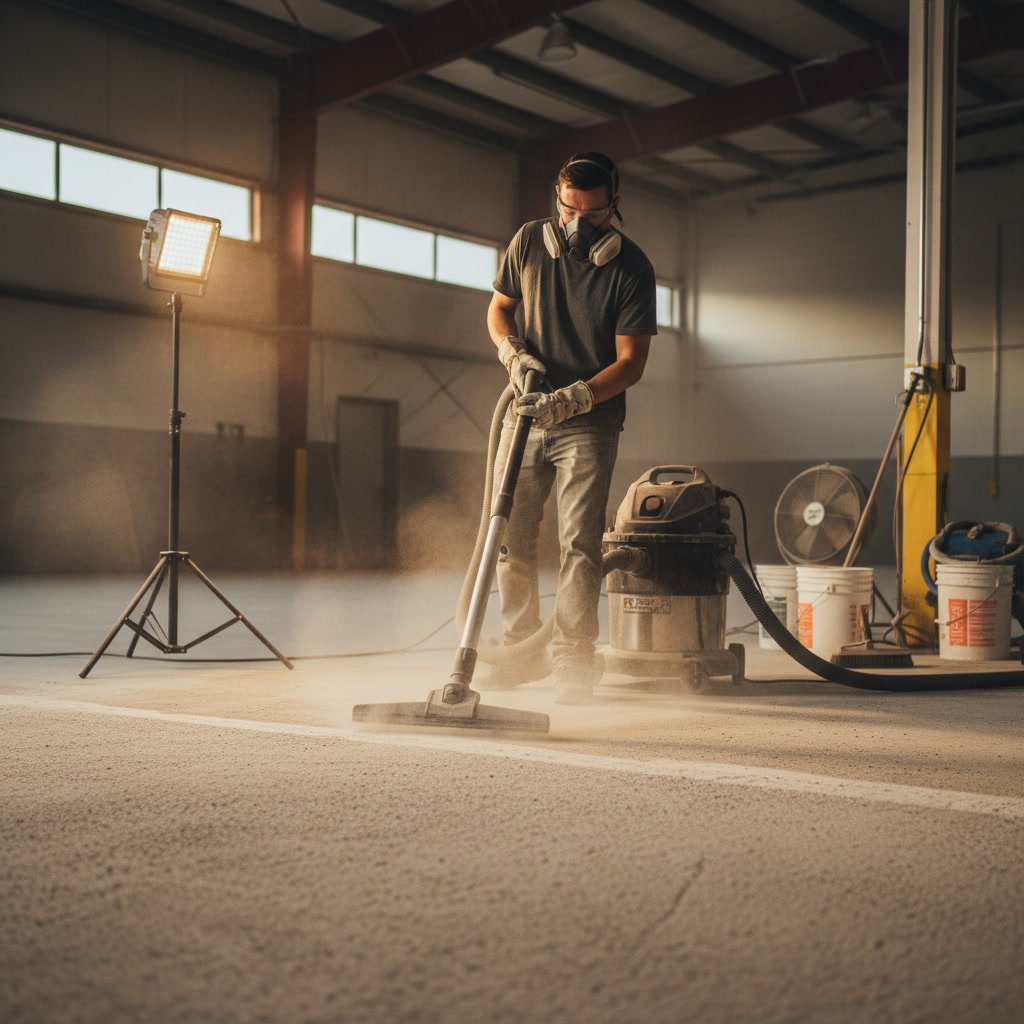
Grinding generates enormous amounts of fine dust that settles into every crack and corner. This dust prevents epoxy from contacting the concrete directly. Sweep the entire floor, then vacuum with a HEPA-filtered shop vacuum, paying special attention to edges, control joints, and any textured areas.
After vacuuming, damp mop the floor with clean water to capture remaining dust particles. Allow the surface to dry completely before coating. In humid conditions, this may take 24 hours or longer. Use fans to improve air circulation and speed drying.
Run your hand across the dried floor. If you feel grit or see dust on your palm, clean again. Any remaining particles will show up as bumps or imperfections in the finished coating.
Moisture Testing Before Application
Moisture vapor transmission ruins epoxy floors. Even if the surface feels dry, water vapor moving up through the slab creates pressure that debonds the coating. Perform a calcium chloride test, which measures the rate of moisture emission over 60 to 72 hours. Most epoxy manufacturers specify a maximum emission rate of three pounds per 1,000 square feet per 24 hours.
Alternatively, use a concrete moisture meter that measures relative humidity inside the slab. Drill test holes to 40% of the slab depth, insert probes, and allow them to equilibrate for 24 hours before reading. If relative humidity exceeds 75%, you need a moisture mitigation system before applying epoxy.
Homes built on slabs without vapor barriers often fail moisture tests. In such cases, use a moisture-tolerant epoxy primer or install a separate vapor barrier coating before the topcoat.
Temperature and Humidity Conditions for Success
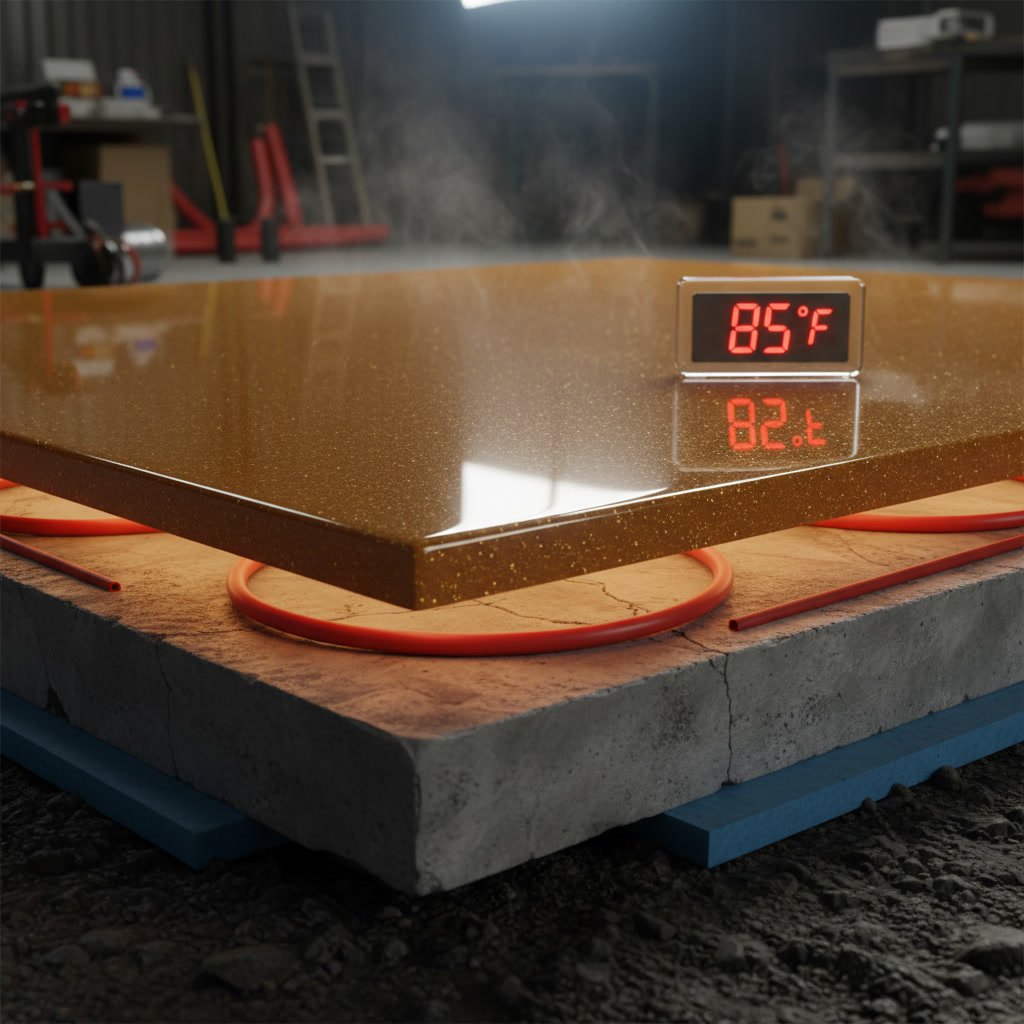
Epoxy chemistry depends on precise temperature ranges. Apply coatings when the concrete temperature is between 50 and 90 degrees Fahrenheit, and at least five degrees above the dew point. If the surface is too cold, the epoxy won’t cure properly. If condensation forms, the coating will turn cloudy and lose adhesion.
Use an infrared thermometer to check surface temperature in multiple locations. Concrete near exterior walls or over unheated crawlspaces may be significantly cooler than the center of the room. Humidity should stay below 85% during application and initial cure.
Avoid coating during rapid temperature swings or when rain is forecast within 24 hours of application. These conditions introduce variables that compromise the cure and final performance.
Surface Profile Standards and Testing
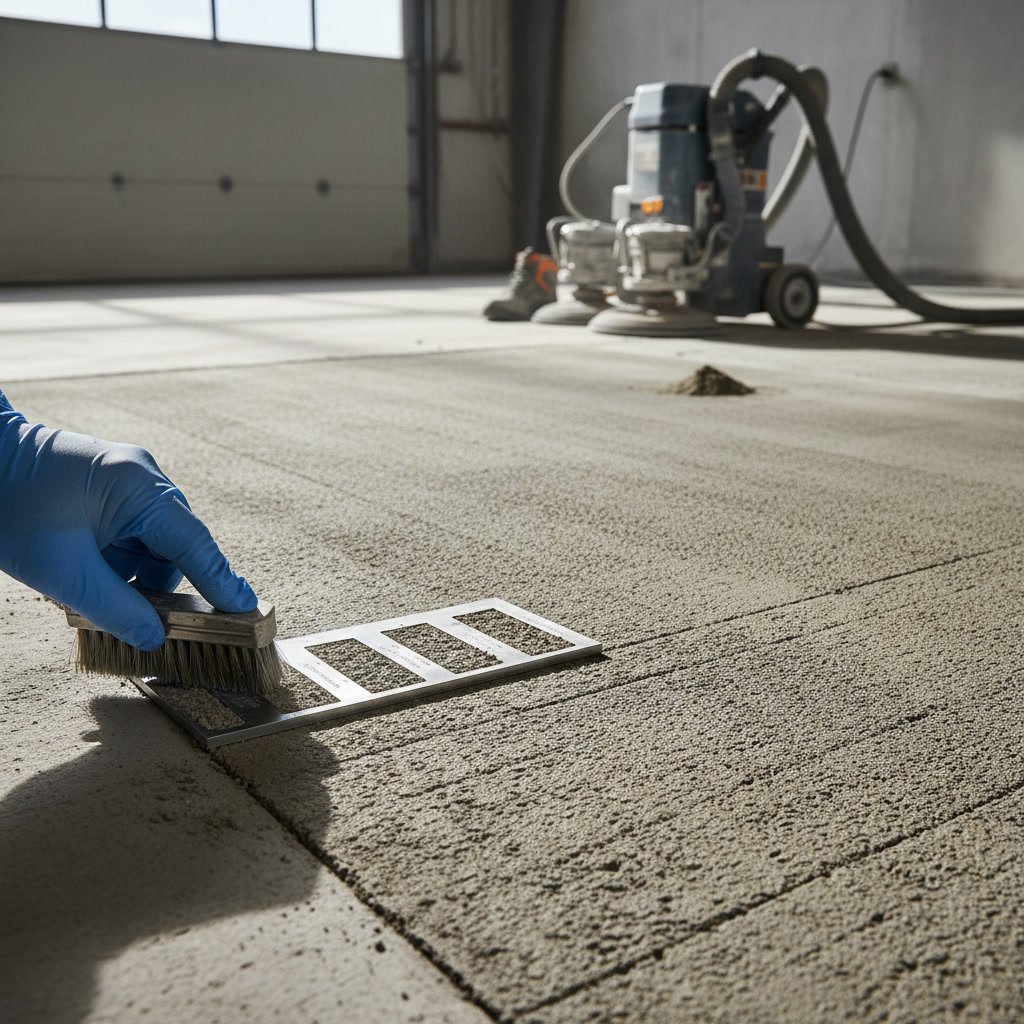
The International Concrete Repair Institute defines concrete surface profiles ranging from CSP 1 (nearly smooth) to CSP 9 (very rough). Most epoxy coatings require CSP 2 to CSP 3, equivalent to 60 to 80 grit sandpaper. This profile provides enough tooth for mechanical bonding without creating deep valleys that trap air or require excessive coating thickness.
Check your profile using a replica putty or visual comparator. Press the putty firmly onto the prepared surface, peel it away, and compare the impression to standard reference chips. If the profile is too shallow, grind again with more aggressive tooling. If too deep, apply a scratch coat of thinned epoxy to fill the valleys before the full coat.
Consistency matters as much as depth. An uneven profile creates varying mil thicknesses across the floor, leading to color variations, cure differences, and weak spots.
Priming Strategies for Different Concrete Ages
New concrete under 28 days old retains alkalinity and moisture that interfere with standard epoxy. If you must coat early, use a primer specifically formulated for green concrete. These products tolerate higher pH and moisture levels while still creating a bond to the substrate.
Older concrete with a tight, hard surface benefits from a penetrating primer that soaks into the pores and acts as a bonding bridge. Low-viscosity epoxy primers wick several millimeters into the surface, filling microcracks and strengthening weak top layers.
For slabs with minor dusting or low tensile strength, consider a primer with added aggregate or a two-part bonding agent. These products reinforce the surface and reduce the risk of delamination under traffic loads.
Putting Professional Preparation Into Practice
Proper preparation transforms a marginal DIY project into a professional-grade installation. The steps outlined above require time, specialized equipment, and attention to detail. Homeowners in Fishkill, Beacon, and surrounding areas often find that hiring experienced contractors saves money compared to redoing a failed coating.
Professional teams bring commercial-grade grinders, dust extraction systems, and moisture testing equipment that ensure consistent results. They also carry liability insurance that protects your property if something goes wrong during surface prep. When you compare the cost of renting equipment, buying materials, and investing your own labor against the value of guaranteed performance, the equation often favors professional installation.
JJv2 Interior House Painter Dutchess County LLC has prepared and coated hundreds of concrete floors across the Hudson Valley. Our team understands how local climate conditions, typical construction methods, and regional concrete mixes affect preparation requirements. We assess each floor individually, adjust our approach based on what we find, and deliver coatings that hold up to the demands of daily use.
Whether you need a durable garage floor, a moisture-resistant basement coating, or a decorative epoxy finish for your workshop, the foundation of success lies in thorough preparation. Our epoxy floor painting services start with the same meticulous prep work described in this guide, ensuring every project meets professional standards. Contact us at +1 (845) 379-3306 to schedule an evaluation and get a detailed estimate for your concrete coating project.