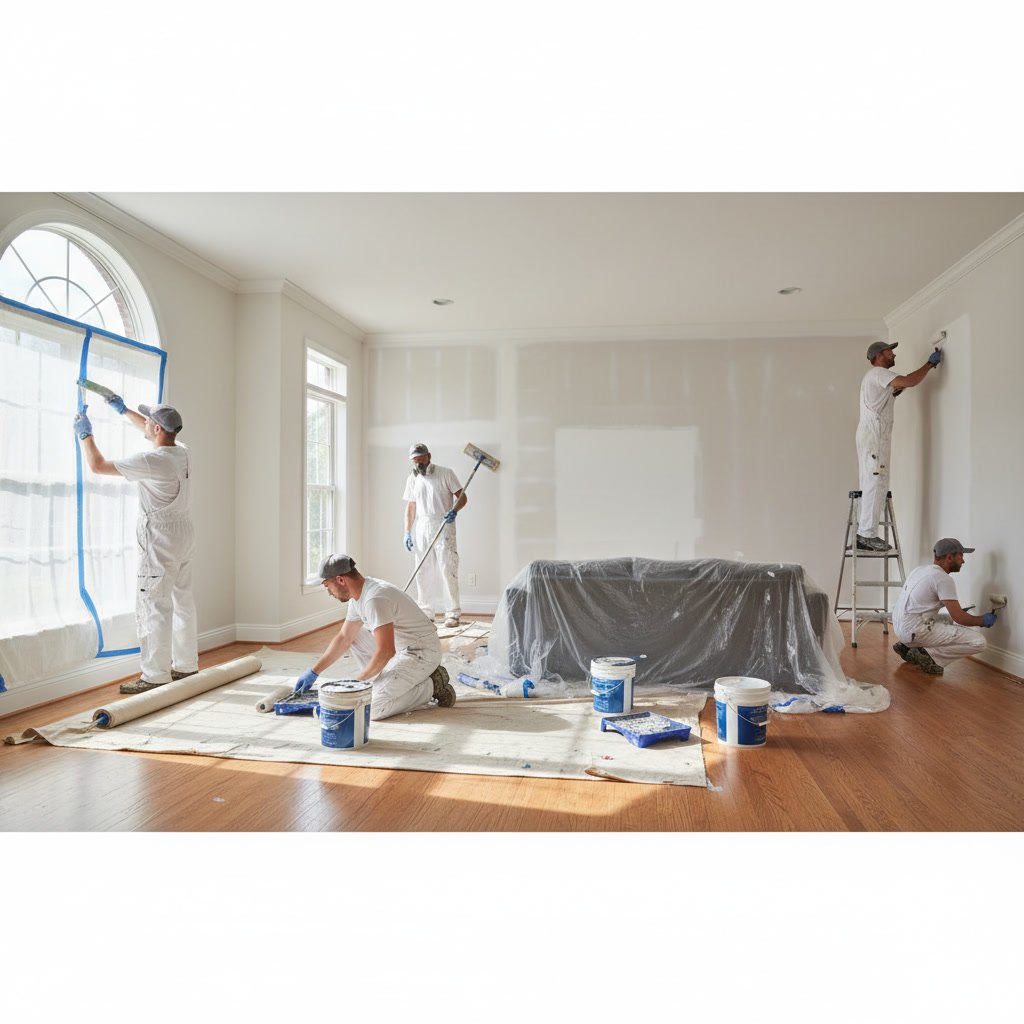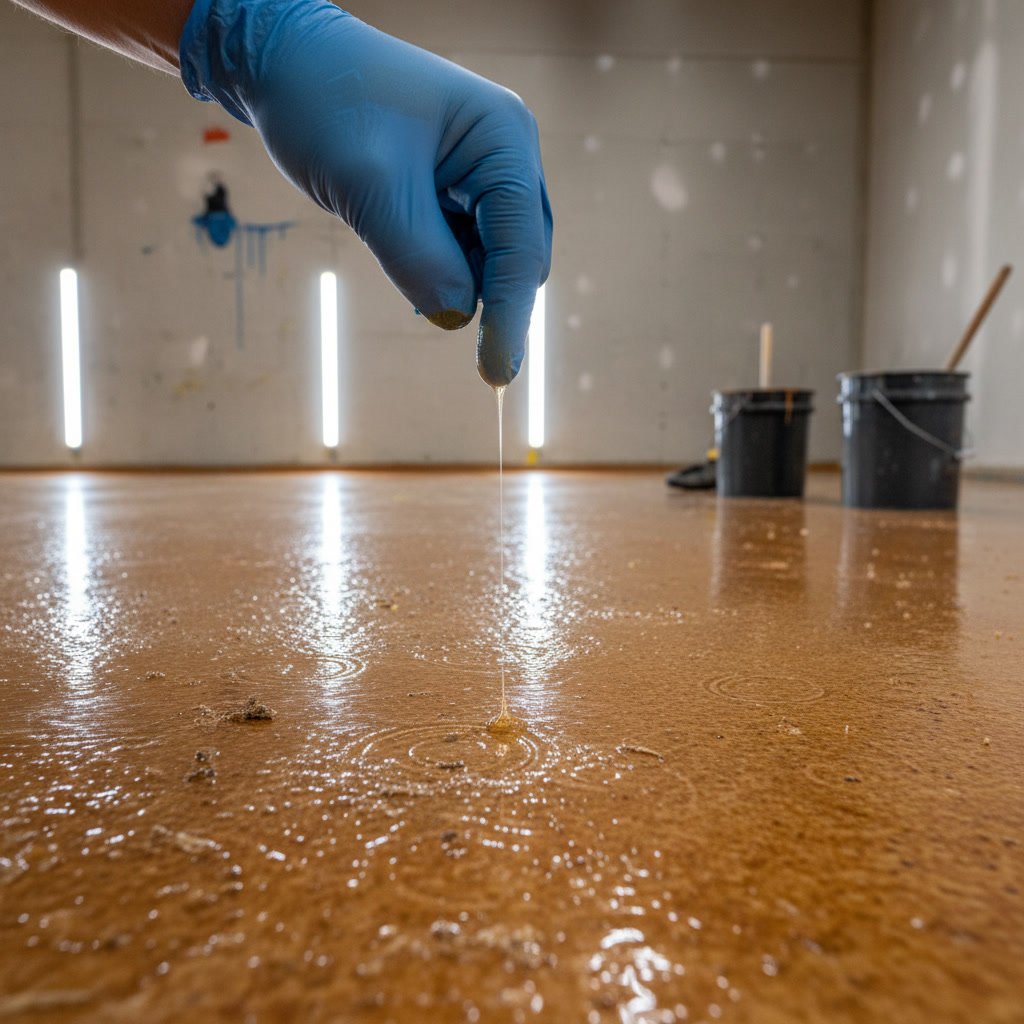
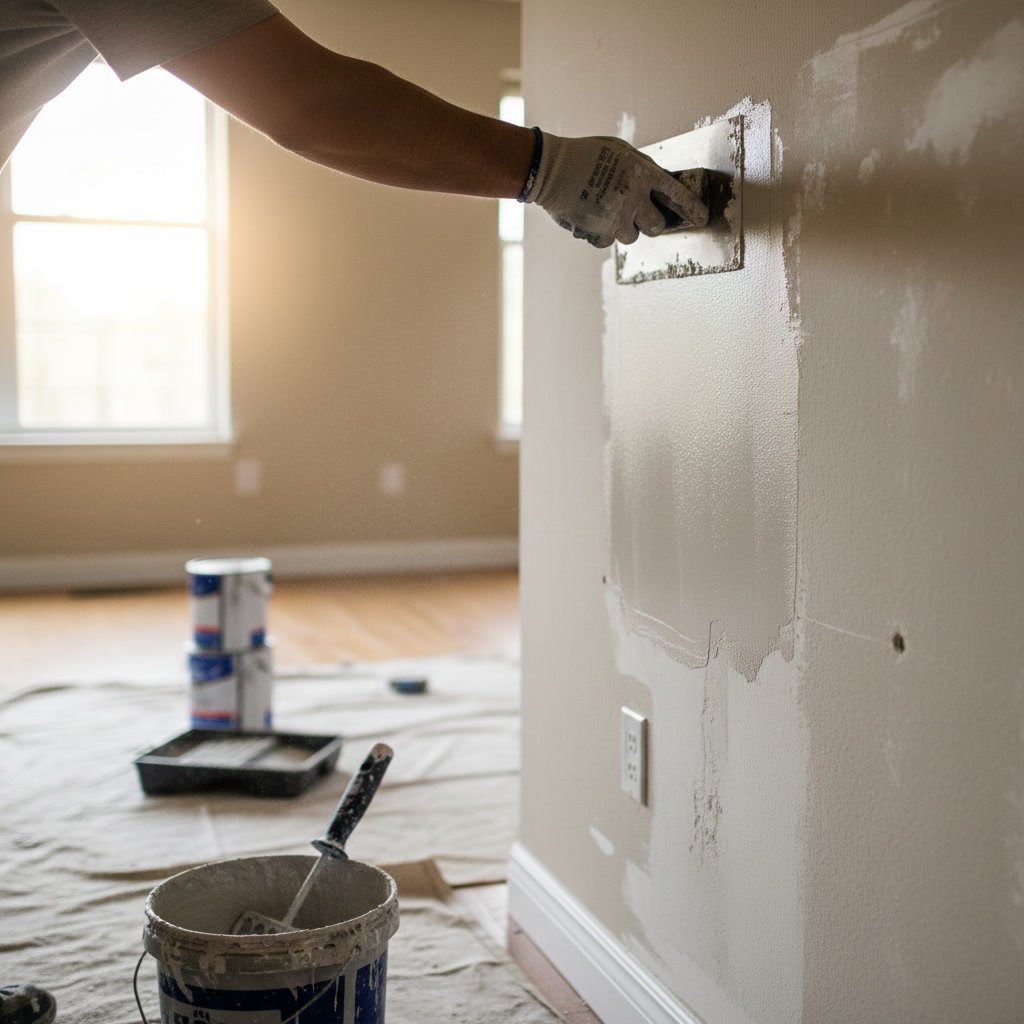
Walls that look rough, uneven, or damaged often need more than just a fresh coat of paint. Skim coating before painting creates a smooth, uniform surface that helps paint adhere properly and produces a professional finish. Without it, imperfections telegraph through even premium paint, leaving visible bumps, ridges, and shadows. You can spot the need for skim coating by running your hand across the wall, inspecting under angled light, and checking for specific damage patterns that standard sanding cannot fix.
Why Wall Texture Matters More Than Most Homeowners Realize
Paint amplifies rather than hides surface flaws. A high-gloss or semi-gloss finish will reveal every dent, joint line, and texture irregularity. Even flat and eggshell paints show imperfections when natural light hits the wall at an angle during morning or evening hours. Builders often leave drywall with visible seams, trowel marks, or an orange-peel texture that looks acceptable under construction lighting but stands out once furniture and art go on the walls.
The difference between a builder-grade finish and a premium interior becomes obvious when you compare walls side by side. Homes built quickly or renovated on tight budgets often skip the skim coat step entirely, leaving homeowners to discover the problem only after the first repaint fails to deliver the smooth look they expected.
What Skim Coating Actually Does to Your Walls
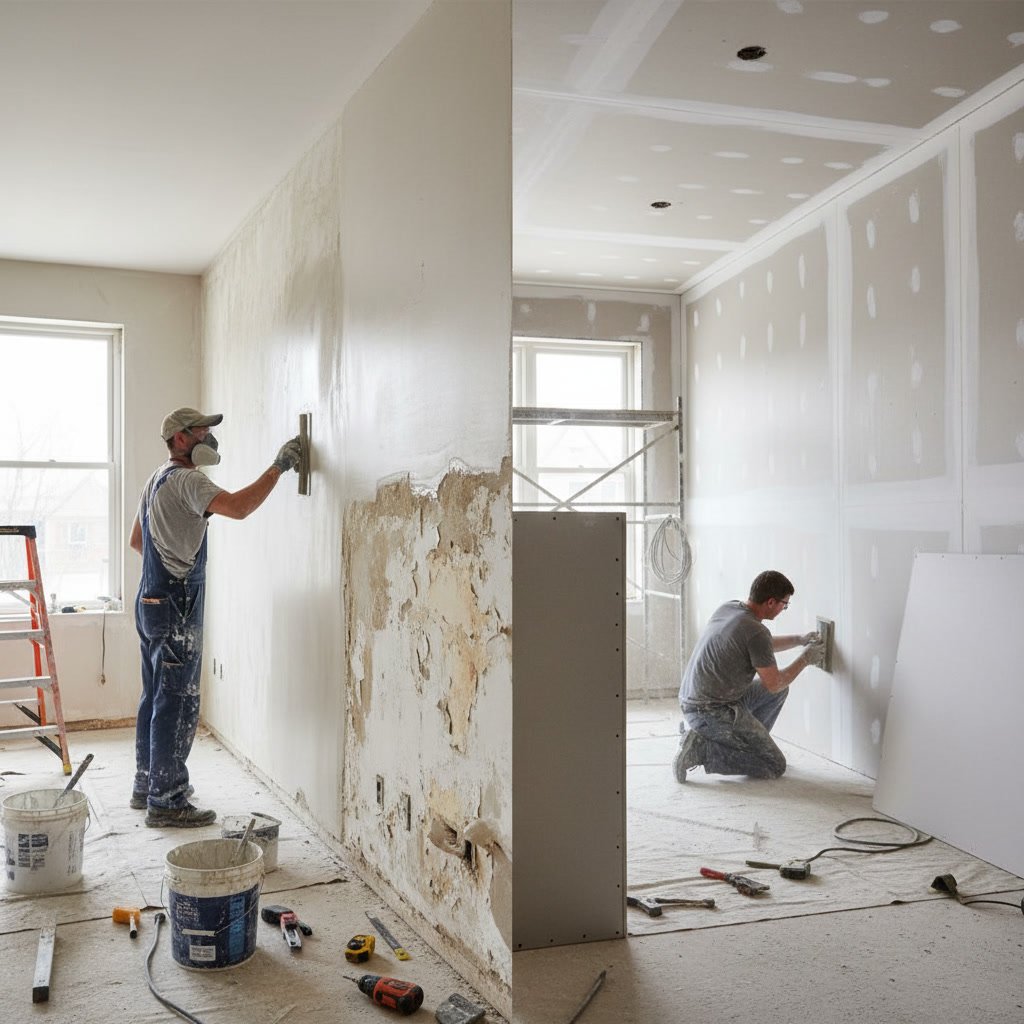
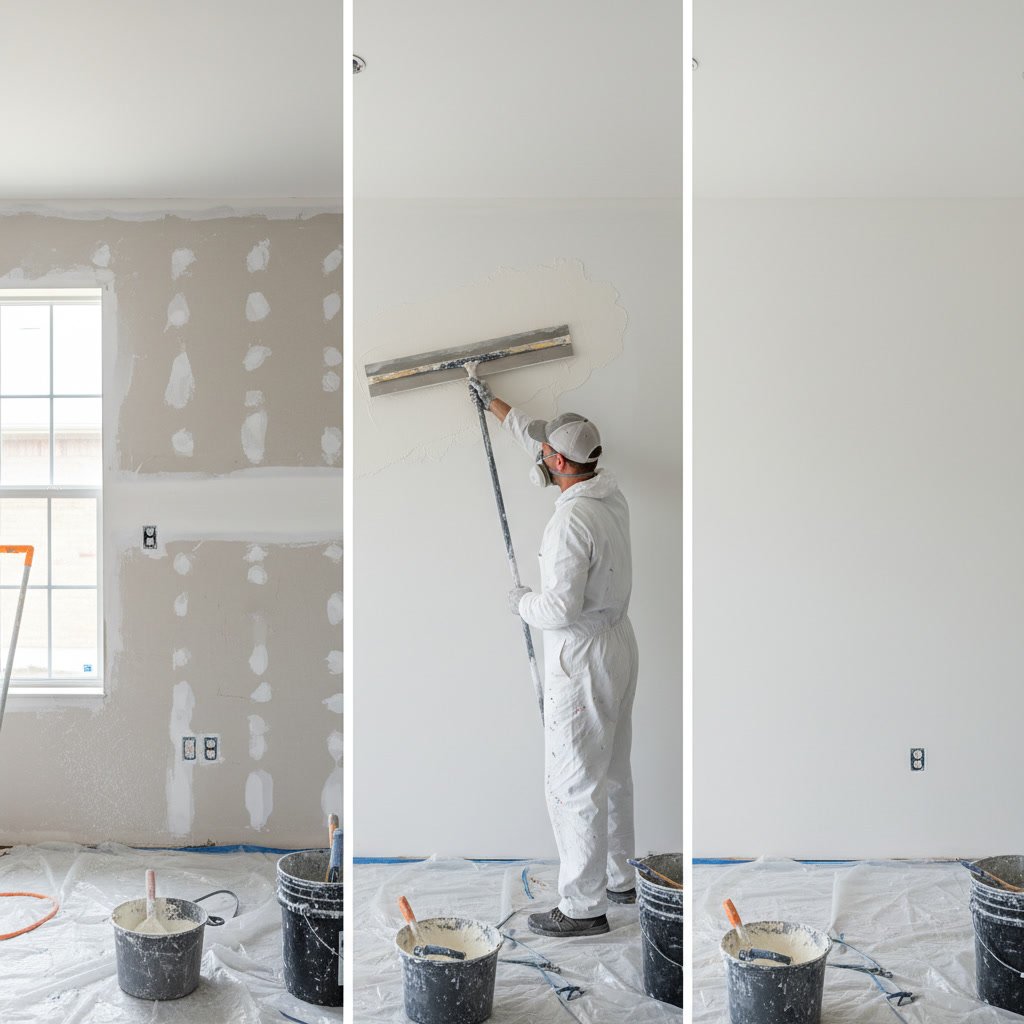
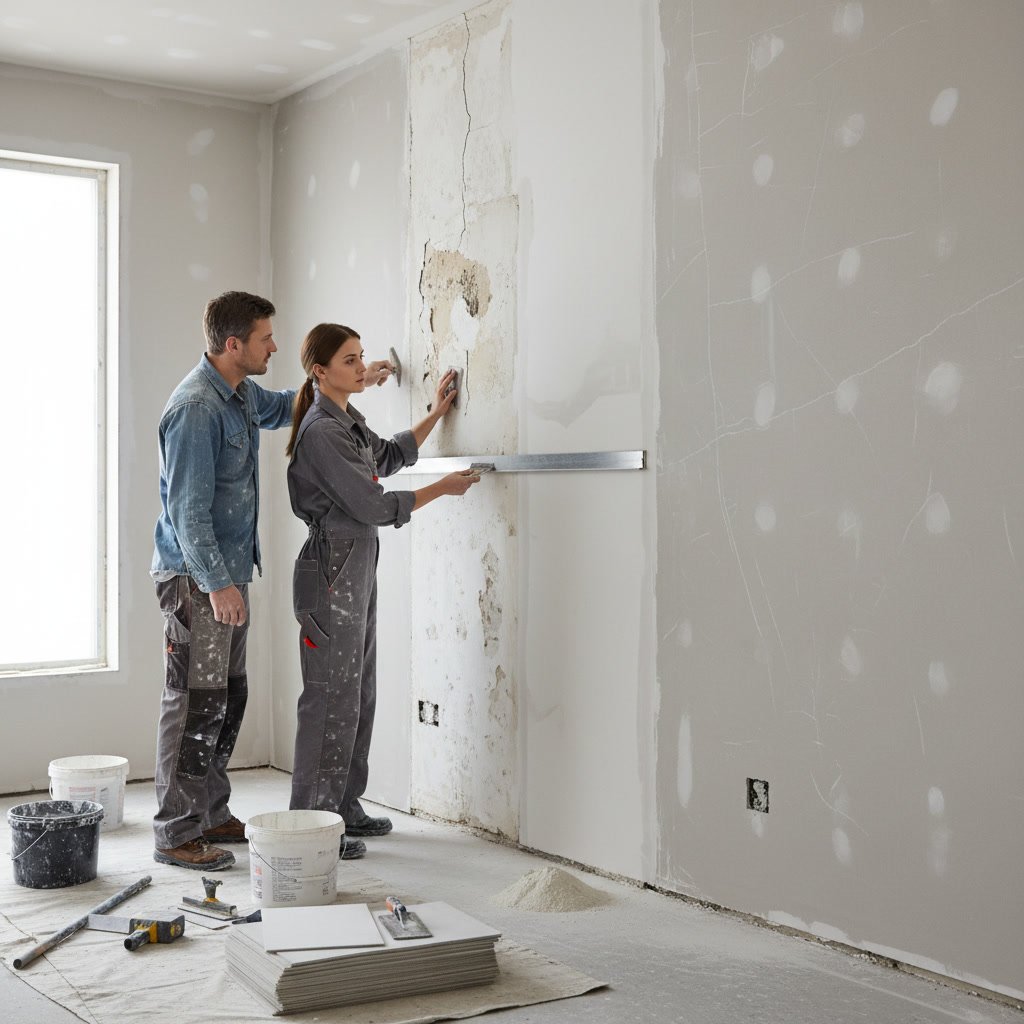
A skim coat is a thin layer of joint compound applied across the entire wall surface, typically 1/16 to 1/8 inch thick. Professional painters spread it with a wide trowel or drywall knife, then sand it smooth once dry. This process fills minor imperfections, evens out texture differences, and creates a uniform base that accepts paint consistently. The compound bonds to existing drywall, plaster, or previously painted surfaces when the wall is properly primed.
Unlike patching, which targets isolated damage, skim coating treats the entire surface. It solves problems that sanding alone cannot address, such as wavy drywall seams, subtle surface variations, and the texture left behind after wallpaper removal. The result is a Level 5 drywall finish, the highest standard in the industry and the only way to achieve a glass-smooth painted surface.
Run Your Hand Across the Wall Surface
The simplest test requires no tools. Close your eyes and slowly run your palm across the wall in different directions. You should feel a consistent, smooth plane. If you detect ridges, bumps, or sudden dips, the wall likely needs skim coating. Pay special attention to areas around electrical outlets, along baseboards, and near corners where drywall seams meet.
Rough or gritty textures that snag slightly on your skin indicate either old texture coatings or poorly finished joint compound. Walls that feel wavy or uneven, even without obvious damage, often have installation issues that only a skim coat can correct. This tactile inspection reveals problems that visual checks might miss under flat lighting.
Inspect Under Raking Light at Multiple Angles
Professionals use raking light to reveal surface flaws invisible under overhead fixtures. Hold a bright flashlight or work light parallel to the wall, just a few inches away, and sweep it slowly across the surface. Shadows will highlight every bump, dent, joint line, and texture variation. Repeat this test from different positions and at different heights.
The most revealing time for this inspection is late afternoon when low sun streams through windows at a sharp angle. Stand at the doorway and look down the length of each wall. Imperfections that disappear under direct overhead light become obvious when light grazes the surface. If you see shadows, lines, or texture patterns you do not want visible after painting, the wall needs attention.
Check for Visible Drywall Seams and Fastener Shadows
Drywall seams should be invisible after proper finishing. If you can trace vertical or horizontal lines where panels meet, the original taping and mudding did not achieve a smooth transition. These lines often appear as subtle ridges or depressions that create shadows under certain lighting. Fastener shadows look like small dimples or bumps where screws or nails sit slightly proud or were overdriven and poorly filled.
Older homes sometimes have plaster walls with hairline cracks along seams or at stress points near doors and windows. These cracks may seem minor but will reappear through new paint unless the entire surface is skim coated. Counting more than three visible seams or fastener marks in a single room usually means the whole space would benefit from professional prep work.
Evaluate Texture Left Behind After Removing Wallpaper or Popcorn
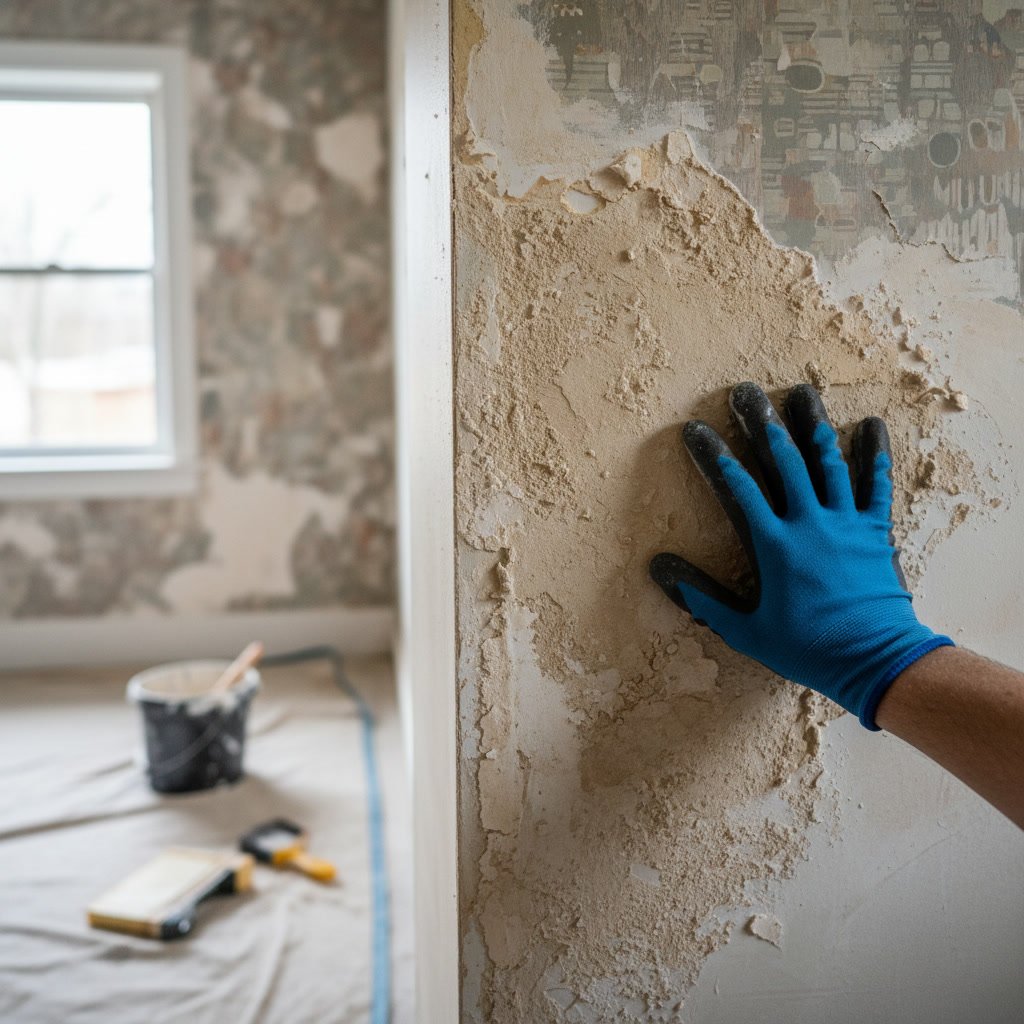
Walls stripped of wallpaper rarely emerge smooth. Adhesive residue, paper backing embedded in the drywall face, and gouges from scraping all leave texture that shows through paint. Even after thorough cleaning, the surface often feels rough or looks mottled. Many homeowners in Wappingers discover this issue when they tackle DIY wallpaper removal and then realize professional skim coating is necessary before repainting.
Similarly, ceilings treated for popcorn ceiling removal almost always need skim coating. Scraping removes the texture but leaves an uneven drywall surface with visible trowel marks, joint lines, and sometimes small divots. Painting directly over this surface produces a finish that looks unfinished and dated.
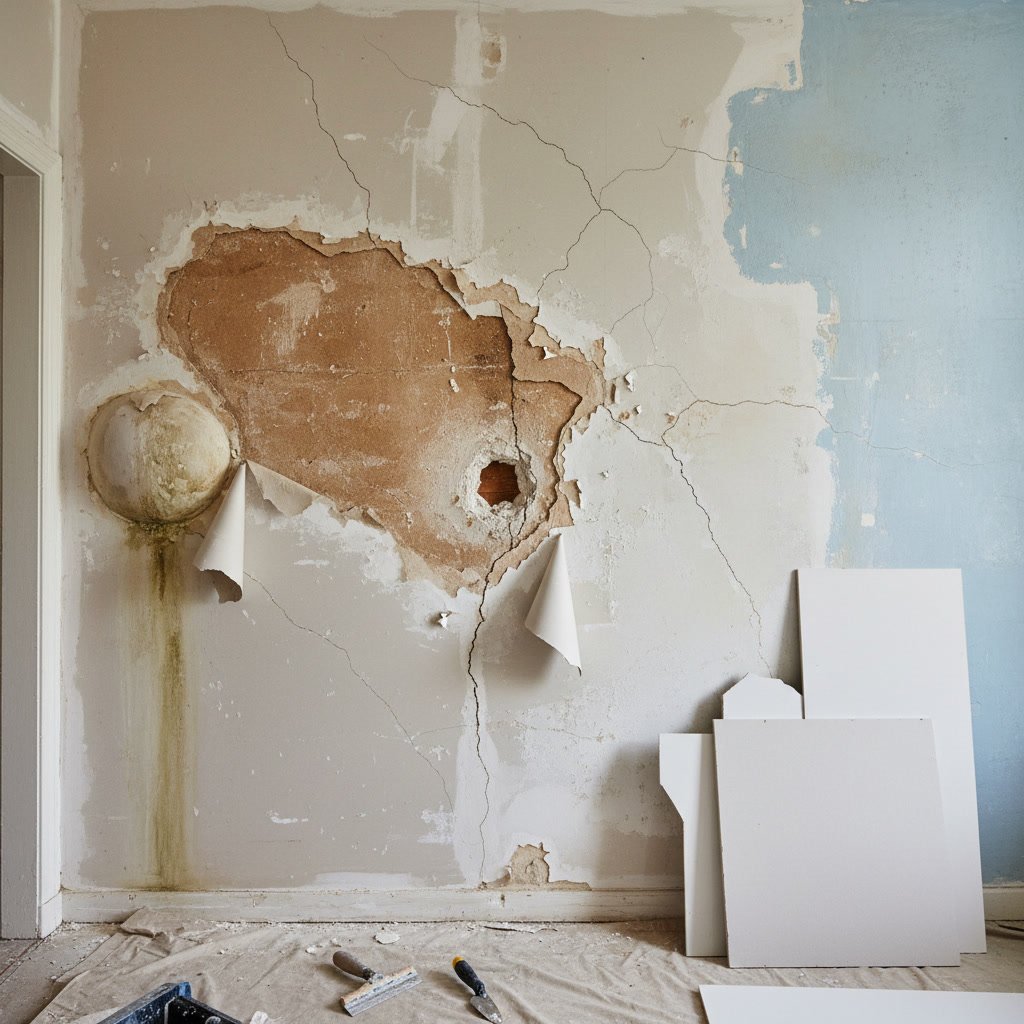
Look for Water Stains, Patches, and Repair Areas
Water damage leaves stains and often causes drywall paper to bubble or delaminate. Even after the moisture source is fixed and the area dries, the wall surface remains uneven. Patched areas where old anchors, outlets, or fixtures were removed rarely match the surrounding texture perfectly. Sanding a patch smooth at the repair site often creates a shallow dish or halo effect visible under paint.
If your home required water damage restoration services, the affected walls almost certainly need skim coating once structural repairs are complete. Paint alone cannot hide the texture difference between new joint compound and aged drywall. A full skim coat unifies the surface and eliminates visible repair boundaries.
When Orange Peel or Knockdown Texture No Longer Fits Your Style
Many homes built in the 1980s and 1990s have orange peel or knockdown texture applied to walls and ceilings. These finishes were popular for hiding imperfections and adding visual interest, but current design trends favor smooth, clean walls. Removing texture requires either heavy sanding, which creates dust and often damages the drywall face, or skim coating over the existing texture to bury it.
Skim coating over light texture is faster and cleaner than attempting removal. The joint compound fills the valleys and levels the peaks, creating a smooth plane. Heavier textures may need two coats or partial knockdown before skim coating. Either way, the process transforms a dated textured wall into a modern smooth surface ready for contemporary interior house painting.
Assessing Whether You Need Full Wall Skim Coating or Spot Repairs
Not every imperfection requires a full skim coat. Isolated dings, small nail holes, and minor cracks can be filled with spackle or joint compound, sanded smooth, and primed. If imperfections are scattered and cover less than 20 percent of the wall area, spot repairs usually suffice. However, if problems are widespread, appear on multiple walls, or involve texture differences across large areas, full skim coating is more efficient and produces better results.
A good rule: if you need to repair more than a dozen spots per wall, or if the repairs would require extensive sanding that risks damaging surrounding areas, opt for skim coating the entire surface. This approach ensures uniform texture and eliminates the risk of visible repair halos. For guidance on whether your walls need more extensive work, the comparison in this article on skim coating versus drywall replacement can help you decide.
How Poor Surface Prep Affects Paint Durability and Appearance
Skipping necessary skim coating leads to visible flaws that worsen over time. Paint applied over uneven surfaces does not adhere uniformly. Thin spots over high points wear faster, while paint pools in low areas, creating sheen variation and an uneven color appearance. Imperfections that seem minor before painting often become the first places paint chips, peels, or shows wear.
Professional painters know that surface prep accounts for 70 percent of the final result. Premium paint over a poorly prepped wall will always look worse than mid-grade paint over a properly skim coated surface. Investing in thorough prep, including skim coating when needed, extends the life of your paint job and reduces the frequency of repaints. Understanding the full scope of preparation also helps when budgeting for projects, as detailed in this cost breakdown for interior painting.
Getting Professional Results for Your Wappingers Home
Skim coating is a skill that takes practice to master. The joint compound must be mixed to the right consistency, applied evenly without trowel lines, and sanded to a smooth finish without gouging the surface. DIY attempts often result in visible trowel marks, uneven thickness, or a wavy finish that requires professional correction. The dust generated during sanding also requires proper containment and cleanup to protect your home and belongings.
Hiring experienced professionals ensures the work is done right the first time. JJv2 Interior House Painter Dutchess County LLC has over 20 years of experience preparing and finishing interior walls throughout Dutchess County. The team uses proven techniques to deliver smooth, durable surfaces that make every paint job look its best. Whether your project involves a single room or an entire home, proper prep work sets the foundation for results that last.
If your walls show any of the signs discussed here, contact JJv2 Interior House Painter Dutchess County LLC for an assessment. Call +1 (845) 379-3306 to schedule a consultation and learn how professional skim coating and painting can transform your interior spaces.