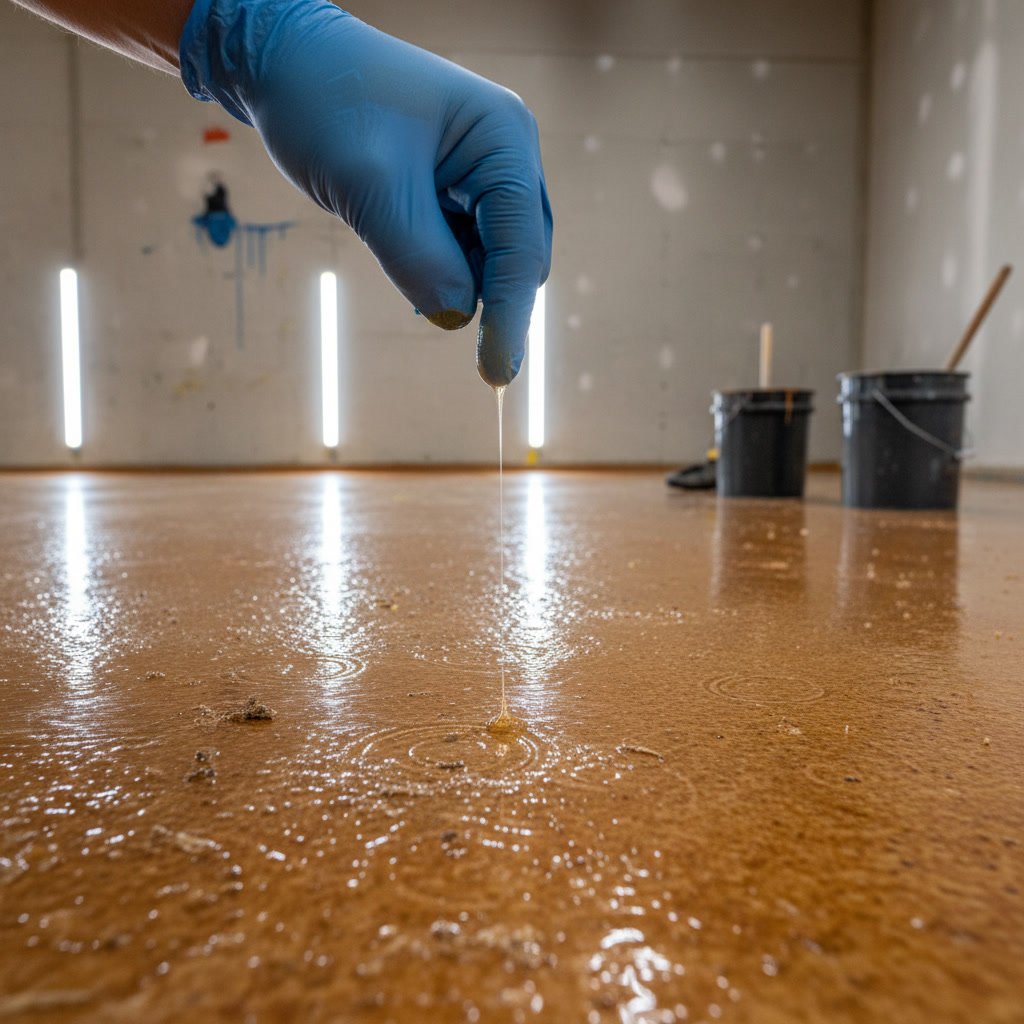
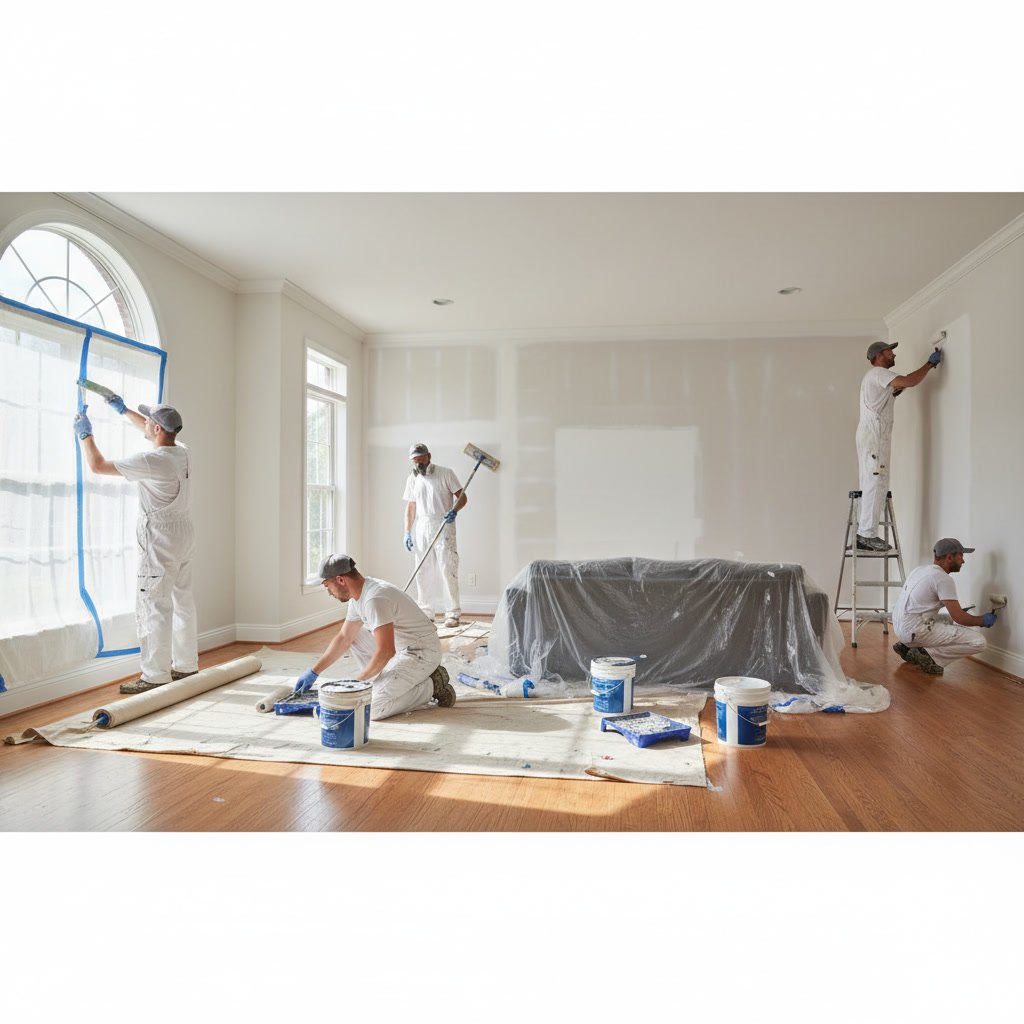
Professional interior painting follows a detailed sequence of steps designed to deliver lasting, beautiful results. Understanding what happens from the initial consultation through the final protective coat helps homeowners prepare for the project and recognize quality craftsmanship when they see it. The residential interior painting process involves careful preparation, strategic execution, and quality control measures that separate professional work from amateur attempts.
Why Professional Painting Requires More Than Brushes and Paint
The difference between a weekend DIY project and professional results comes down to systematic preparation and execution. Paint adheres only as well as the surface beneath it, which means proper prep work determines how long your new finish will last. Professional painters invest 60 to 80 percent of project time on preparation, not application.
Skipping or rushing preparation leads to peeling, bubbling, uneven coverage, and premature wear. Quality painters understand how surface materials, existing conditions, and environmental factors affect every phase of the job.
How Painters Assess Your Space Before Work Begins in Wappingers
Before any tools enter your home, experienced painters conduct a thorough assessment. This evaluation identifies problem areas that need repair, determines the type and condition of existing paint, and spots potential complications like moisture issues or structural damage.
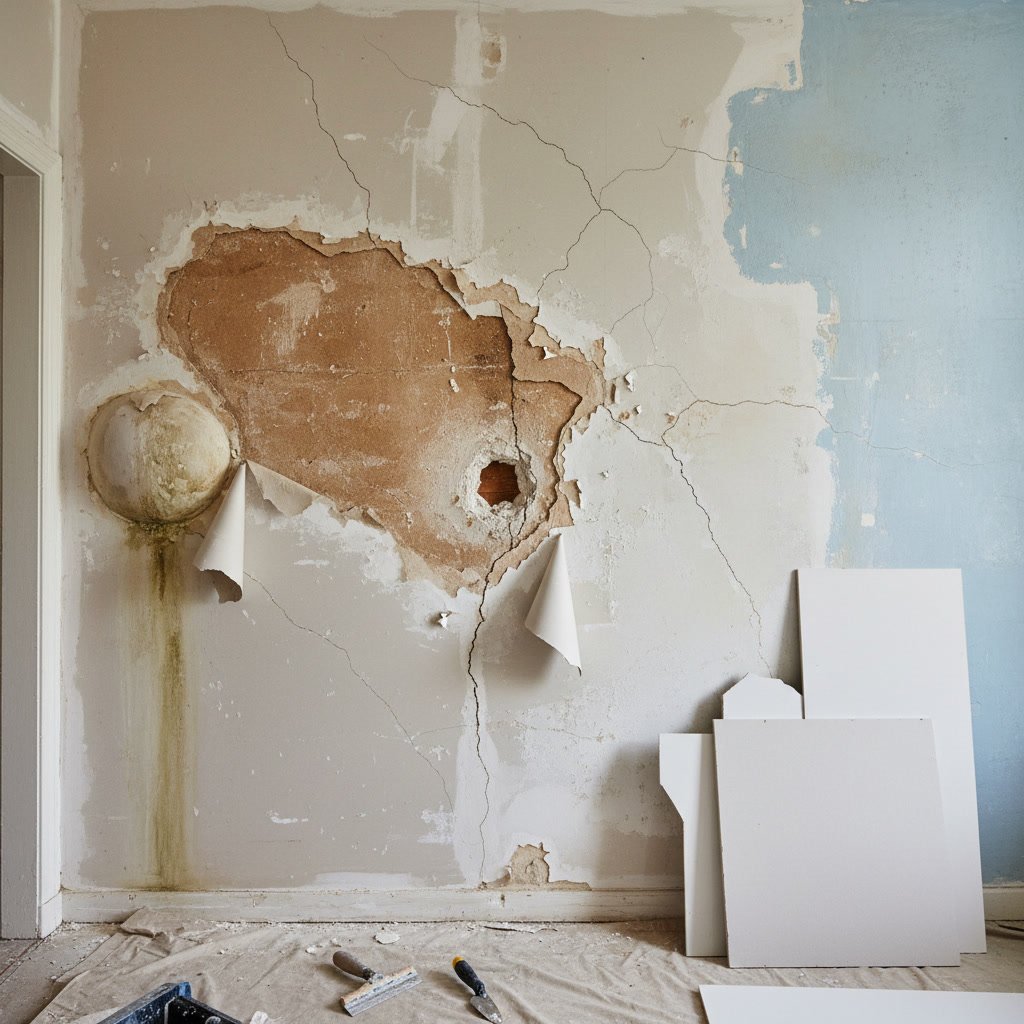
During this phase, painters check for cracks, holes, water stains, mold, and adhesion problems with old finishes. They test surfaces to see if previous coats will accept new paint or need removal first. This is when wallpaper removal or drywall installation becomes part of the scope if walls aren’t paint-ready.
The assessment also covers logistics: furniture placement, floor protection needs, ventilation requirements, and project timeline. Painters measure wall square footage to calculate material quantities accurately and provide detailed estimates.
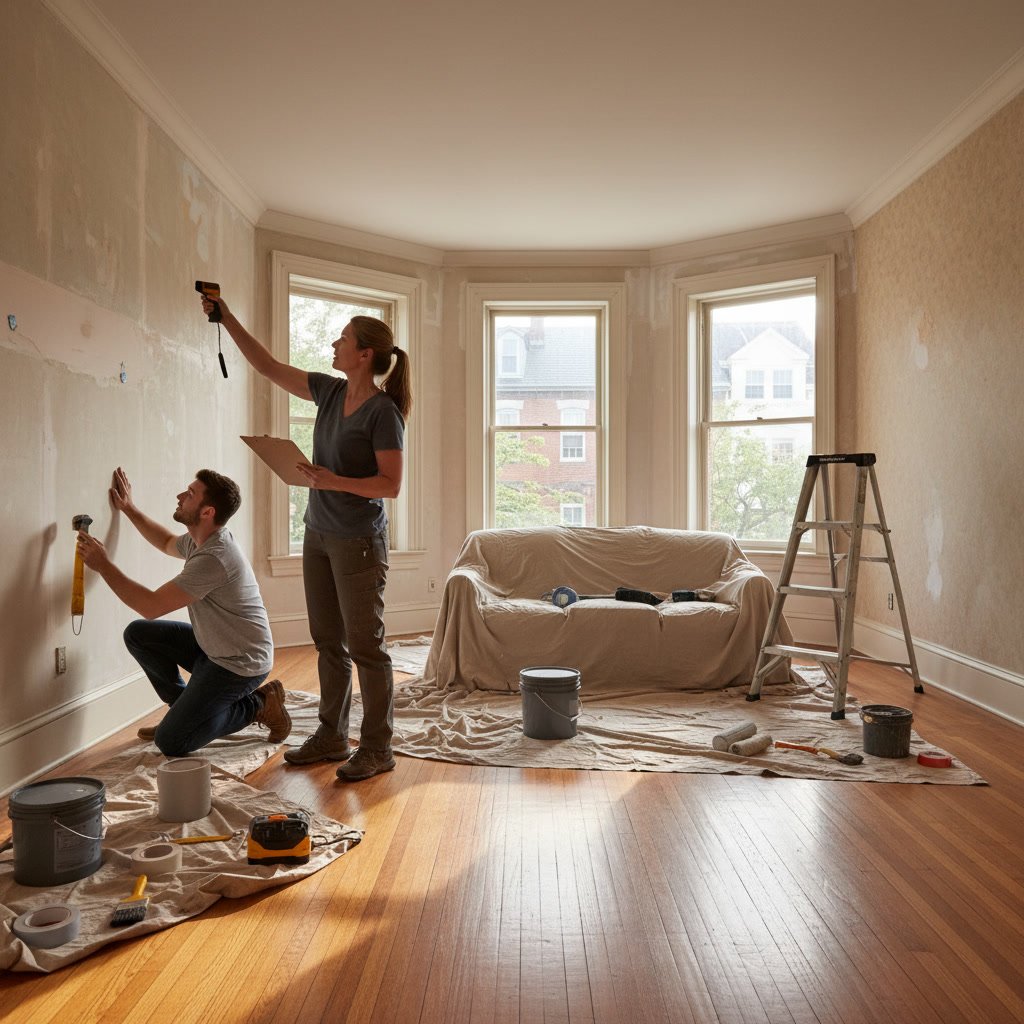
Surface Preparation and Repairs That Make Paint Last
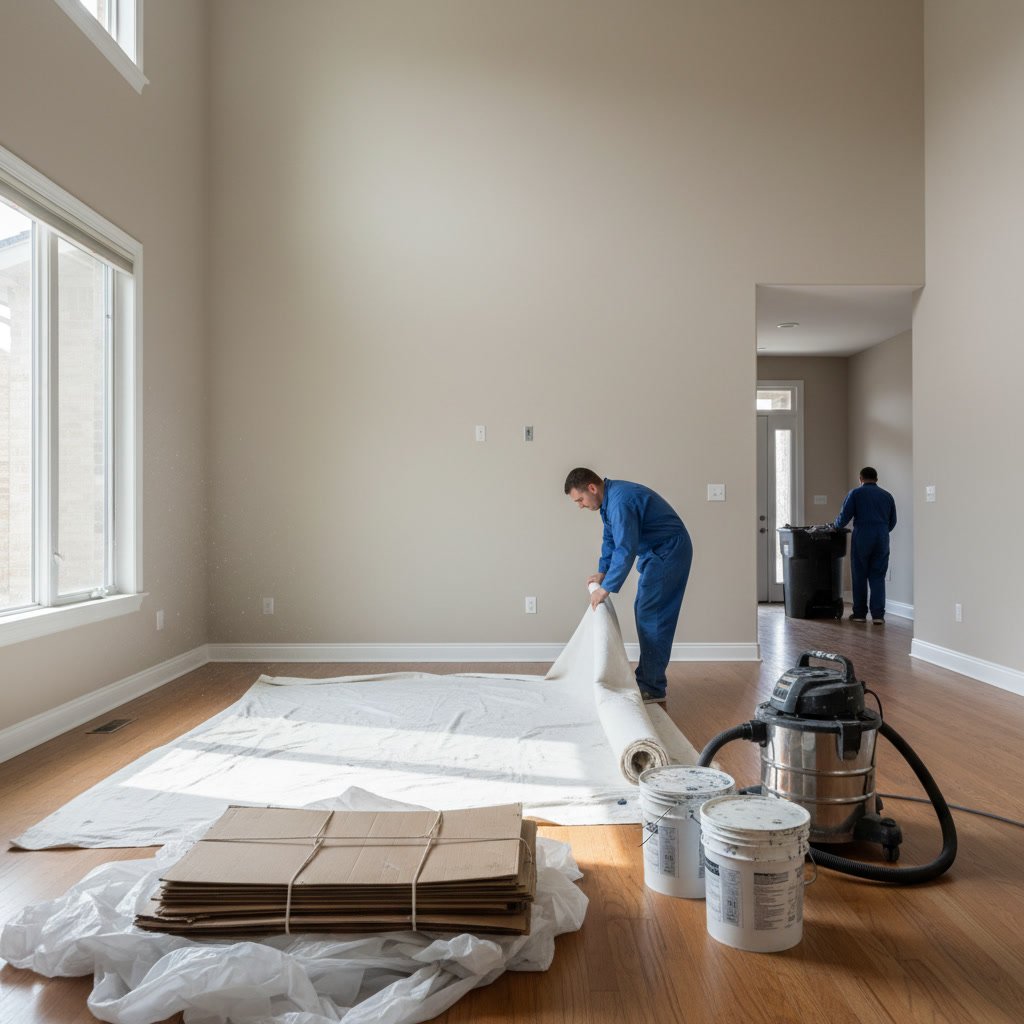
Once the assessment is complete, preparation begins with furniture moving and floor protection. Quality painters use heavy-duty canvas drop cloths or rosin paper rather than thin plastic sheets that slip and tear easily.
Next comes cleaning. Walls accumulate dust, grease, smoke residue, and other contaminants that prevent proper paint adhesion. Professional painters wash surfaces with appropriate cleaning solutions, paying special attention to kitchens and areas around heating vents.
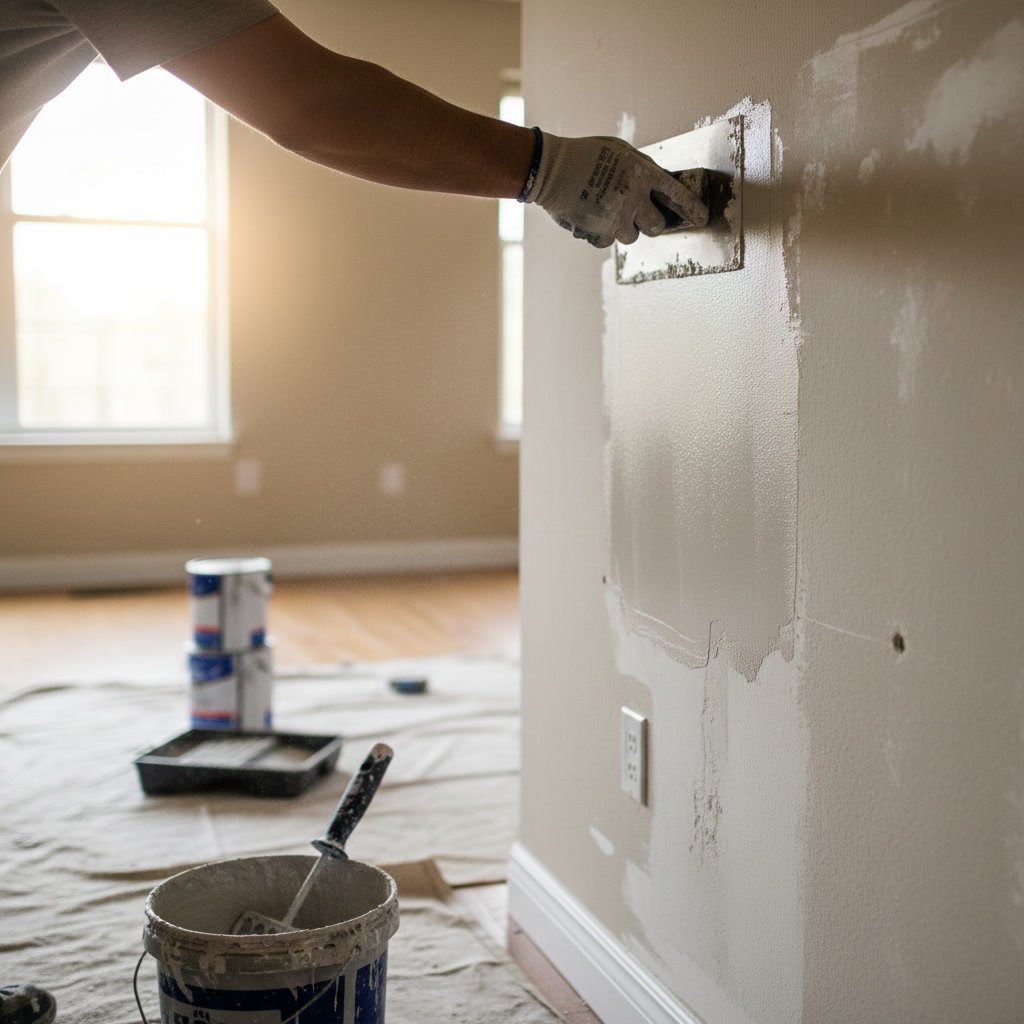
After cleaning, repair work addresses every imperfection. Small nail holes get filled with spackling compound, larger holes require patching, and cracks need proper sealing. Skilled painters feather repairs smoothly into surrounding surfaces so they disappear under paint rather than telegraphing through as visible bumps or depressions.
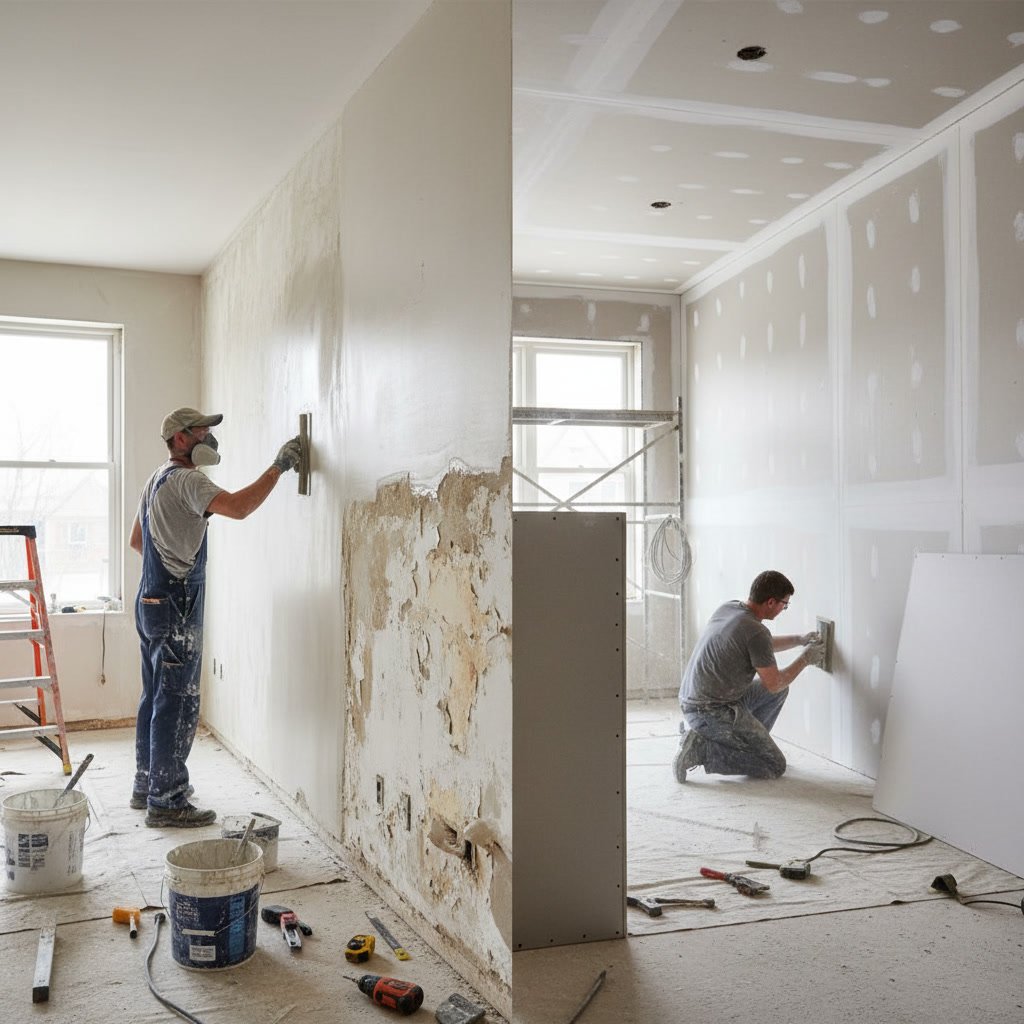
This phase might reveal underlying issues that need attention before painting can proceed. If you’re curious about when more extensive work is necessary, understanding the difference between skim coating and drywall replacement helps you make informed decisions about proper wall preparation.
Priming Strategy Based on Surface and Paint Type
Primer serves multiple functions that significantly affect your final results. It seals porous surfaces, blocks stains, improves paint adhesion, and reduces the number of finish coats needed for full coverage.
Not every surface requires primer, but most do. New drywall absolutely needs primer because the paper facing absorbs paint unevenly without it. Stained areas from water, smoke, or tannin bleed require stain-blocking primer to prevent discoloration from showing through topcoats.
When making dramatic color changes, especially from dark to light, tinted primer bridges the gap and reduces the finish coats needed. Glossy surfaces need bonding primer to give new paint something to grip. Professional painters select primer type based on substrate material, existing finish, and topcoat selection.
Cutting In and Detail Work That Defines Quality
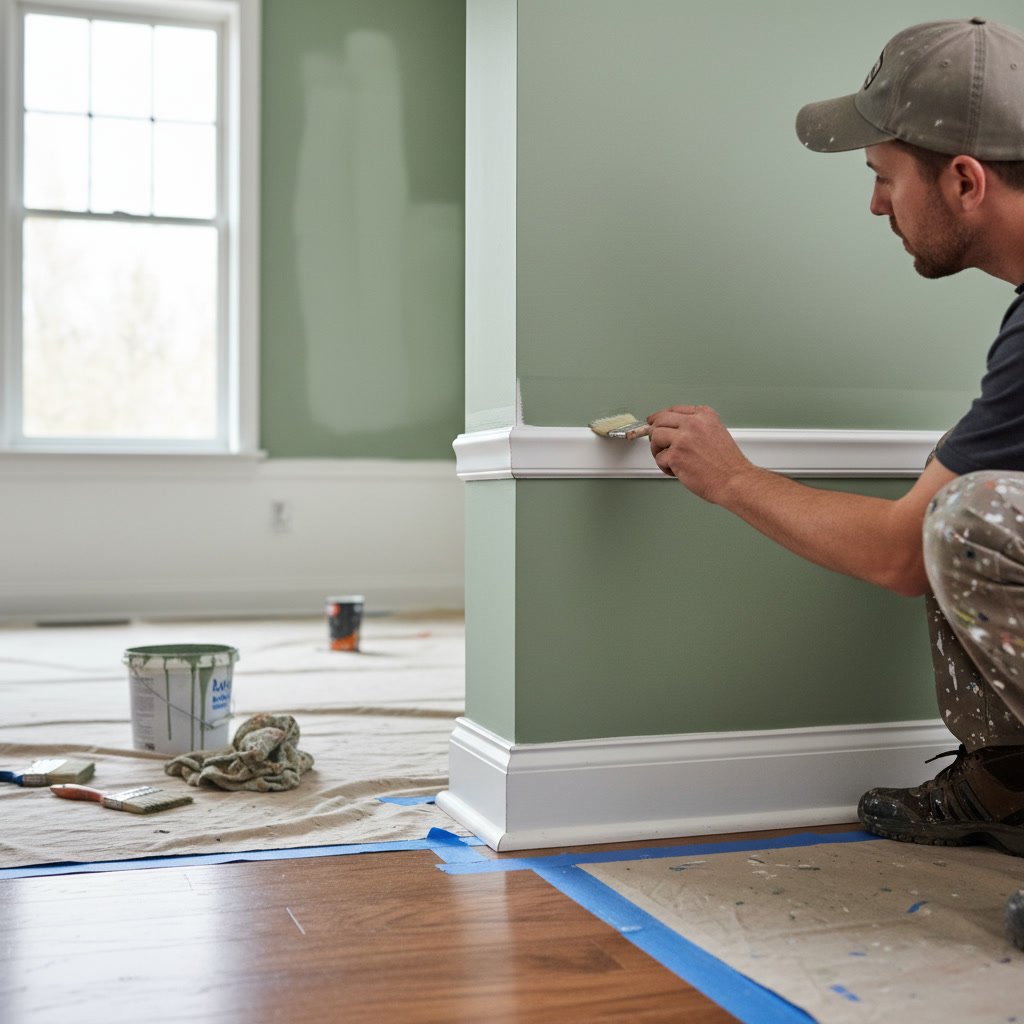
Before rollers touch walls, skilled painters cut in all edges, corners, and trim lines by hand with a brush. This meticulous work creates clean boundaries and ensures complete coverage in areas rollers can’t reach.
Cutting in requires a steady hand and years of practice to achieve perfectly straight lines without tape. While some painters use painter’s tape for protection, the best professionals can free-hand cut lines that look machine-precise.
This detail work extends to painting around outlets, switches, window frames, and door casings. Removing cover plates rather than painting around them demonstrates attention to detail and produces cleaner results.
Roller Application Technique for Even Coverage
After edges are cut in, painters use rollers for the main wall and ceiling surfaces. Roller application looks simple but requires specific technique to avoid lap marks, roller stipple, and uneven texture.
Professional painters use the W or M pattern, applying paint in overlapping sections that blend wet edges before they dry. They maintain consistent pressure and roller speed to ensure uniform film thickness across the entire surface.
Roller nap length matters too. Smooth walls take a 3/8-inch nap, while textured surfaces need 1/2-inch or longer to push paint into valleys and crevices. Using the wrong nap creates either too much texture or incomplete coverage.
Between coats, painters lightly sand surfaces with fine-grit paper to knock down any dust nibs or raised grain, then vacuum and wipe walls before applying the next layer. This extra step creates glass-smooth results.
Step-by-Step Coat Application Sequence
Most interior house painting projects follow this sequence:
- Ceiling primer if needed, followed by ceiling finish coats
- Wall primer if needed
- First wall finish coat, cut in then rolled
- Second wall finish coat after adequate dry time
- Trim primer if needed
- First trim coat
- Second trim coat
- Touch-ups and final inspection
Professionals work from top to bottom to catch drips and overspray. They maintain wet edges and never stop mid-wall to prevent visible seams where dried and wet paint meet.
Adequate dry time between coats is non-negotiable. Rushing this step traps solvents, prevents proper curing, and causes adhesion failures. Quality painters follow manufacturer dry time specifications rather than pushing for faster completion.
Cleanup Standards and Project Site Condition
Professional cleanup begins during the project, not just at the end. Painters contain debris, wipe drips immediately, and keep work areas organized to prevent damage and maintain efficiency.
Final cleanup includes removing all masking materials, reinstalling hardware and fixtures, vacuuming thoroughly, and wiping any paint specks from glass, floors, or fixtures. Painters inspect their work under multiple lighting conditions to catch and correct any defects.
Responsible painters dispose of materials properly and leave your home cleaner than they found it. Drop cloths stay down until the final walk-through confirms everything meets standards.
Drying and Curing Time Before Normal Use
Paint feels dry to the touch within hours, but full curing takes much longer. During the curing period, the paint film continues hardening and developing its final durability and washability characteristics.
Most latex paints cure fully in 14 to 30 days depending on humidity, temperature, and ventilation. During this time, treat painted surfaces gently. Avoid washing walls, hanging heavy items, or sliding furniture against freshly painted surfaces.
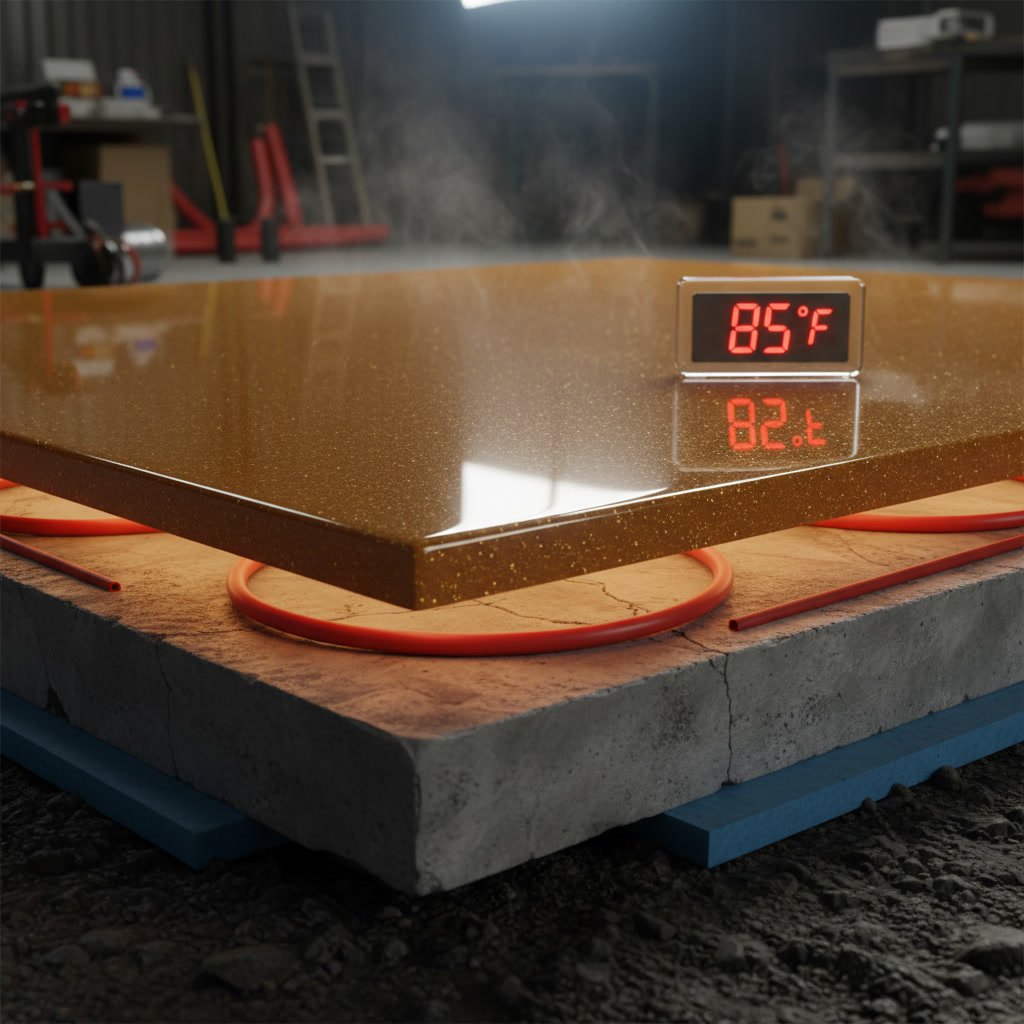
Temperature and humidity significantly affect drying and curing. Ideal conditions are 50 to 85 degrees with 40 to 70 percent humidity. Painting during extreme weather requires climate control to ensure proper results.
Quality Indicators That Separate Expert Work From Amateur Results
Finished walls should show uniform color without streaks, holidays (missed spots), or visible roller marks. Paint lines along trim and ceilings should be sharp and straight without bleed-through or gaps.
Check corners and edges for complete coverage. Many amateur painters leave thin spots in these areas that become obvious once furniture returns and lighting changes throughout the day.
Professional work shows no drips, sags, or texture irregularities. The surface should feel smooth without grit or bumps from dust contamination. When you look across a wall at an angle in bright light, the sheen should appear consistent without dull or glossy patches.
Paint should end precisely where it belongs without overspray on adjacent surfaces. Windows, hardware, and floors should be completely clean. These details reflect the care and skill invested throughout every project phase.
Getting Professional Results That Last for Years
The residential interior painting process combines technical knowledge, quality materials, and meticulous execution. When done correctly, professional painting transforms your living space with a finish that looks beautiful and performs well for seven to ten years or longer.
The key difference between professional and DIY results lies in the unseen preparation and technique that happens before visible transformation occurs. Understanding this process helps you appreciate quality work and set realistic expectations for your project timeline and results.
JJv2 Interior House Painter Dutchess County LLC brings over 20 years of hands-on experience to every project in Wappingers and throughout Dutchess County. Whether you need a single room refreshed or complete home repainting, our detail-driven approach ensures results that exceed expectations. Our residential painting services cover every aspect of interior finishing work with the same commitment to preparation and craftsmanship. Contact us at +1 (845) 379-3306 to discuss your project and schedule a detailed assessment of your space.