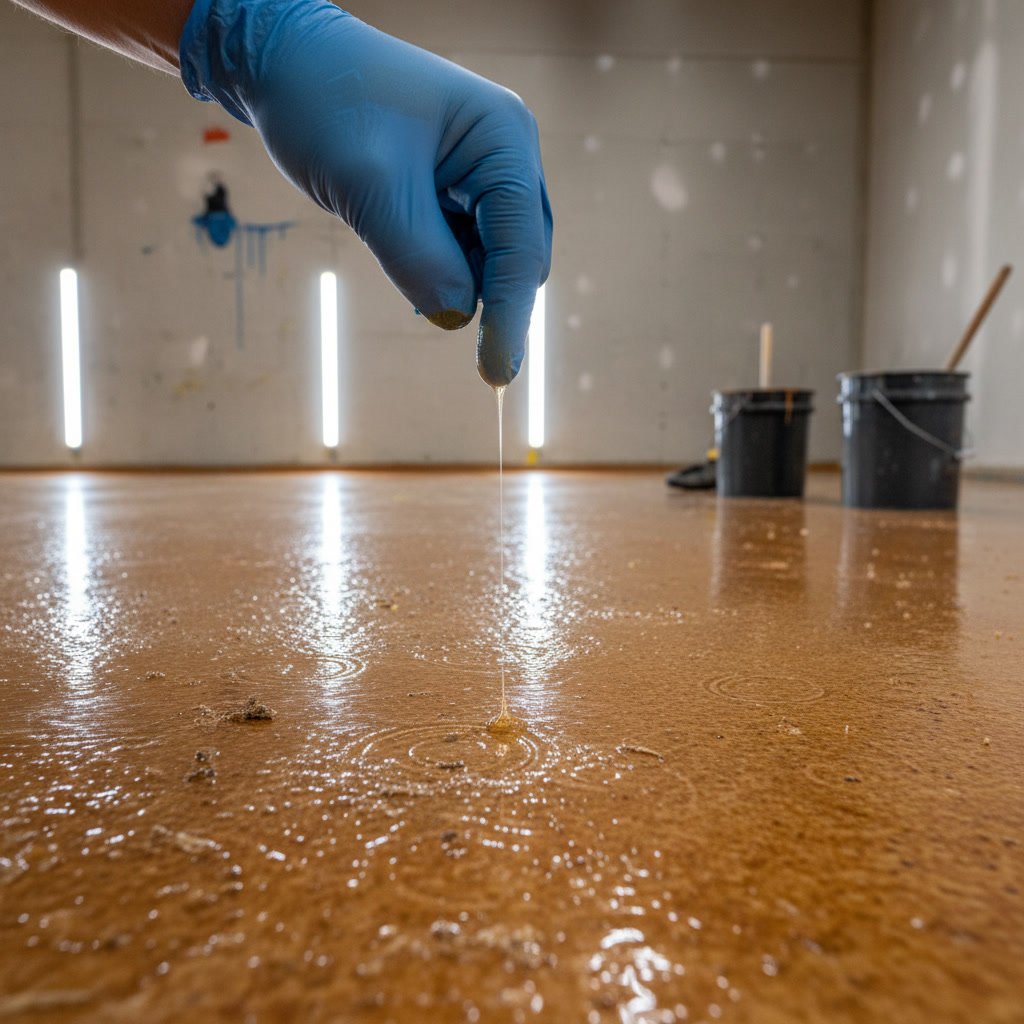
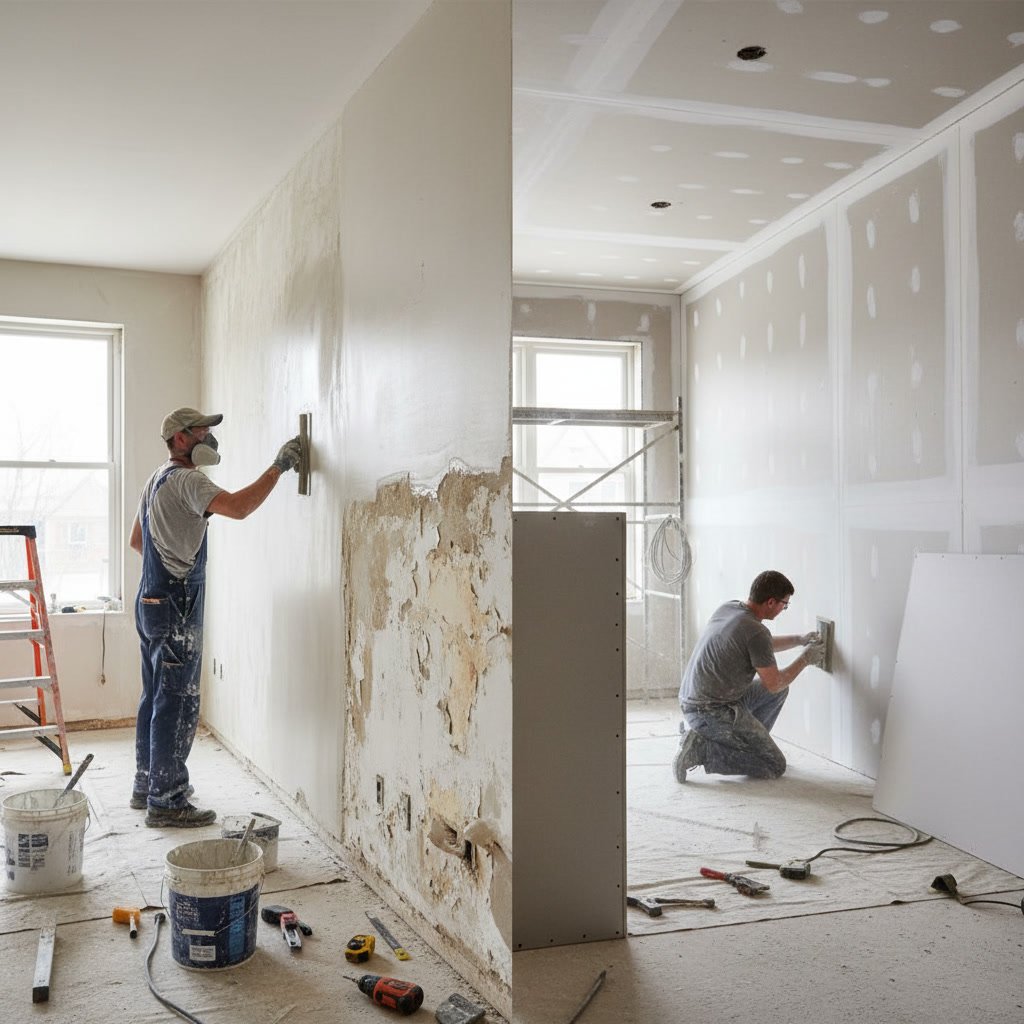
Damaged drywall doesn’t automatically require full panel replacement. In many cases, skim coating offers a faster, more affordable solution that prepares walls perfectly for paint. The choice between skim coating vs drywall replacement depends on the type, extent, and location of the damage. Skim coating involves applying a thin layer of joint compound over imperfections to create a smooth surface, while replacement means removing damaged sections and installing new drywall.
Why Wall Surface Quality Matters Before Interior Painting
Paint magnifies imperfections rather than hiding them. Even premium paint applied over damaged, uneven, or poorly prepped drywall will reveal bumps, cracks, and texture inconsistencies once it dries. Proper surface preparation is what separates a professional finish from a disappointing one.
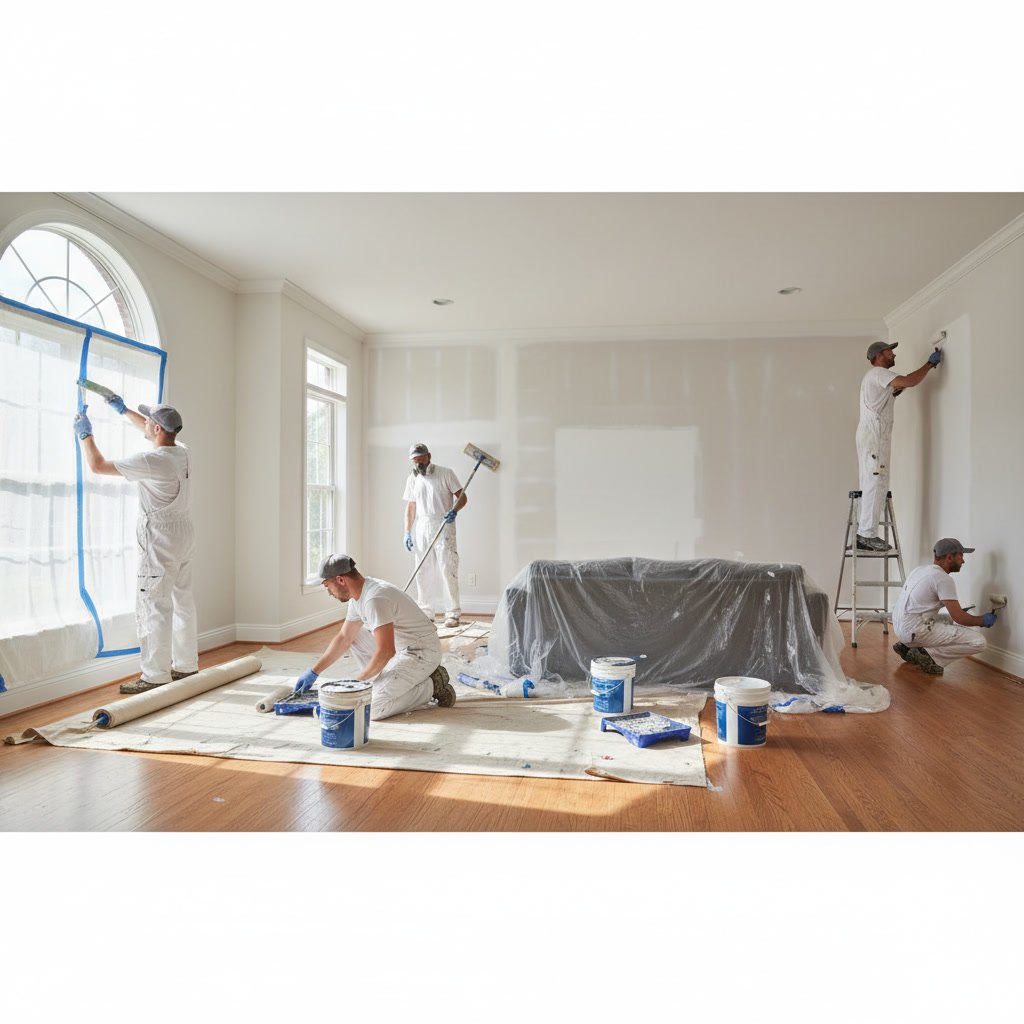
Professional interior house painting always begins with an honest assessment of existing wall conditions. Painters who rush through prep or skip critical repair steps deliver results that fail within months. The time and cost invested in proper prep directly affects how long your paint job looks fresh.
Understanding What Skim Coating Can and Cannot Fix
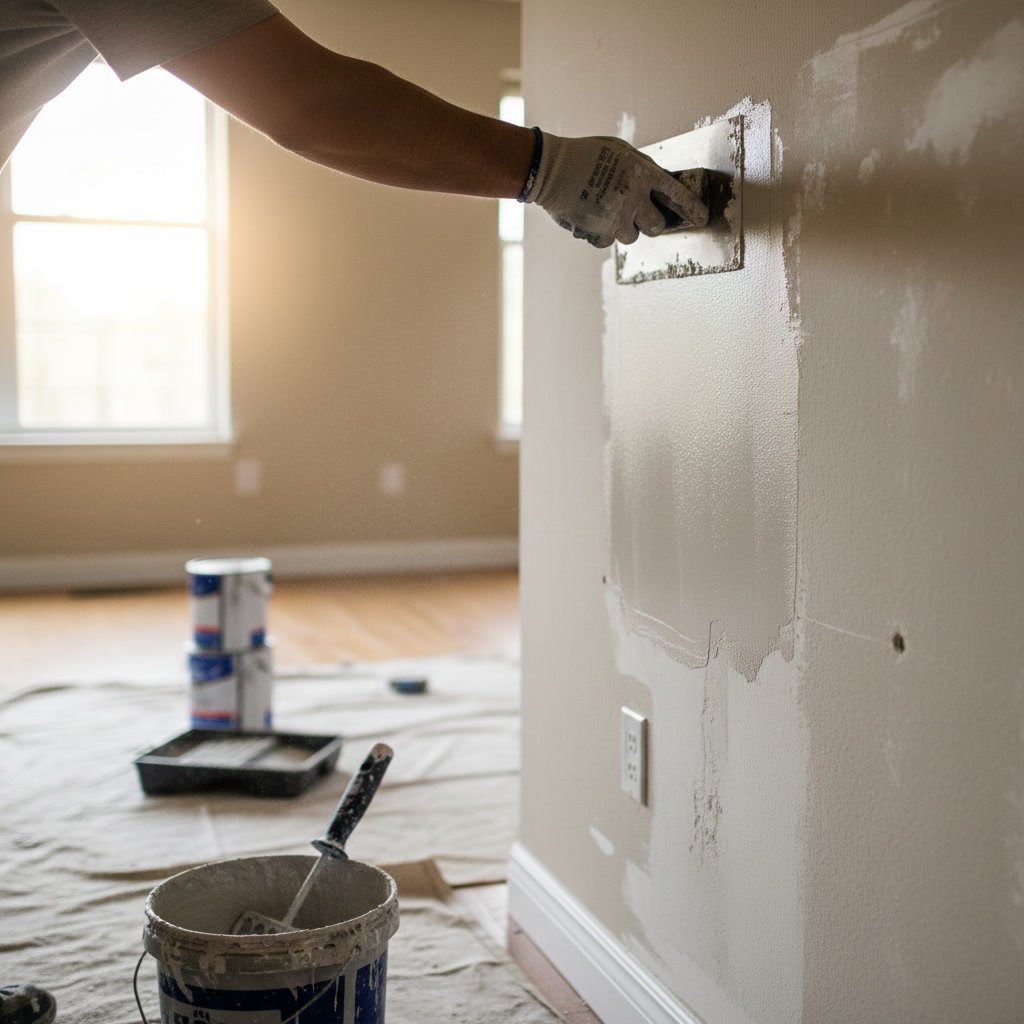
Skim coating works best for surface-level damage and cosmetic imperfections. It excels at covering minor dents, shallow gouges, tape lines, small nail holes, and uneven texture from previous repairs. The process involves troweling a thin layer of joint compound across the entire wall surface or targeted sections, then sanding it smooth once dry.
A single skim coat ranges from 1/16 to 1/8 inch thick. For heavily damaged walls, two coats may be necessary. The compound fills depressions and levels out inconsistencies without adding significant weight or thickness. When done correctly, skim coating creates a surface indistinguishable from new drywall.
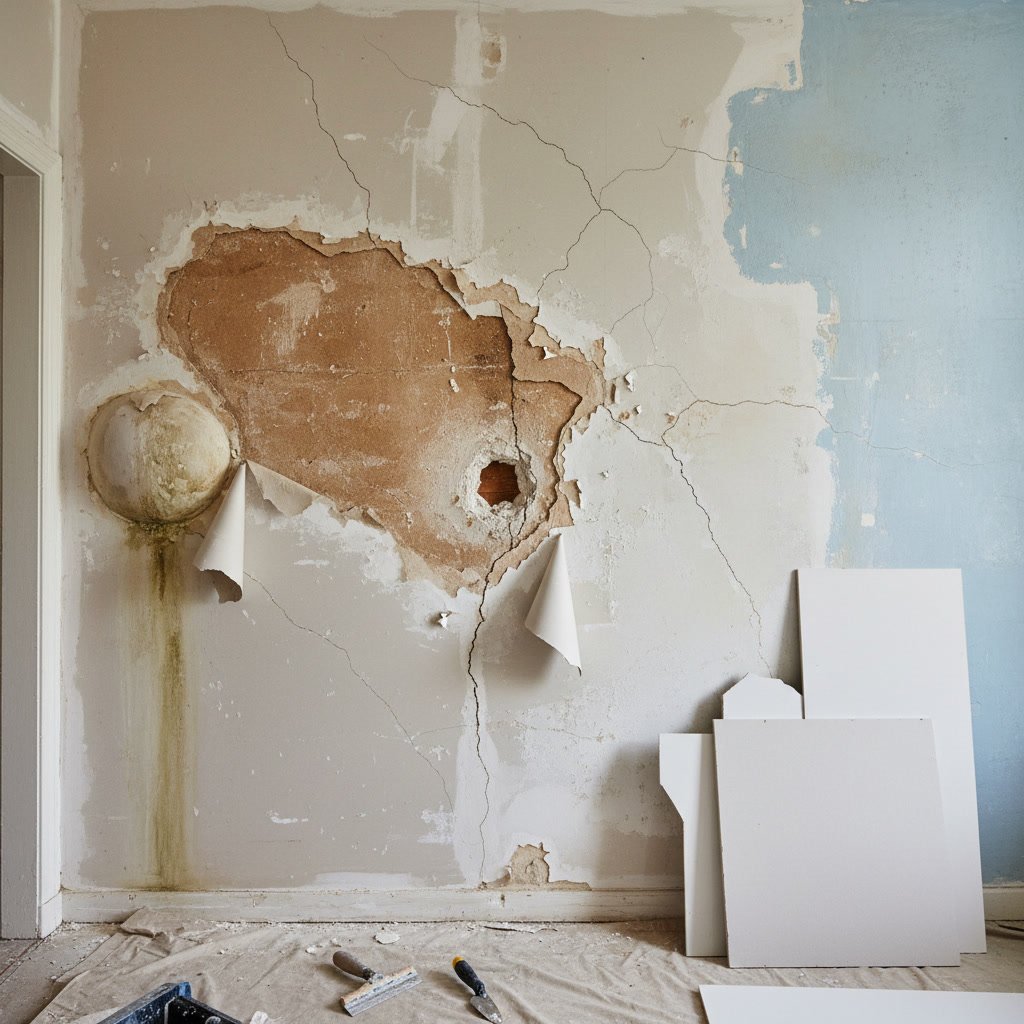
However, skim coating cannot repair structural damage, water-compromised drywall, deep holes larger than two inches, or areas where the paper facing has separated from the gypsum core. In these situations, the underlying material lacks the integrity to support even a thin coat of compound.
When Full Drywall Replacement Becomes Necessary
Water damage is the most common reason for full replacement. Once drywall absorbs moisture, the gypsum core deteriorates and the paper facing loses adhesion. Even after drying, water-damaged drywall remains weak, prone to mold growth, and unable to hold paint properly. If your home has experienced leaks or flooding, professional water damage restoration services should assess the extent of harm before any painting begins.
Large holes beyond simple patching, extensive impact damage, and areas with multiple layers of failed repairs also require replacement. If the damage penetrates through to the studs or if the drywall feels soft or crumbles when pressed, no amount of surface coating will fix the underlying problem.
Outdated textured finishes like popcorn ceilings sometimes call for complete drywall removal, particularly if the texture contains asbestos or if the substrate beneath has deteriorated. Professional popcorn ceiling removal often reveals hidden damage that requires either skim coating or replacement depending on severity.
Comparing Cost and Time Investment
Skim coating typically costs 40 to 60 percent less than full drywall replacement for the same square footage. A standard bedroom wall might require $150 to $300 for skim coating versus $400 to $700 for replacement, including materials and labor. The difference grows larger in homes with high ceilings or difficult access.
Time investment also favors skim coating. A skilled contractor can skim coat an average room in one to two days, including drying time between coats. Replacement requires cutting out damaged sections, installing new panels, taping seams, applying multiple coats of joint compound, and sanding, usually taking three to five days for the same space.
These figures vary based on damage severity and room complexity. Homeowners researching interior painting costs should always request quotes that itemize prep work separately from painting to understand exactly where the budget goes.
How to Assess Your Walls Before Making a Decision
Start by running your hand across the damaged area. Surface irregularities you can feel but not see through easily often respond well to skim coating. Deep depressions, soft spots, or areas that flex under pressure signal replacement needs.
Check for water stains, discoloration, or musty odors. These indicate moisture intrusion that likely compromised the drywall core. Use a flashlight at an angle to highlight surface imperfections. Shadows will reveal the true extent of damage better than overhead lighting.
The Skim Coating Process for Interior Painting Prep in Wappingers
Professional skim coating begins with thorough cleaning and removal of loose material. Any flaking paint, dust, or debris prevents proper adhesion. Contractors then apply a bonding primer to slick surfaces or previously painted walls to ensure the compound sticks.
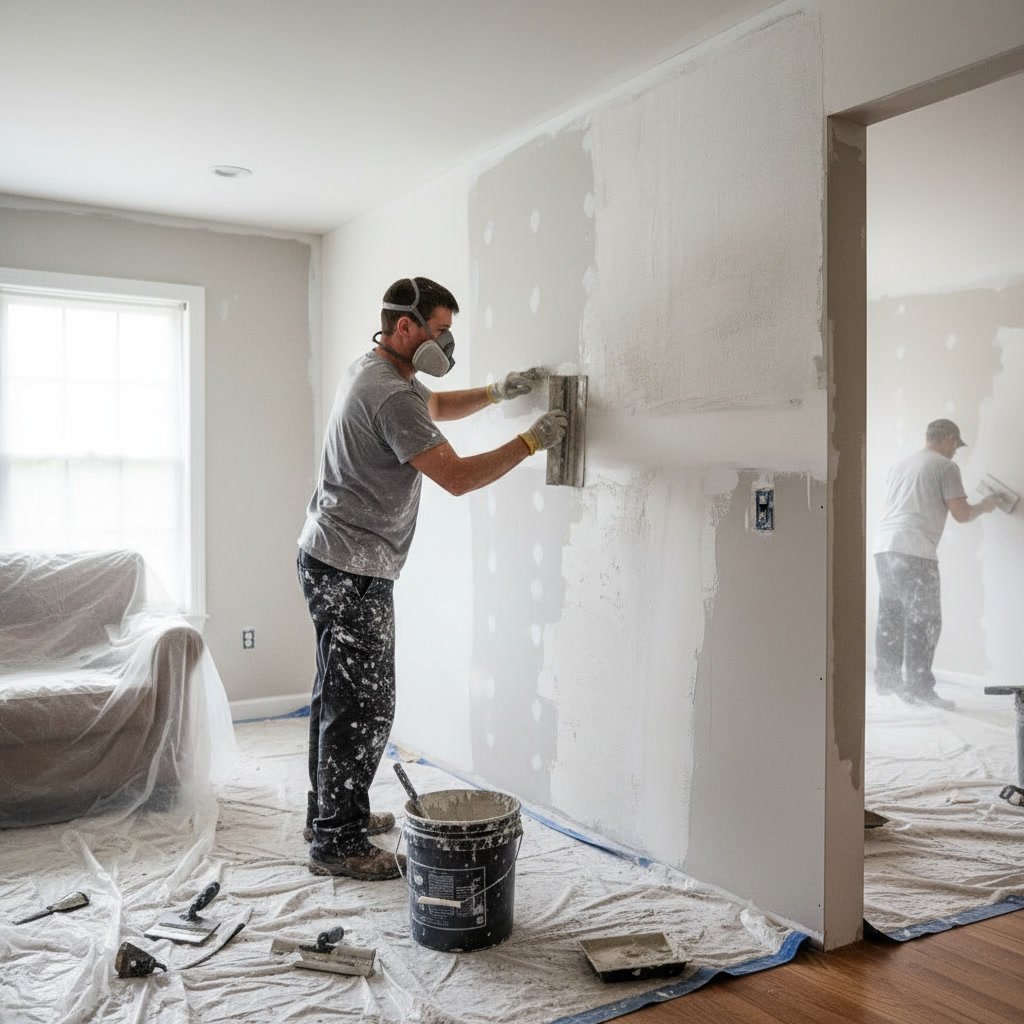
The first coat goes on with a wide trowel or drywall knife, held at a low angle to spread the compound thin and even. Experienced applicators work quickly before the compound begins to set. After drying for 12 to 24 hours, the surface gets sanded with fine-grit paper to remove trowel marks and high spots.
A second coat addresses any remaining imperfections. Final sanding with 120 or 150 grit paper creates a smooth surface ready for primer. The entire wall should feel uniform when you run your hand across it with eyes closed.
The Drywall Replacement Process and What It Involves
Replacement starts with cutting out the damaged section. Contractors score the drywall with a utility knife, then use a saw to cut along studs for clean edges. The damaged piece gets removed and the cavity inspected for mold, wiring issues, or insulation problems.
New drywall panels get cut to size and fastened to studs with screws spaced every 12 inches. Seams receive paper or fiberglass tape embedded in joint compound. Professional drywall installation requires at least three coats of compound over taped seams, each progressively wider and feathered thinner at the edges.
Between coats, the compound must dry completely. Rushing this step causes cracking and shrinkage. After the final coat dries, extensive sanding blends the repair into surrounding walls. A coat of primer before painting ensures uniform absorption and color match.
Texture Matching and Blending Challenges
Matching existing wall texture presents the biggest challenge for both methods. Orange peel, knockdown, and other textures require specific techniques and tools to replicate. Skim coating eliminates texture entirely, which works well if you plan to smooth all walls in a room but creates visible patches if applied to only one section.
Replacement allows texture matching since new drywall accepts the same finish as surrounding walls. However, achieving an invisible blend still demands skill and experience. Slight variations in spray pattern, application technique, or drying conditions create noticeable differences.
For the best results, consider smoothing entire walls rather than attempting to match patches. Modern design trends favor smooth walls anyway, and the investment in skim coating a full room often costs less than perfectly matching multiple small patches.
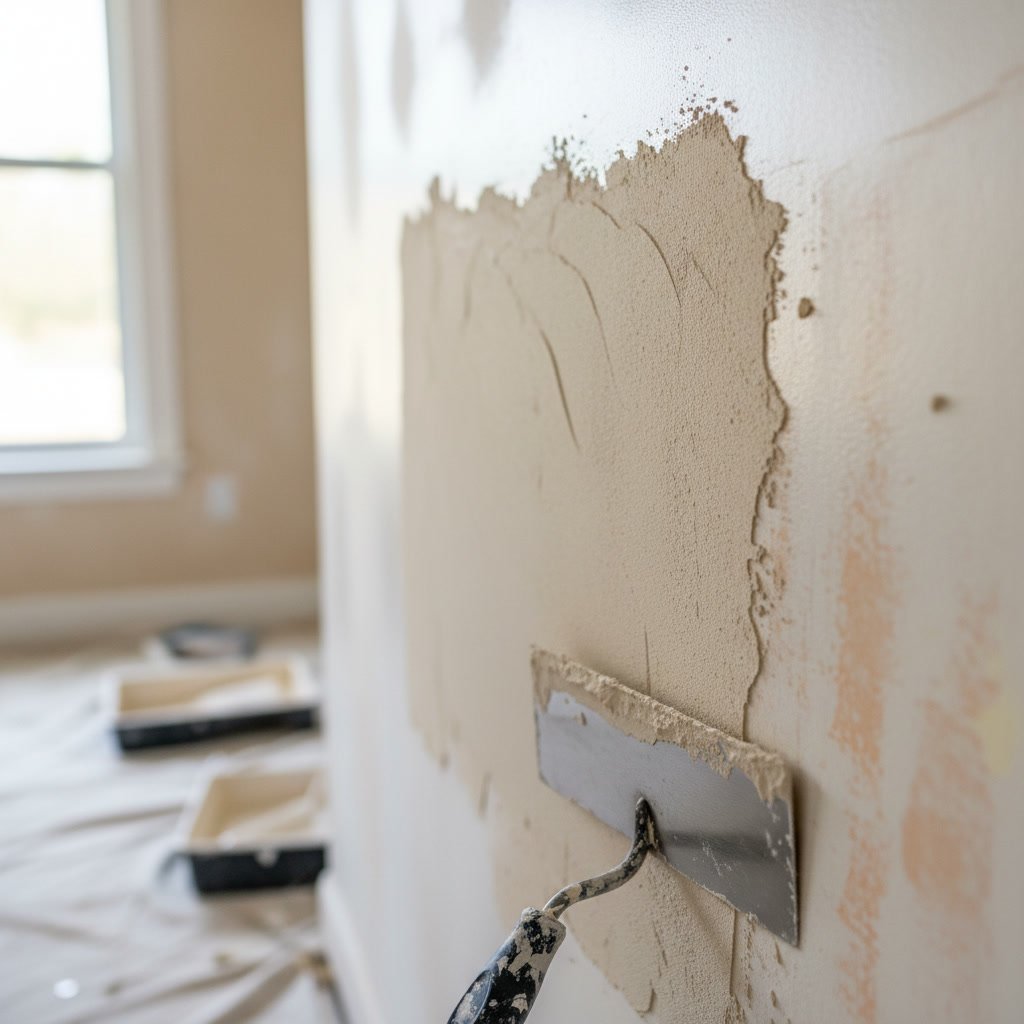
Hidden Damage and Structural Considerations
Wall damage sometimes signals underlying structural issues. Cracks that reappear after repair, especially diagonal cracks near corners or above doorways, may indicate foundation settlement or framing movement. Horizontal cracks along seams suggest fastener failure or improper initial installation.
Before committing to either skim coating or replacement, investigate the cause of damage. Fixing the symptom without addressing the source leads to repeated failures. Moisture issues require identifying and eliminating the water source before any repair work begins.
In older homes throughout Wappingers and surrounding Dutchess County areas, plaster walls sometimes hide behind layers of paint. These require different repair approaches than modern drywall. Experienced contractors can identify wall composition and recommend appropriate methods.
Making the Right Choice for Your Home
The decision between skim coating and replacement ultimately depends on damage type, budget, timeline, and long-term plans. For cosmetic imperfections before selling a home or refreshing lived-in spaces, skim coating delivers excellent results at reasonable cost.
When structural integrity is questionable, moisture has penetrated the material, or damage is extensive, replacement is the only responsible choice. Cutting corners on prep work to save money upfront leads to paint failure, health hazards from hidden mold, and higher total costs when proper repairs become unavoidable.
Consider the room’s purpose and visibility as well. High-traffic areas, formal spaces, and rooms with critical lighting benefit most from flawless prep work. Guest bedrooms, closets, and utility areas might tolerate simpler solutions. Balance perfectionism with practicality based on how the space gets used.
Getting Professional Results That Last
Both skim coating and drywall replacement require specific skills, proper tools, and quality materials. Amateur attempts often create more problems than they solve. Uneven compound application, insufficient sanding, or improper taping leads to visible defects that become glaringly obvious once paint goes on the wall.
Professional contractors bring experience that prevents common mistakes. They know how thick to apply compound, how long to let it dry, which grit sandpaper to use at each stage, and how to identify damage that requires replacement rather than surface fixes. This expertise translates directly into better-looking results that last longer.
JJv2 Interior House Painter Dutchess County LLC evaluates every wall honestly and recommends the most appropriate prep method for your specific situation. With over 20 years of hands-on experience, owner Richard Rivera understands exactly what it takes to prepare surfaces properly for a lasting finish. Whether your walls need minor cosmetic correction or more extensive repair before painting, the right preparation work ensures your investment delivers maximum value and visual impact.
If you’re preparing for an interior painting project and need expert assessment of your wall conditions, +1 (845) 379-3306 connects you directly with experienced professionals who can evaluate your specific situation and recommend the most cost-effective approach for beautiful, long-lasting results.